
Felt Pasta Tutorial
My toddler absolutely loves his play kitchen. Very little will hold his attention for long, but give him a bowl of dry beans and some of his kitchen tools, and he’s pretty happy. Throw in some little felt food, and mama might even get to go have a cup of coffee!
Since COVID means we don’t really leave the house or go anywhere, I thought it would be much easier to make some felt pasta to tuck into his stocking this year than buy some. I had some ivory felt on hand, and it only took a couple sheets to whip up some little ravioli and farfalle!
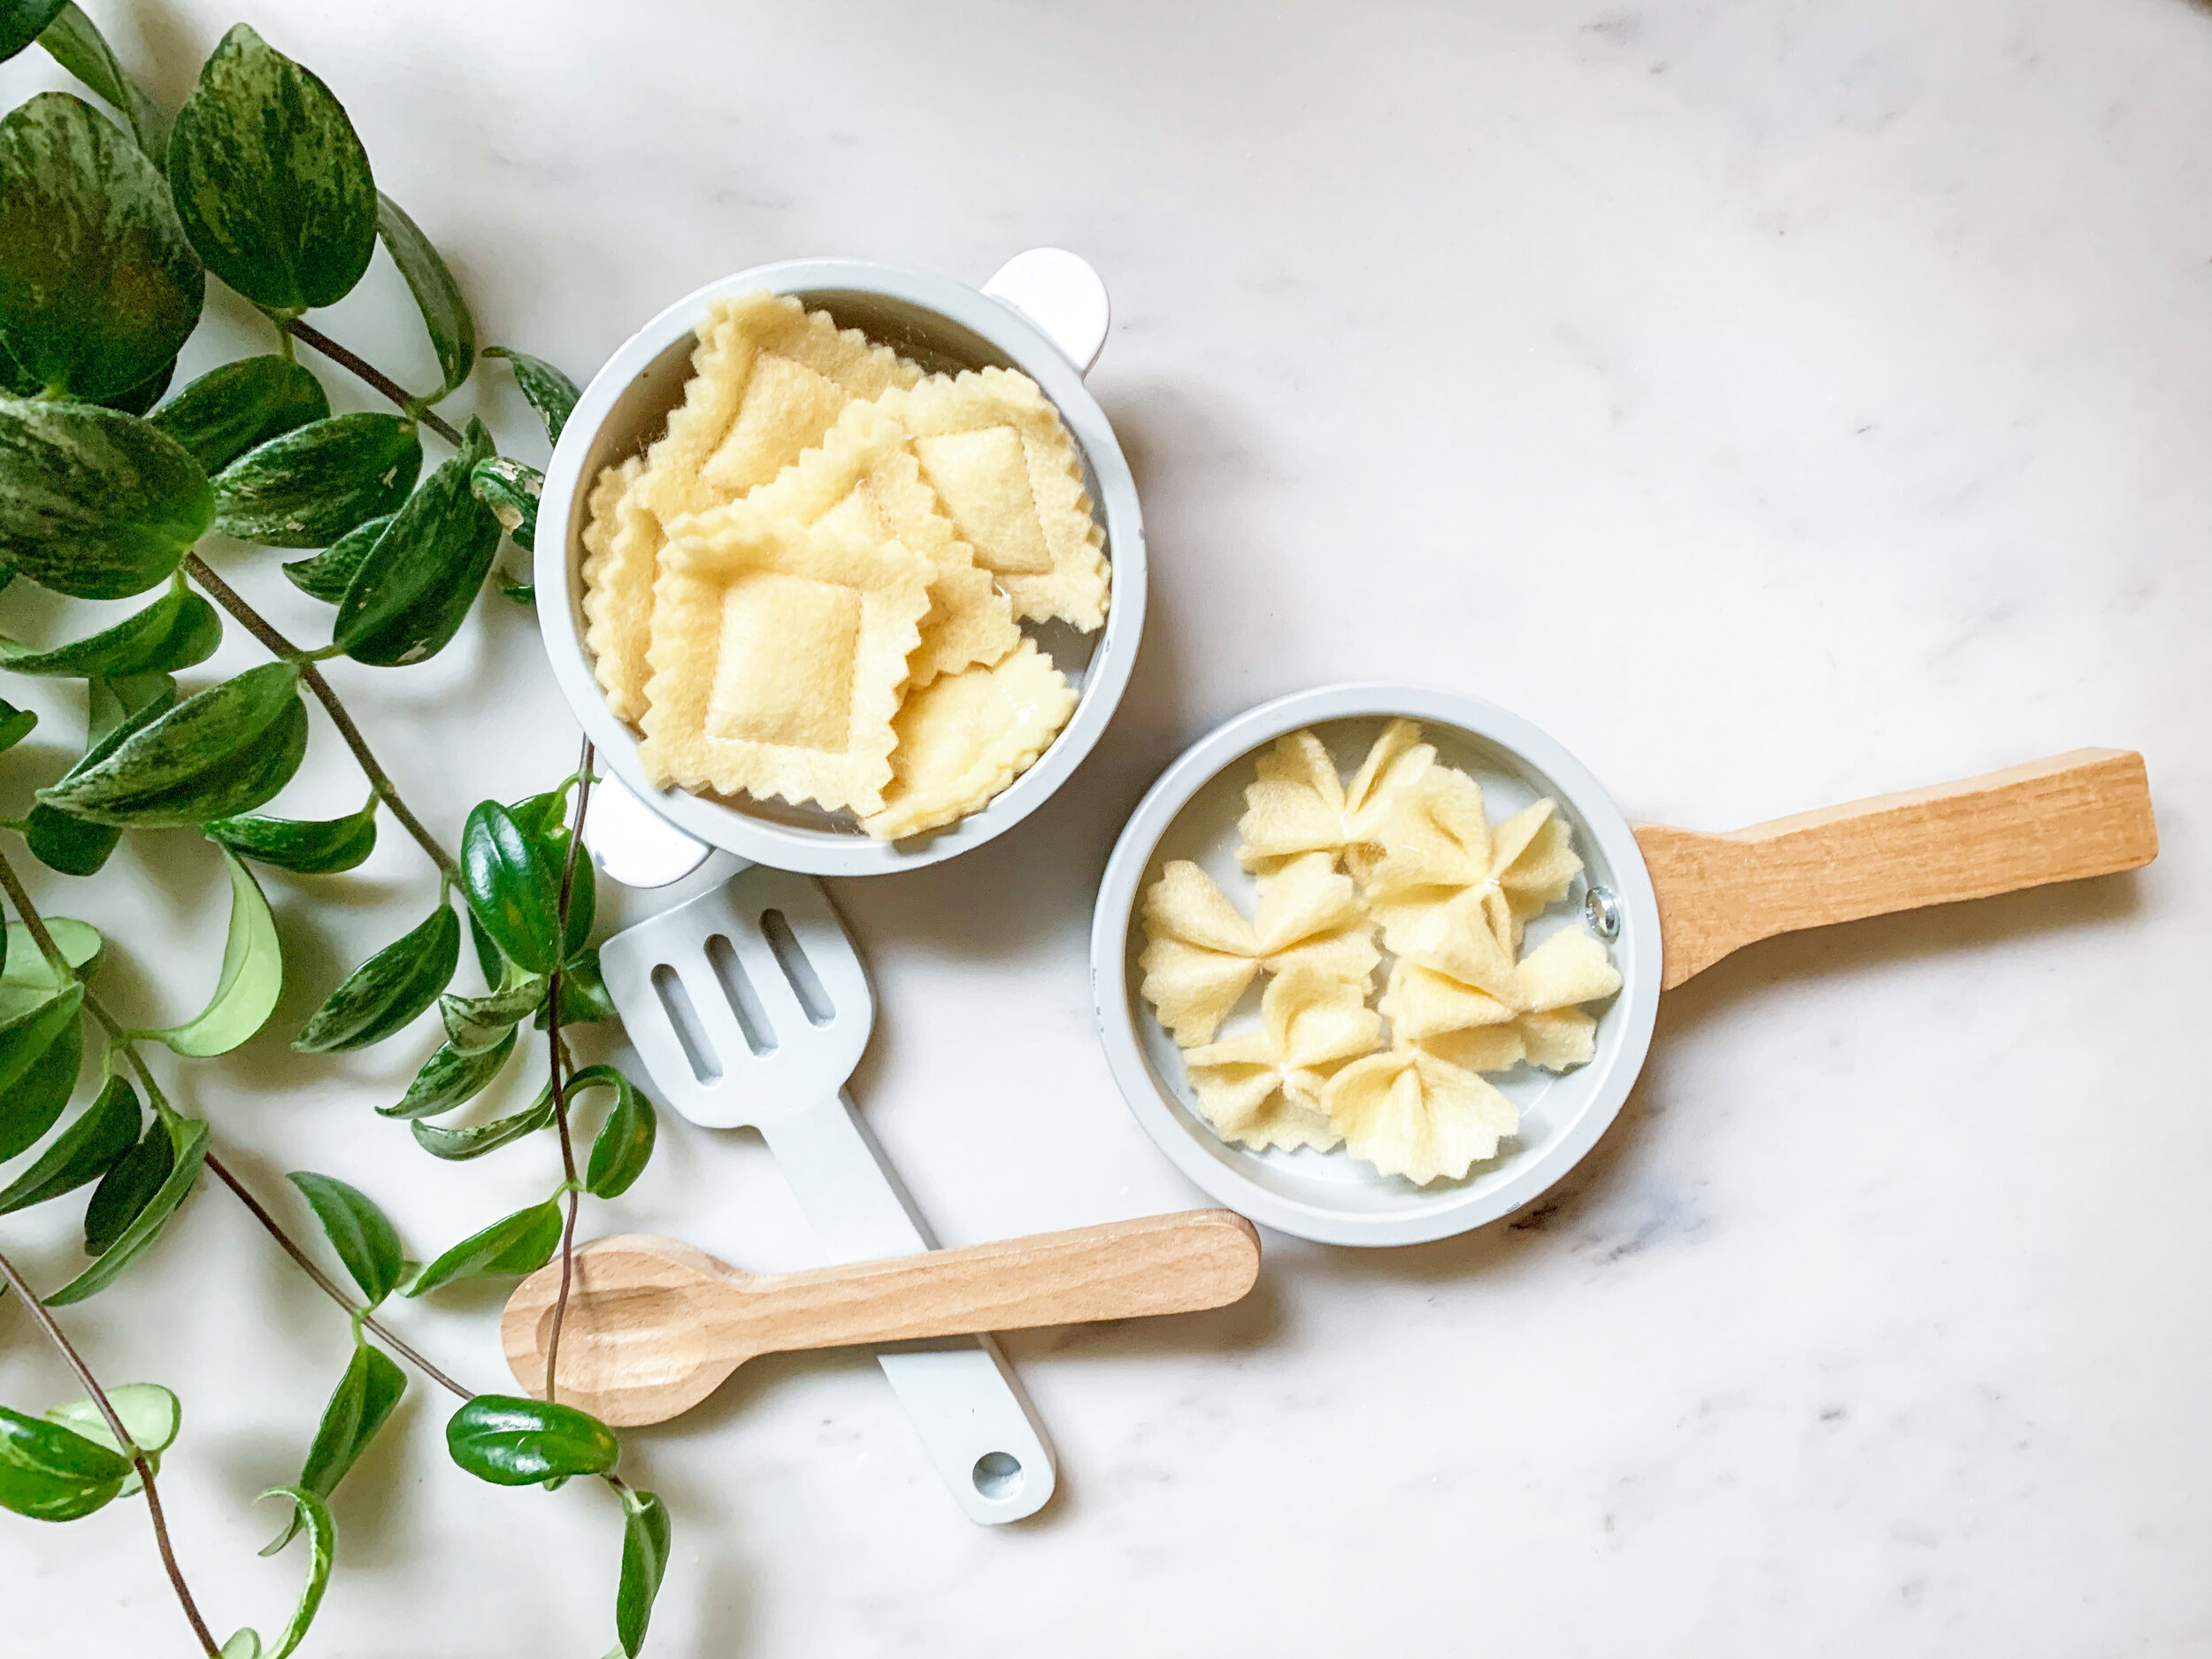
Now, these look pretty cute in that photo, right? Don’t let it fool you. These are imprecise, somewhat sloppy, and took me 15 minutes to make. Let’s be honest - my two year old would rather play with pom poms and popsicle sticks than the fancy, expensive, Scandinavian toys I like to buy him, so we really aren’t going for perfection here.
You’ll only need a few things to make these:
Pinking Shears (these aren’t vital, but they make everything much cuter!)
A couple sheets of felt
A sewing machine (or needle and thread)
Some scrap batting (or stuffing, or fabric scraps!)
Now let’s get started!
1) Decide how big you want your play pasta. I made both my ravioli and my farfalle about 1 1/2” wide, though I would make the farfalle a bit bigger if I were doing it again.
2) Cut sets of squares from the felt using pinking shears. (I liked to stack to pieces of felt together so that the squares match up really well). Cut a skinny strip of batting about 1/3 width of the ravioli squares, then cut that strip into smaller strips that are about twice the length of the width.
3) Cut rectangles from the felt using standard scissors, with an approximately 3:2 ratio just a bit wider than you’d like the final farfalle to be. Then, cut the smallest amount possible from the sides (the longer ends of the rectangles) with the pinking shears. There’s a lot of wiggle room here - cut a couple to play with and see how you like the proportions!

4) Fold up a piece of batting, then place it at the center of a ravioli square. Pin it down if desired, then place another felt square on top.

5) Sew around the square of batting, pivoting at each corner. This is a great time to use your knee lift if you have one! If you happen to stitch over a batting edge, don’t worry about it. Kids won’t care.
6) Once you finish your ravioli, it’s time to tackle the farfalle. Pick up a farfalle felt piece, and fold it in a W shape so that the pinked sides are on each edge.

7) Place a farfalle piece under the center of your sewing machine foot (make sure your needle is centered as well). Stitch, making sure to back stitch, through all layers.

Ta da! You’re done! Enjoy your felt pasta! Make sure you don’t give these to children who could choke on these pieces. I made mine just large enough that they wouldn’t easily pop into a little one’s mouth, and I waited until my son had a better understanding of pretend vs. real food.
