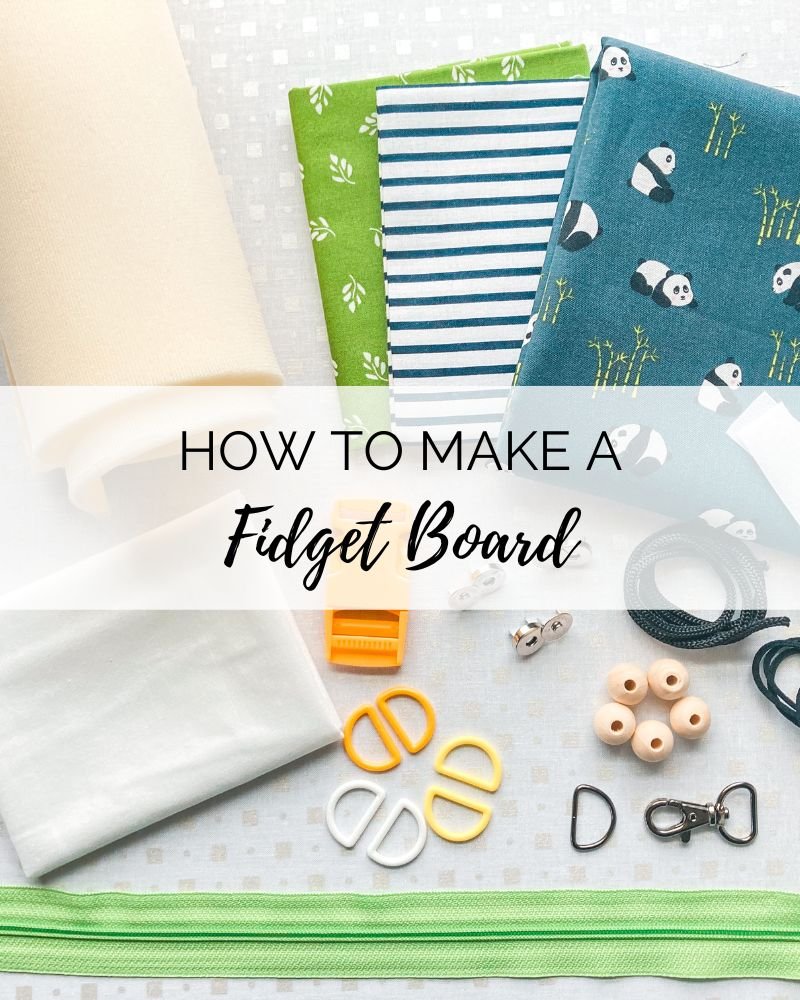
Make a Fidget Board
In this guest blog tutorial, Elena from Otter and Thyme is going to show us how to create a Fidget Board to help keep our little ones busy!
Do you find your little ones to sometimes be bored? On long car rides (or actually ALL car rides), waiting in line, waiting at the doctor’s office, riding in the stroller, and you want to avoid the temptation of offering them devices for entertainment?
What if you would have a toy that would keep them entertained, help develop their fine motor skills, and grow with their skill level? Did I mention portable and light weight?
Introducing…. The Fidget Board.


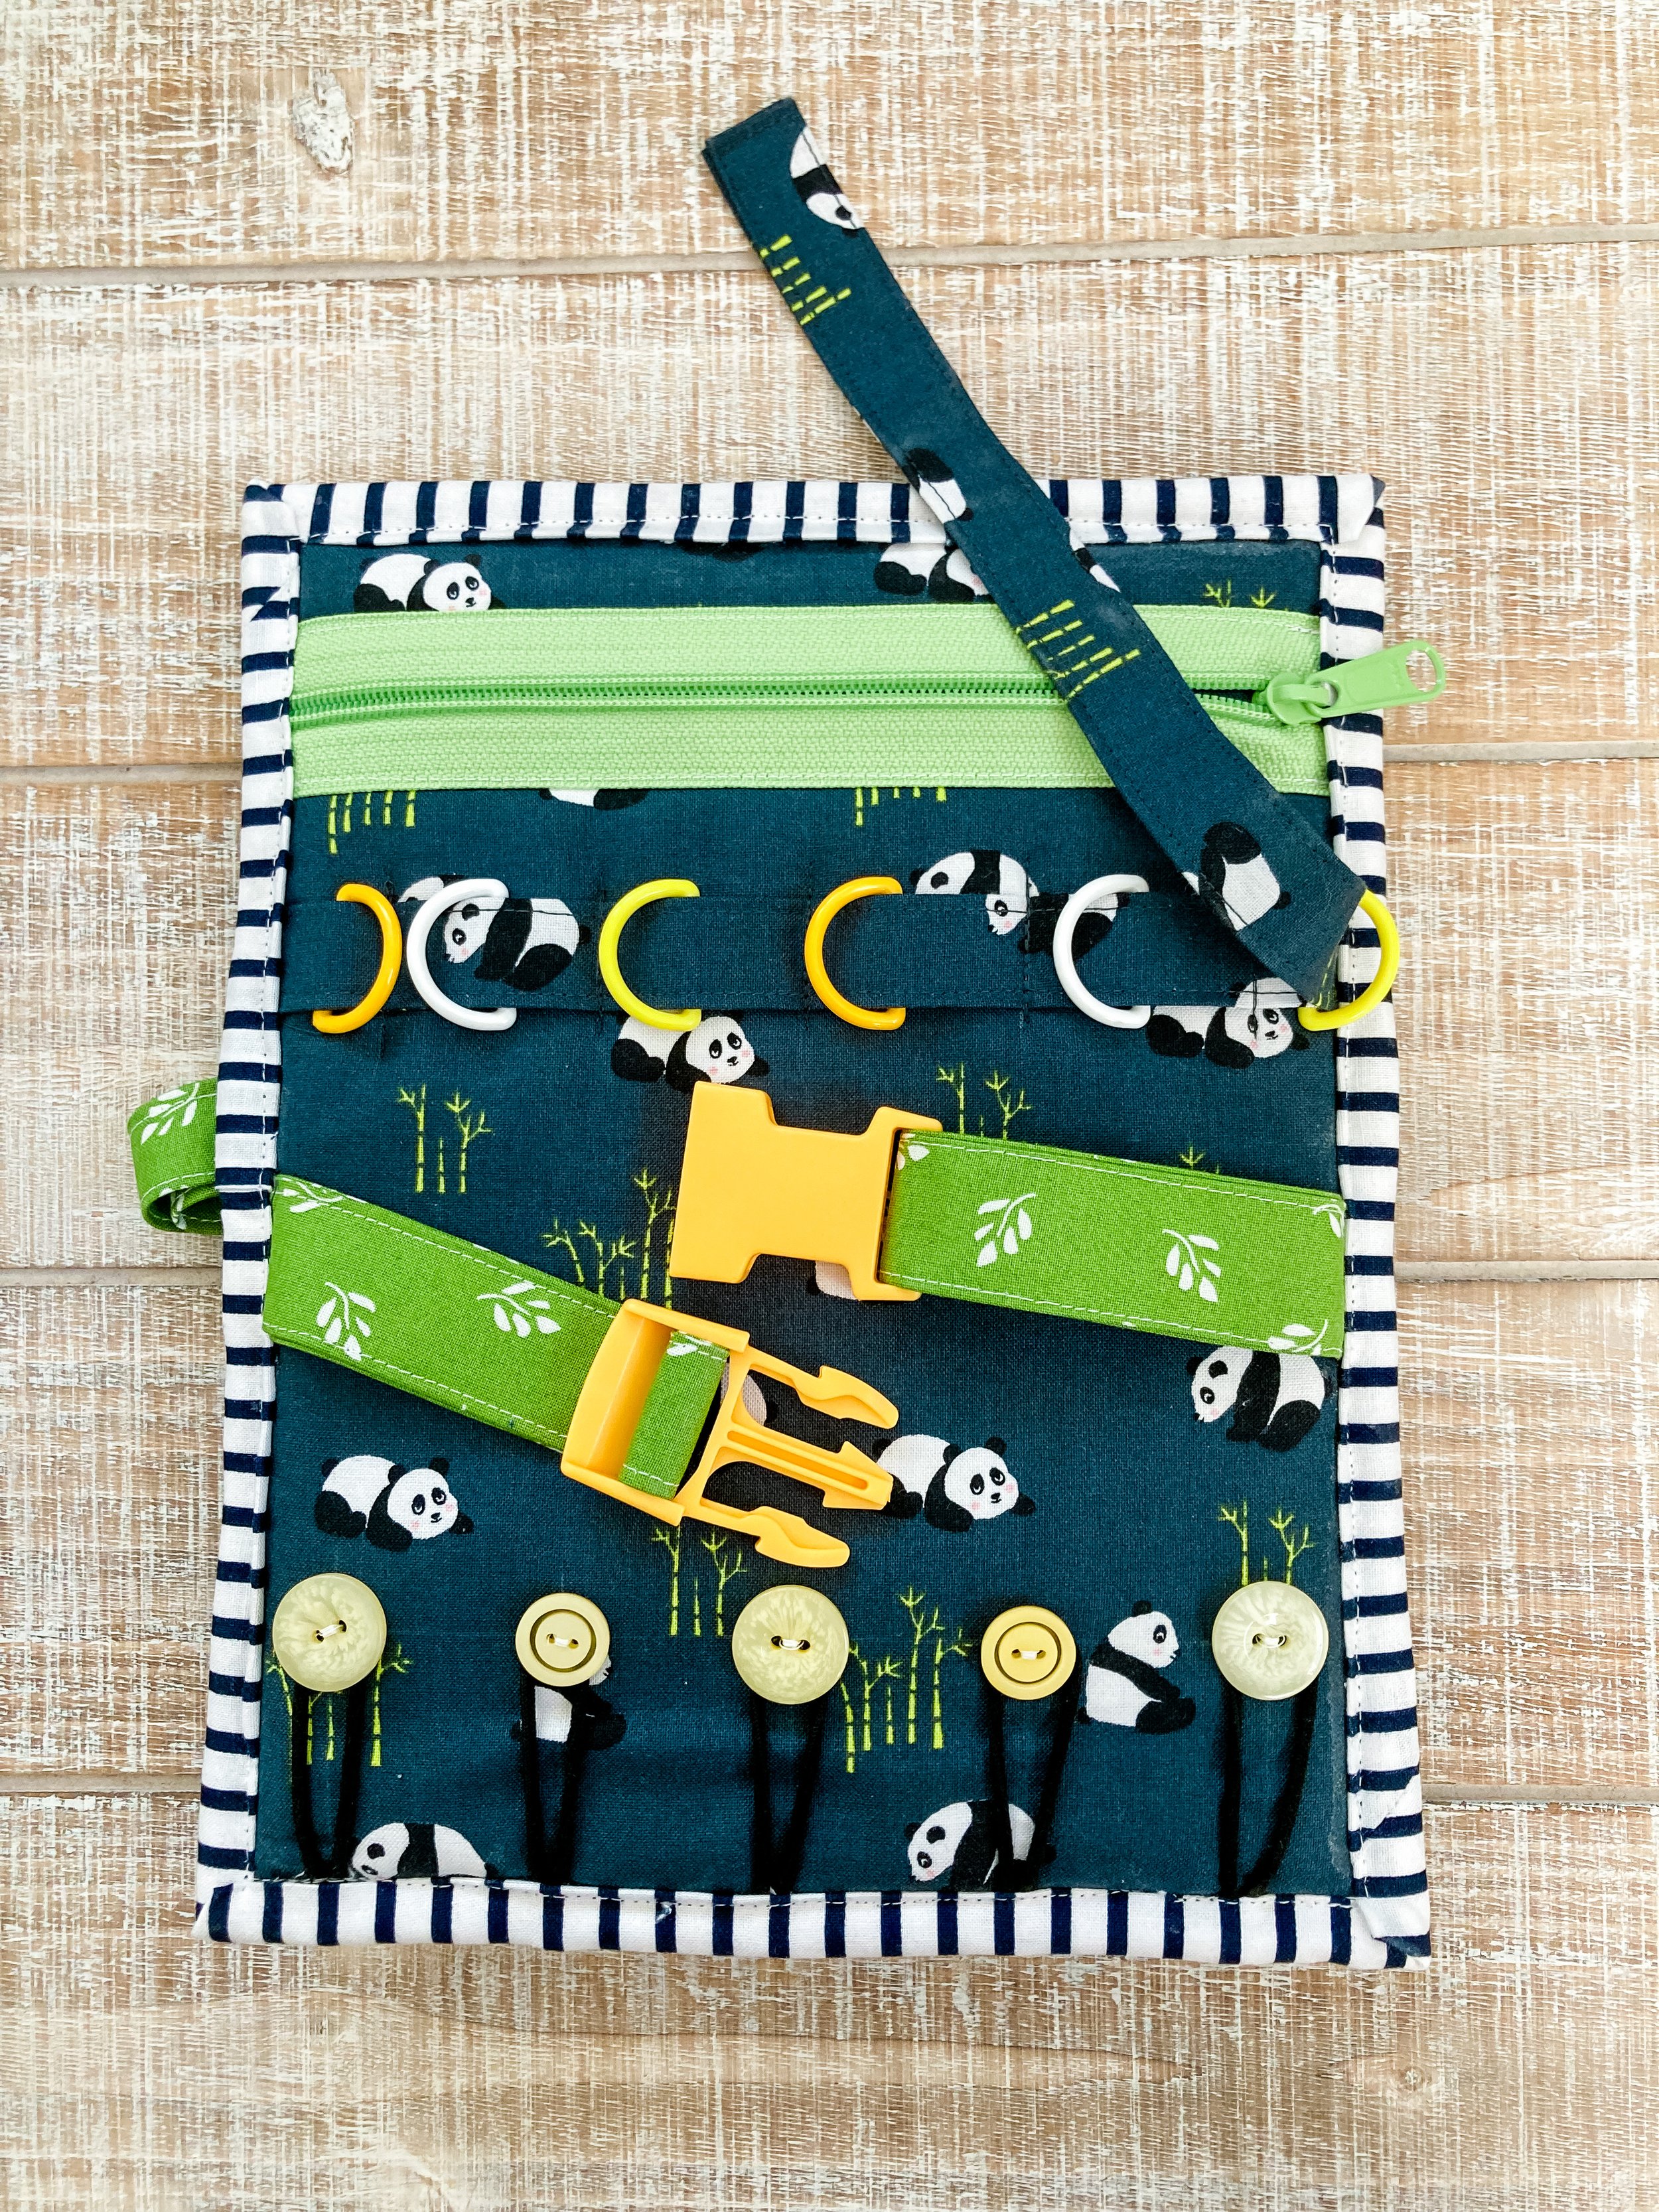
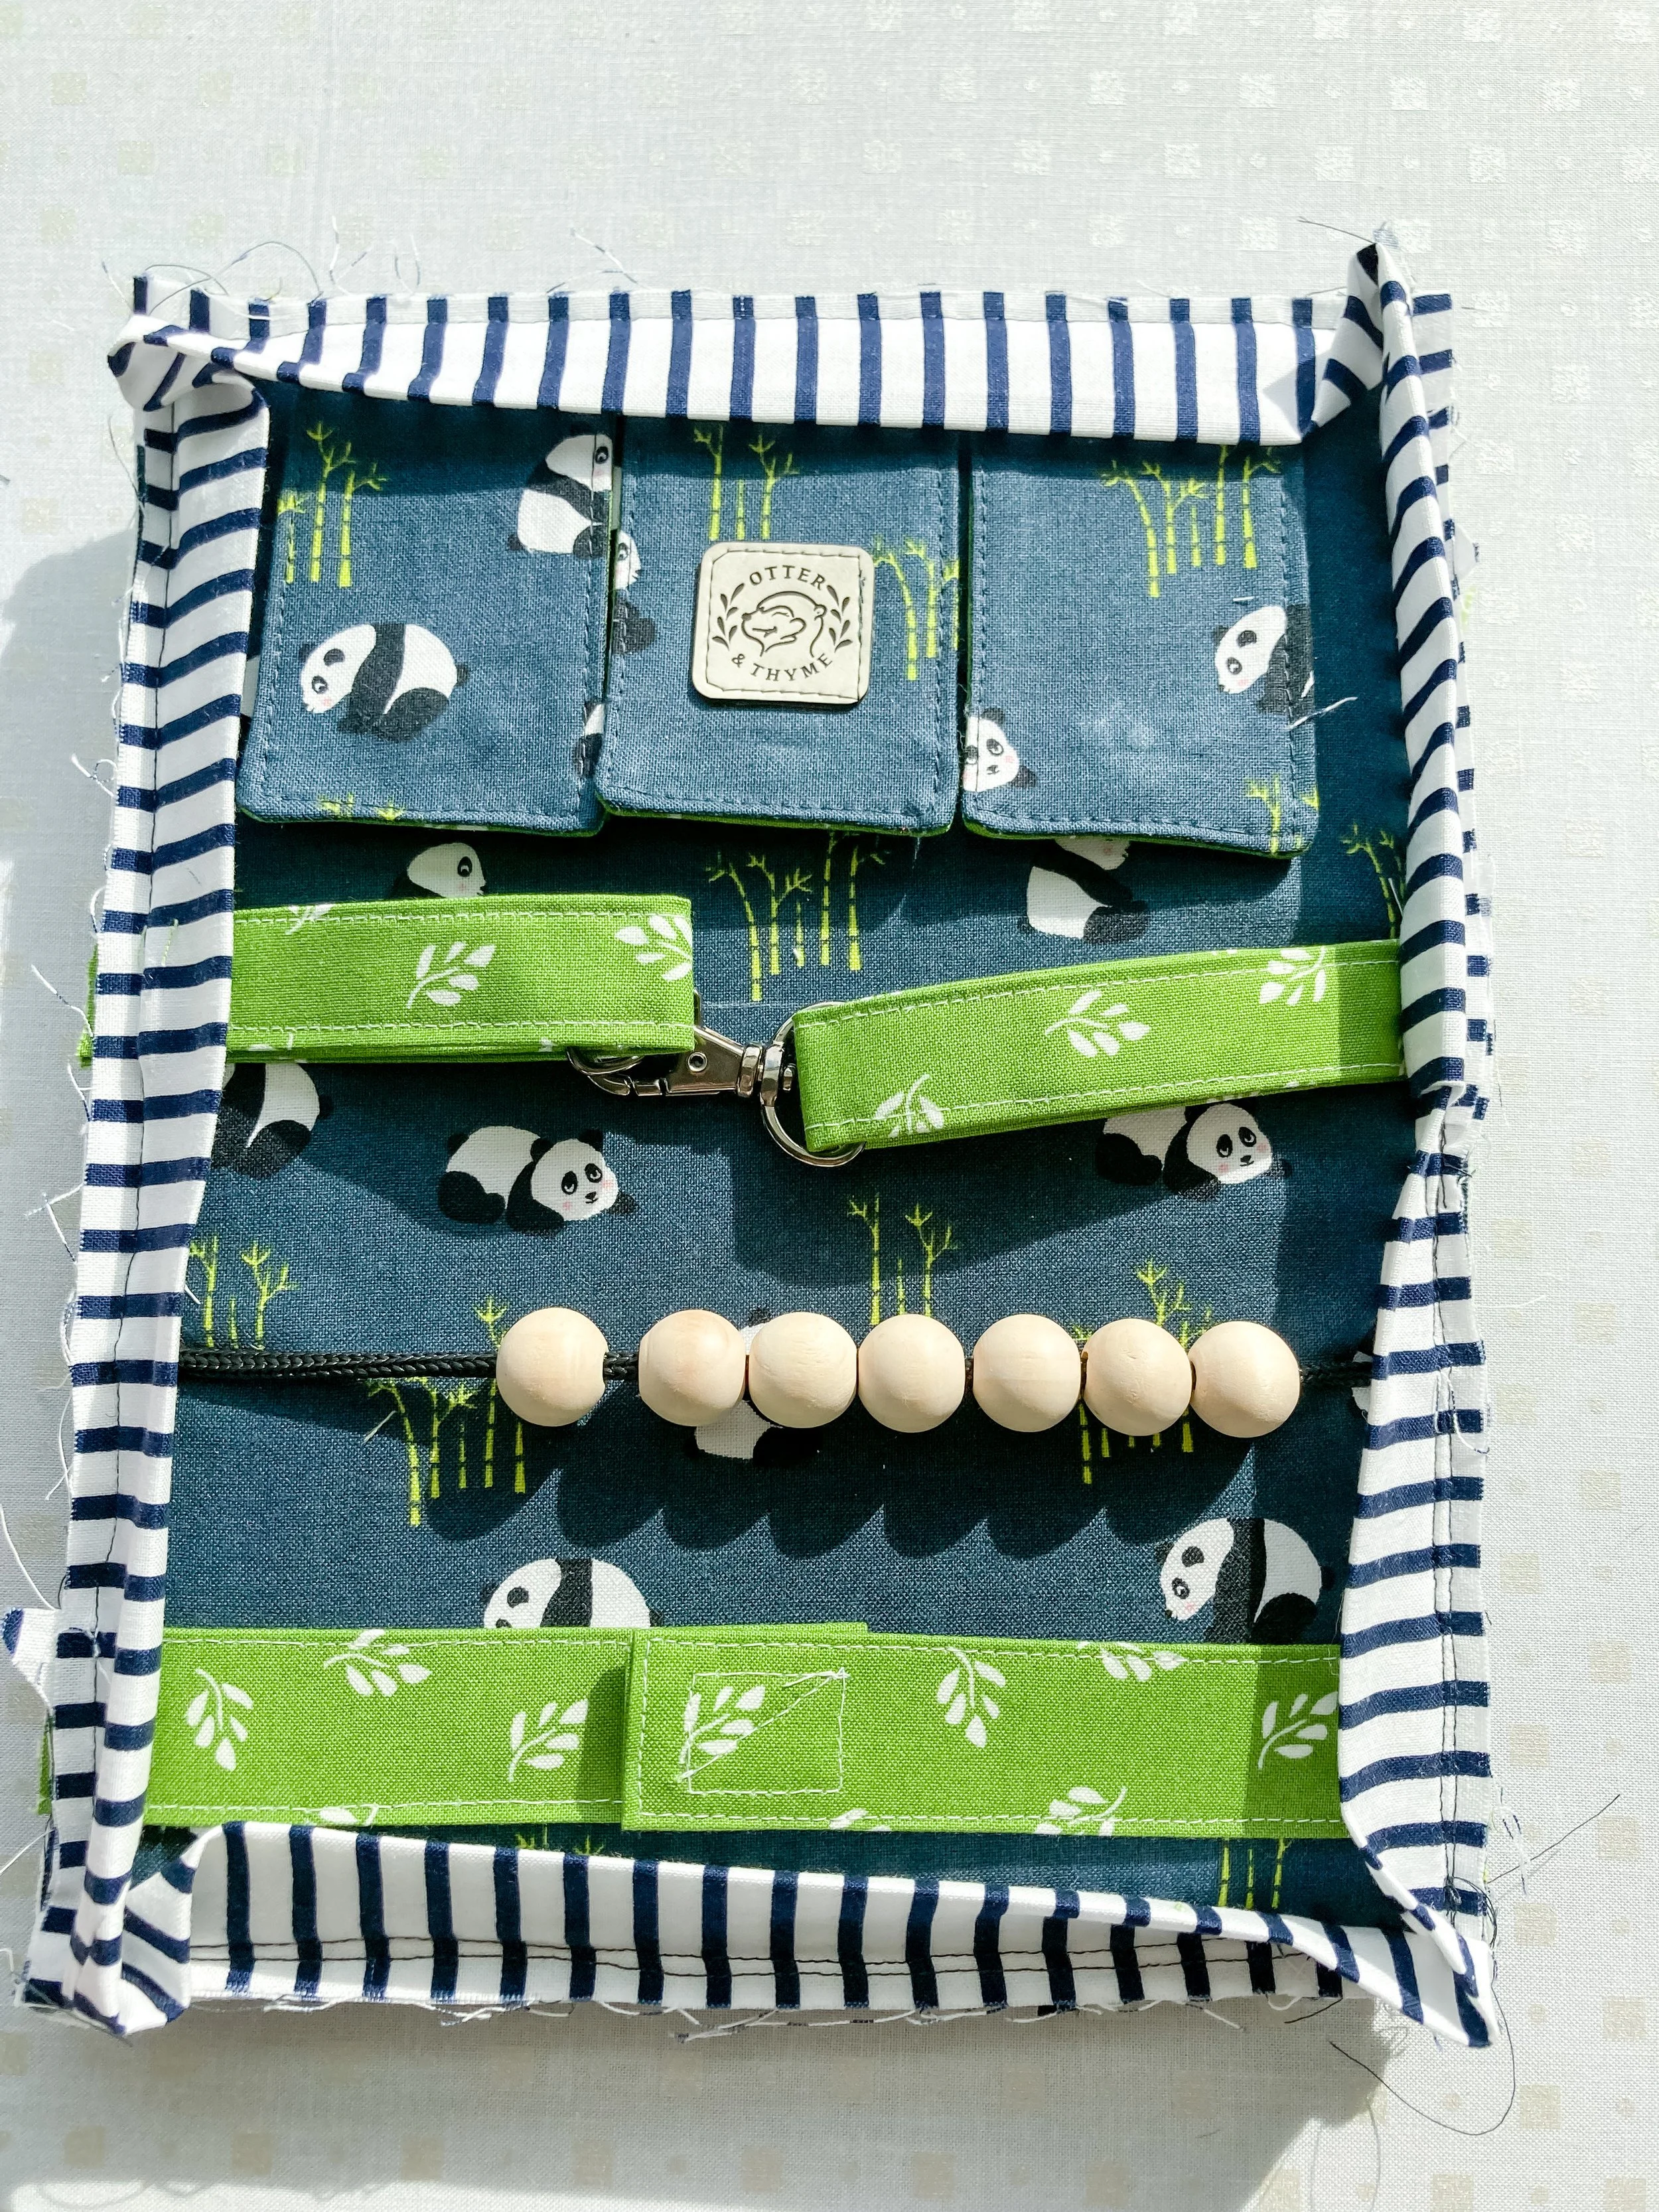
Similar to a busy book, this board is double sided, with a variety of activities, completely customizable to your preference, and easy to make.
I’ve made one for my son when he was a baby, and he has played with it consistently on our daily commute. He has constantly figured things out while working with it, and even now, as a 5 year old, he still enjoys using the board. I included magnets, beads, buttons, zippers, D-rings, hook and loop tape, lobster clasp, and flaps.
The materials listed below are what I used to make this exact board, but you can be creative and replace with whatever you wish. You also do not need to buy any new hardware, you can use bags/backpacks from thrift stores or your closet and repurpose the hardware.
Measurements for placement of hardware are provided, but you can simply place items where you like them, slight variations are ok. You can also download the placement guide, print at full size, and check the 1” test square to ensure it is the correct size.
What You’ll Need

Main Body
Main: 1 fat quarter of quilting cotton fabric
Straps/accent: 1 fat quarter of quilting cotton fabric
Binding: 1 fat quarter of quilting cotton fabric
1/4 yard Foam interfacing (Pellon Flex Foam or By Annie Soft and Stable)
1/2 yard Woven interfacing (I used Pellon Shape Flex SF 101)
Heavy cardstock, such as mat board. You can purchase it, or might have it as scraps around the house. If not, you can use a few layers of cereal box cardboard glued to eachother to make them thicker. This will be hidden, so it doesn’t matter what it looks like.
NOTE: using cardstock may make your project un-washable. If you would like to wash it, you can use flexible plastic cutting mats from the kitchen section at a dollar store.
Hardware
3 magnetic snap sets
1 lobster clasp (3/4” size)
1 matching D ring (3/4” size)
5-7 Wooden beads (1/2” size)
1 shoelace or nylon cord (to fit through the wooden bead)
4” Hook and loop tape
1 10” zipper (I used a #5, but any would work)
1 Plastic buckle set (1” size)
5 buttons (I used the hand-dyed Lemon Drop Snack Pack buttons from Just Another Button Company)
30” face mask elastic
6 D-rings (3/4” size)
Tools
sewing machine
Matching all purpose thread
Removable fabric marking pen
Quilting Ruler (optional, can use measuring tape)
Cutting mat and rotary cutter (optional, can cut with scissors)
Scissors
Pins
Magic clips (or binder clips)
Point turner
Pencil
Seam ripper
Cutting Instructions
Main fabric, cut:
A - (2) 8” x 10”
B - (3) 2.5” x 4”
C - (2) 3” x 9”
Accent fabric, cut:
D - (3) 2.5” x 4
E - (2) 4” x 9”
F - (2) 4” x 6”
G - (2) 3” x 9”
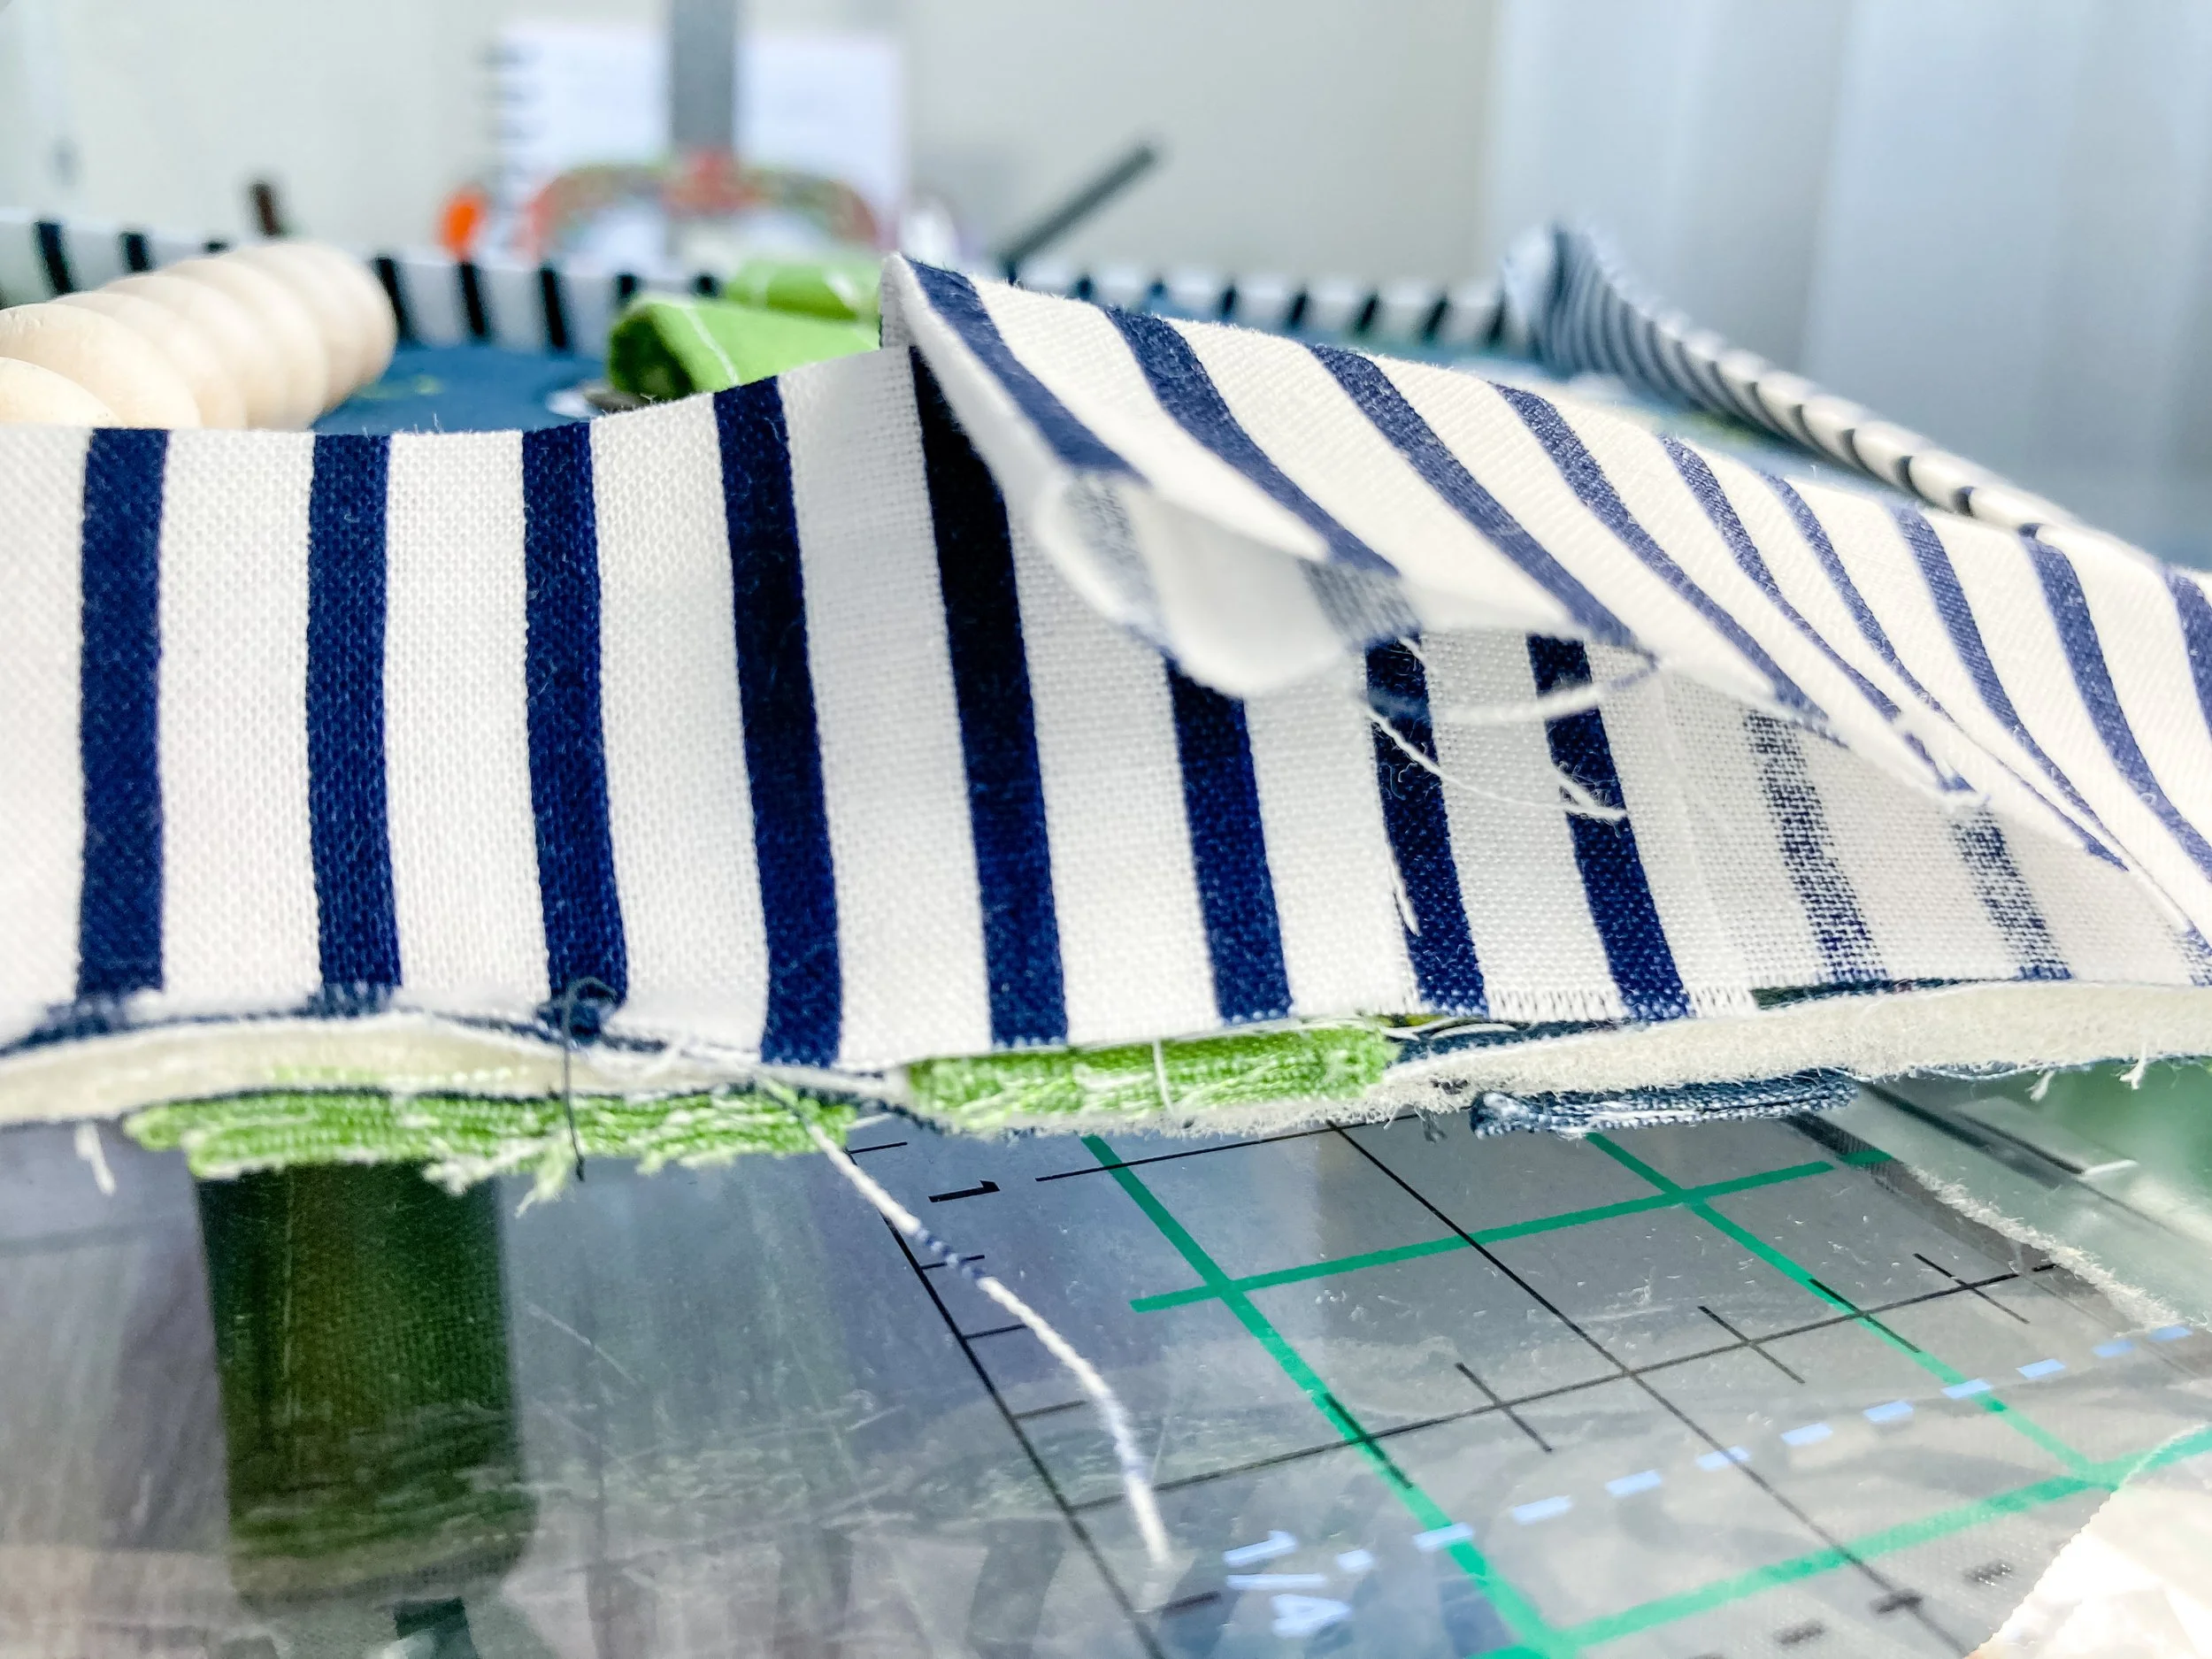
Binding fabric, cut:
(2) 2.5” X 21”
Woven interfacing, cut:
A1 - (2) 8” x 10”
B1 - (6) 2.5” x 4”
F1 - (2) 2” x 6”
(1) scrap approximately 1” x 6”
(3) scraps approximately 1” x 1”
Foam interfacing, cut:
A2 - (2) 8” x 10”
Cardstock:
(1) 7.5” x 9.5”
Interface the quilting cotton pieces A with A1, B with B1, and D with B1 according to manufacturer’s instructions.
Installing the Magnetic Snaps
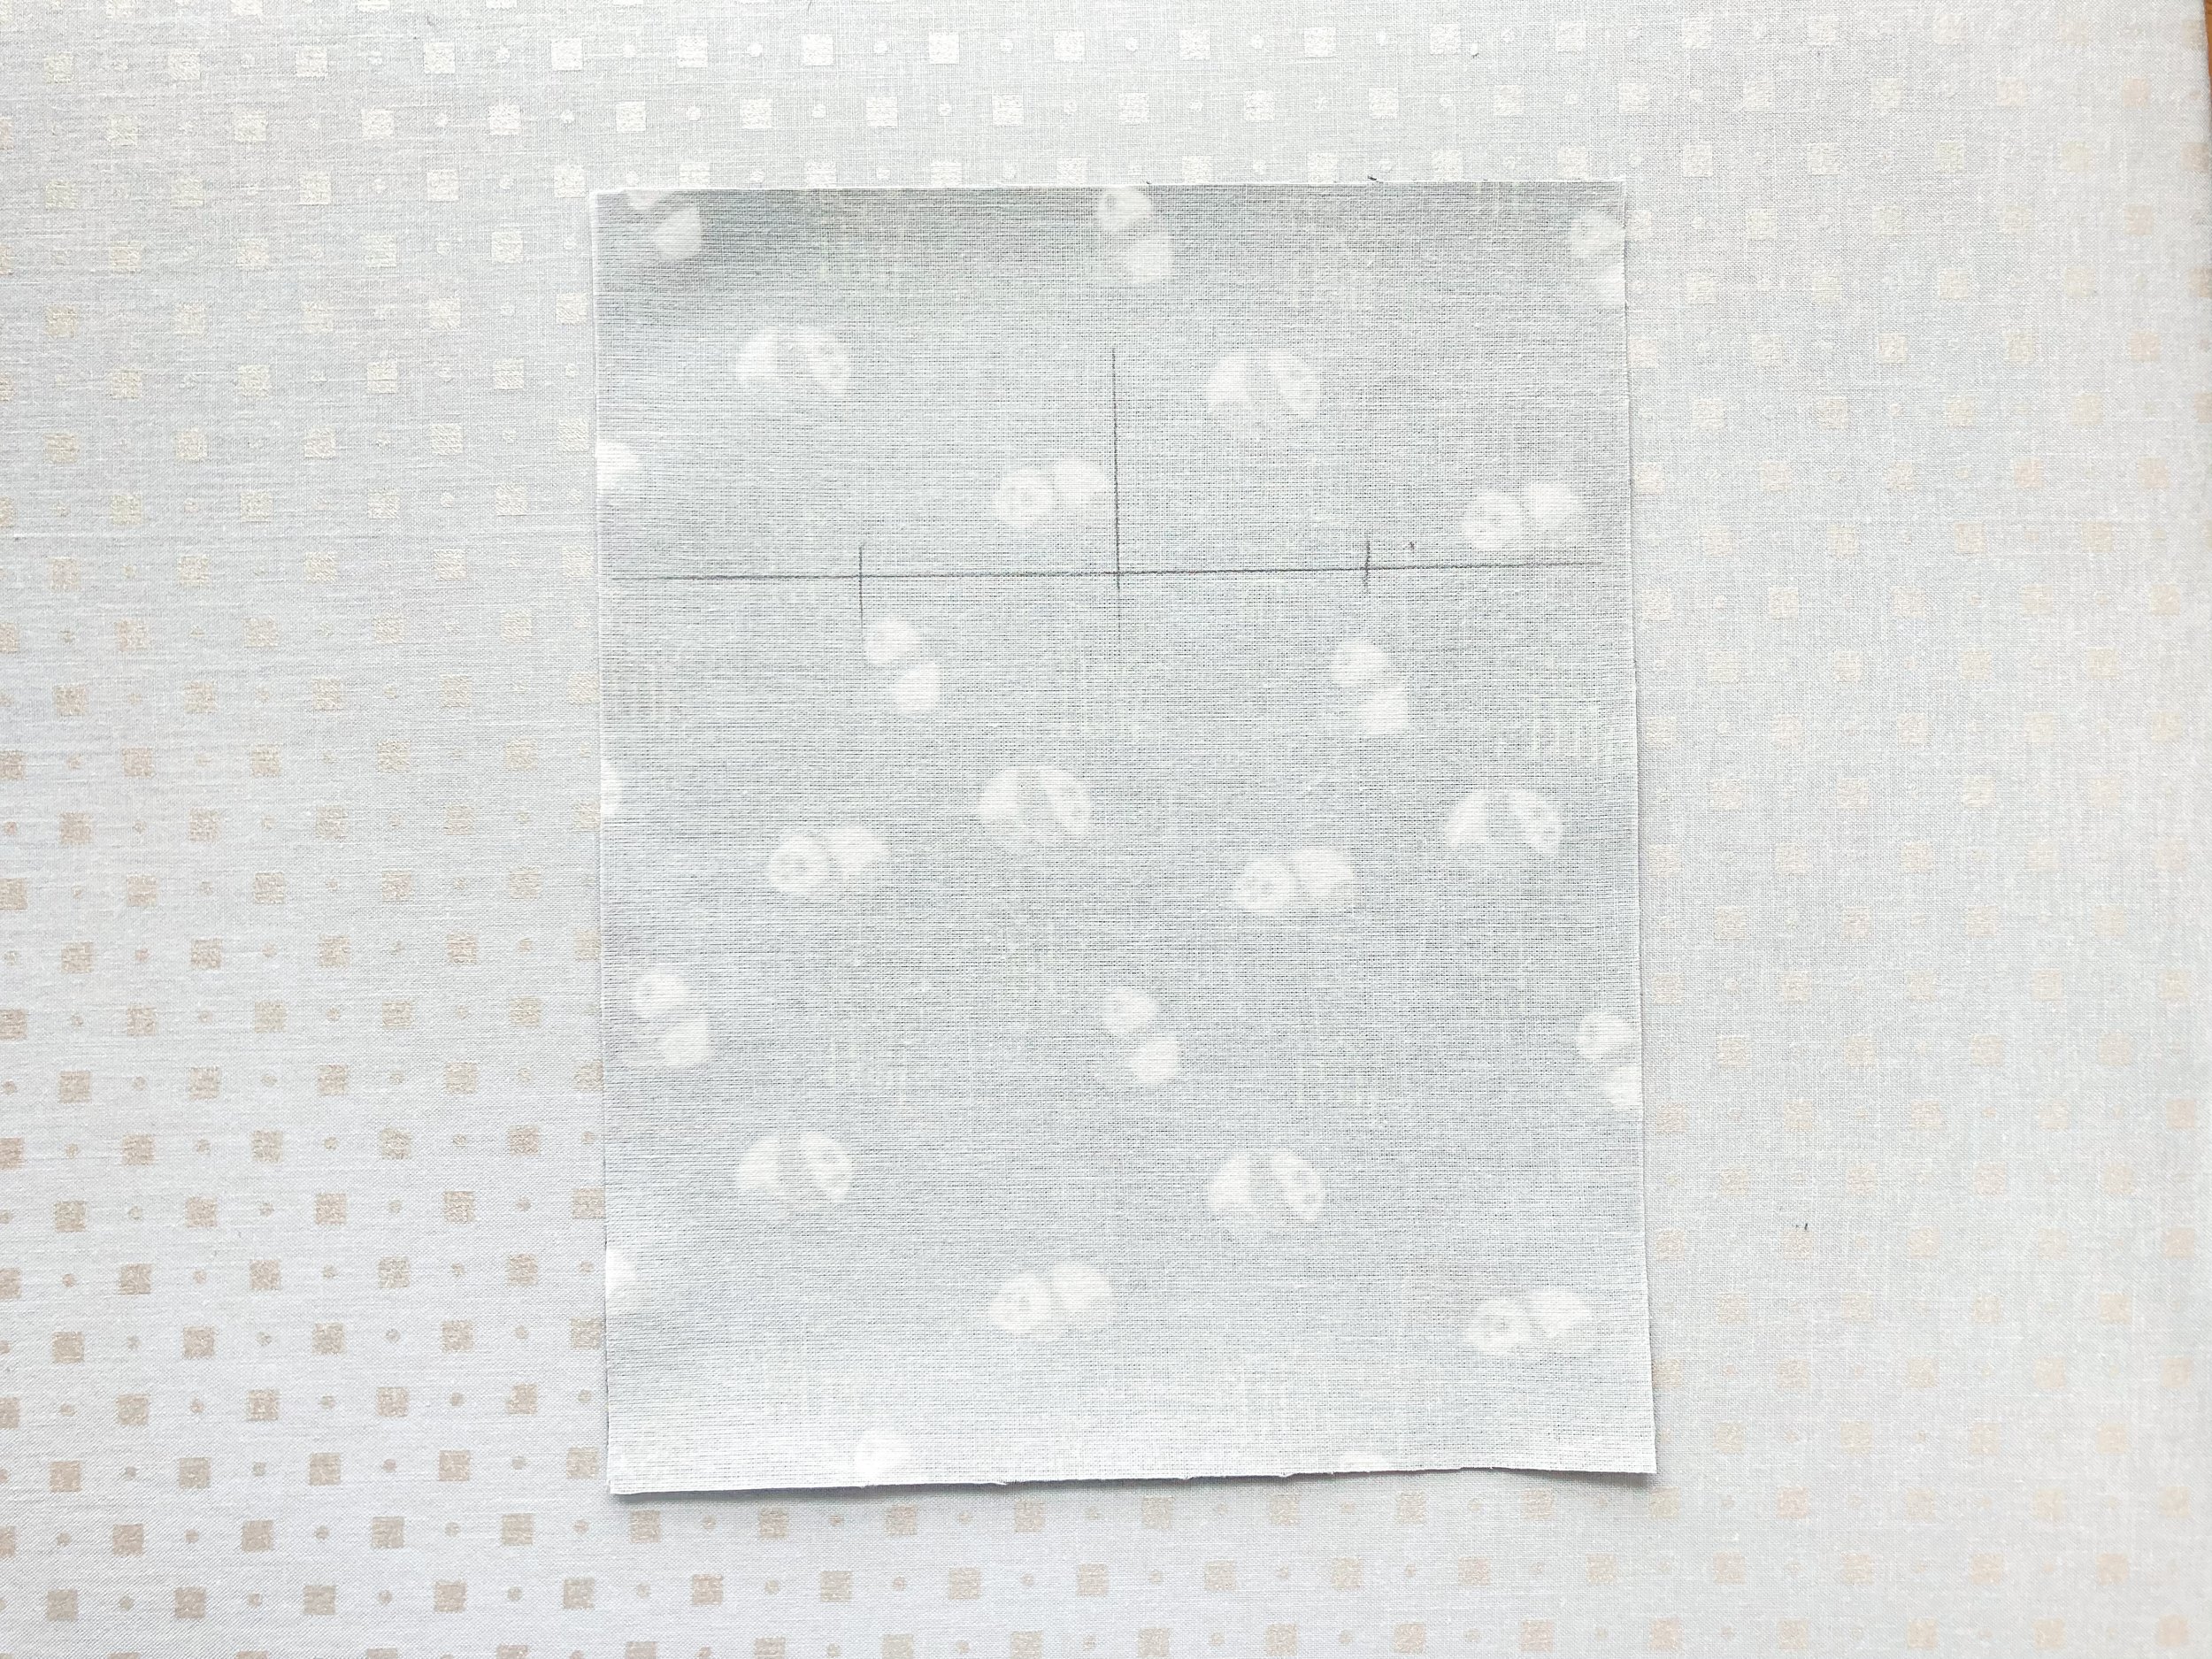
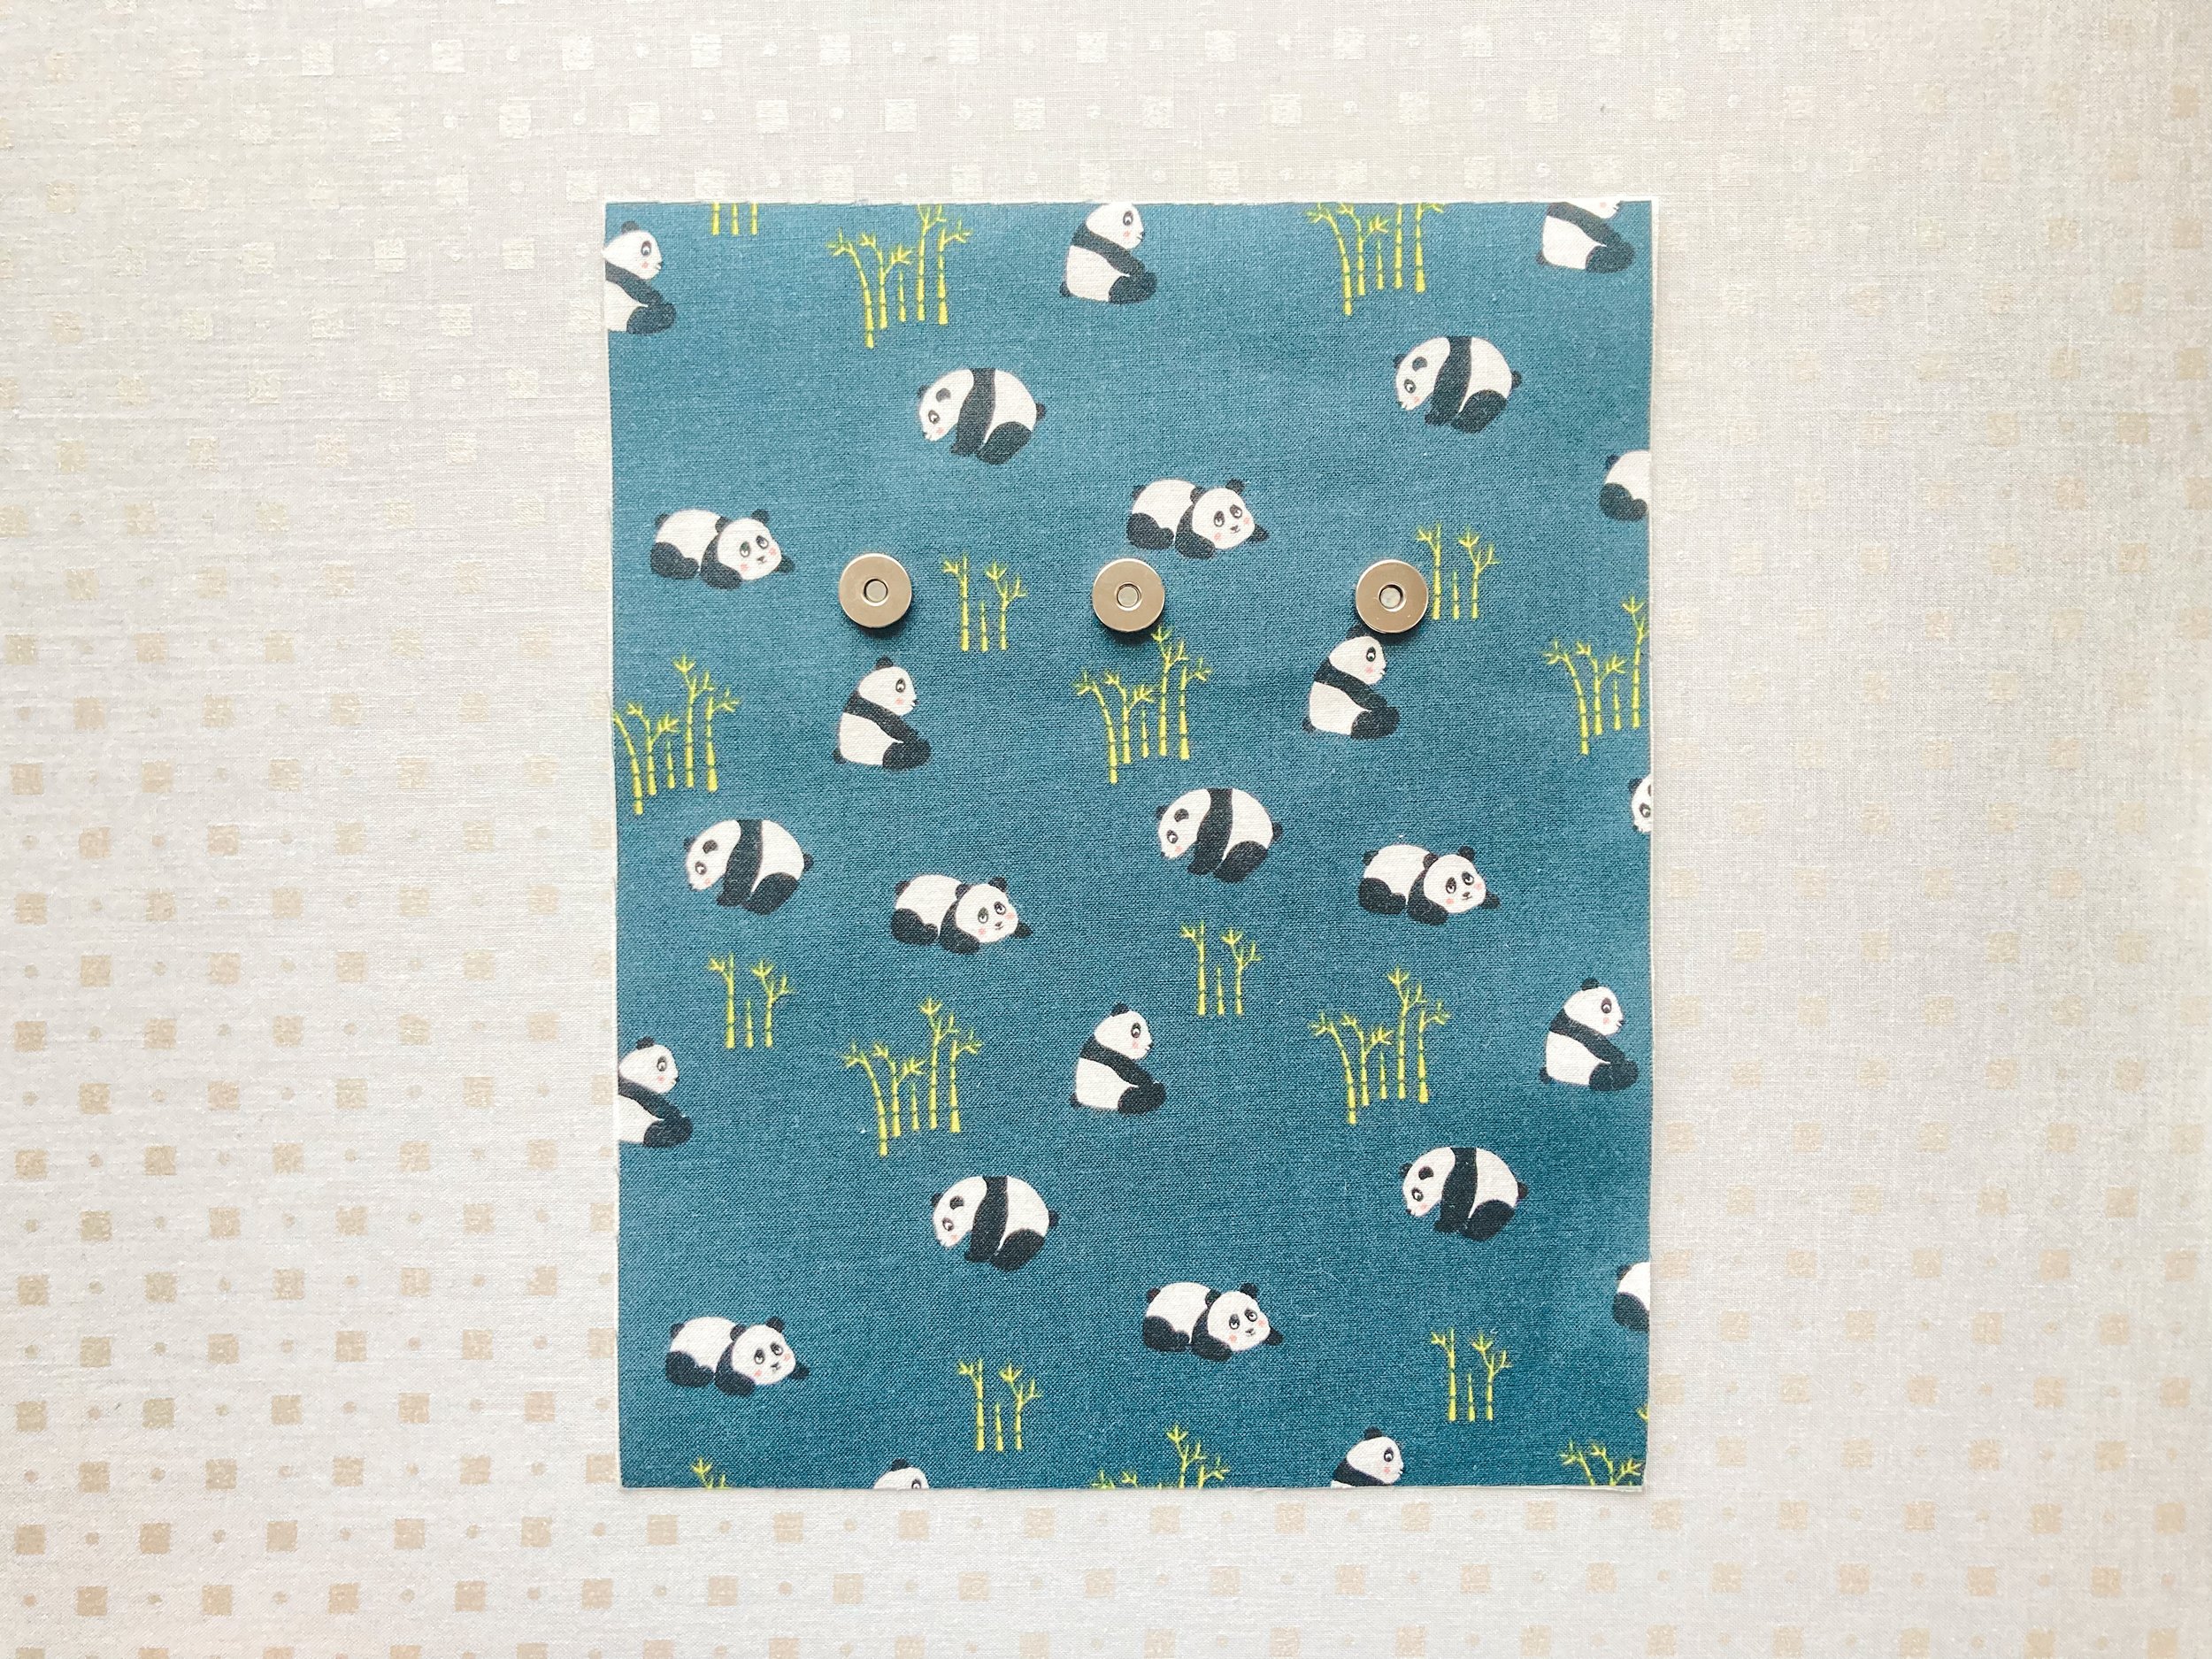
On the wrong side of one of the main interfaced panels A, using the pencil, draw a horizontal line 3” down from the top narrow side of the rectangle. Mark the line at the 2”, 4”, and 6” mark, like in the photo. The intersecting lines will be the placement for the female side of the magnetic snap. PHOTO 3
Using your 1” x 6” scrap of interfacing, apply it on top of the drawn markings. If you used a pencil, you should be able to see through the interfacing.
Place the washers on top of the marked intersections, and draw through the vertical slots.

Using your seam ripper, carefully rip through the markings, making sure you don’t rip a hole larger than what you drew.

Insert the prongs of the female side of the magnetic snap through the holes, from the right side of the fabric, place the washer, and bend the prongs outward.

Mark the Hardware Placement
On the right side of the other main panel A, draw the following horizontal lines, measuring from the top narrow side of the rectangle: 1”, 3.25”, 5.5”, 7.5”.
On the bottom line, which should now be approximately 2” from the bottom side, draw vertical lines at 1”, 2.5”, 4”, 5.5”, and 7”. This is where you will sew each button.

On the right side of panel A, the one with magnetic snaps, draw horizontal lines, measuring from the bottom of the panel: 1.5”, 3.5”, and 5.5”.

BASTE both panels A to the foam interfacing, using 1/8” seam allowance and 5 mm stitch length.

Attach the Hardware
BUTTONS:
Sew the buttons to the intersection of the markings from the previous steps.
Cut your elastic in pieces measuring approximately 5”-6”. Loop each piece of elastic around each button, gently pull, and pin the two raw edges of the elastic to the bottom of panel A. Sew each elastic to panel A, using 1/8” seam allowance and 2.5 mm stitch length. Reinforce your stitches by going back and forth to secure them.

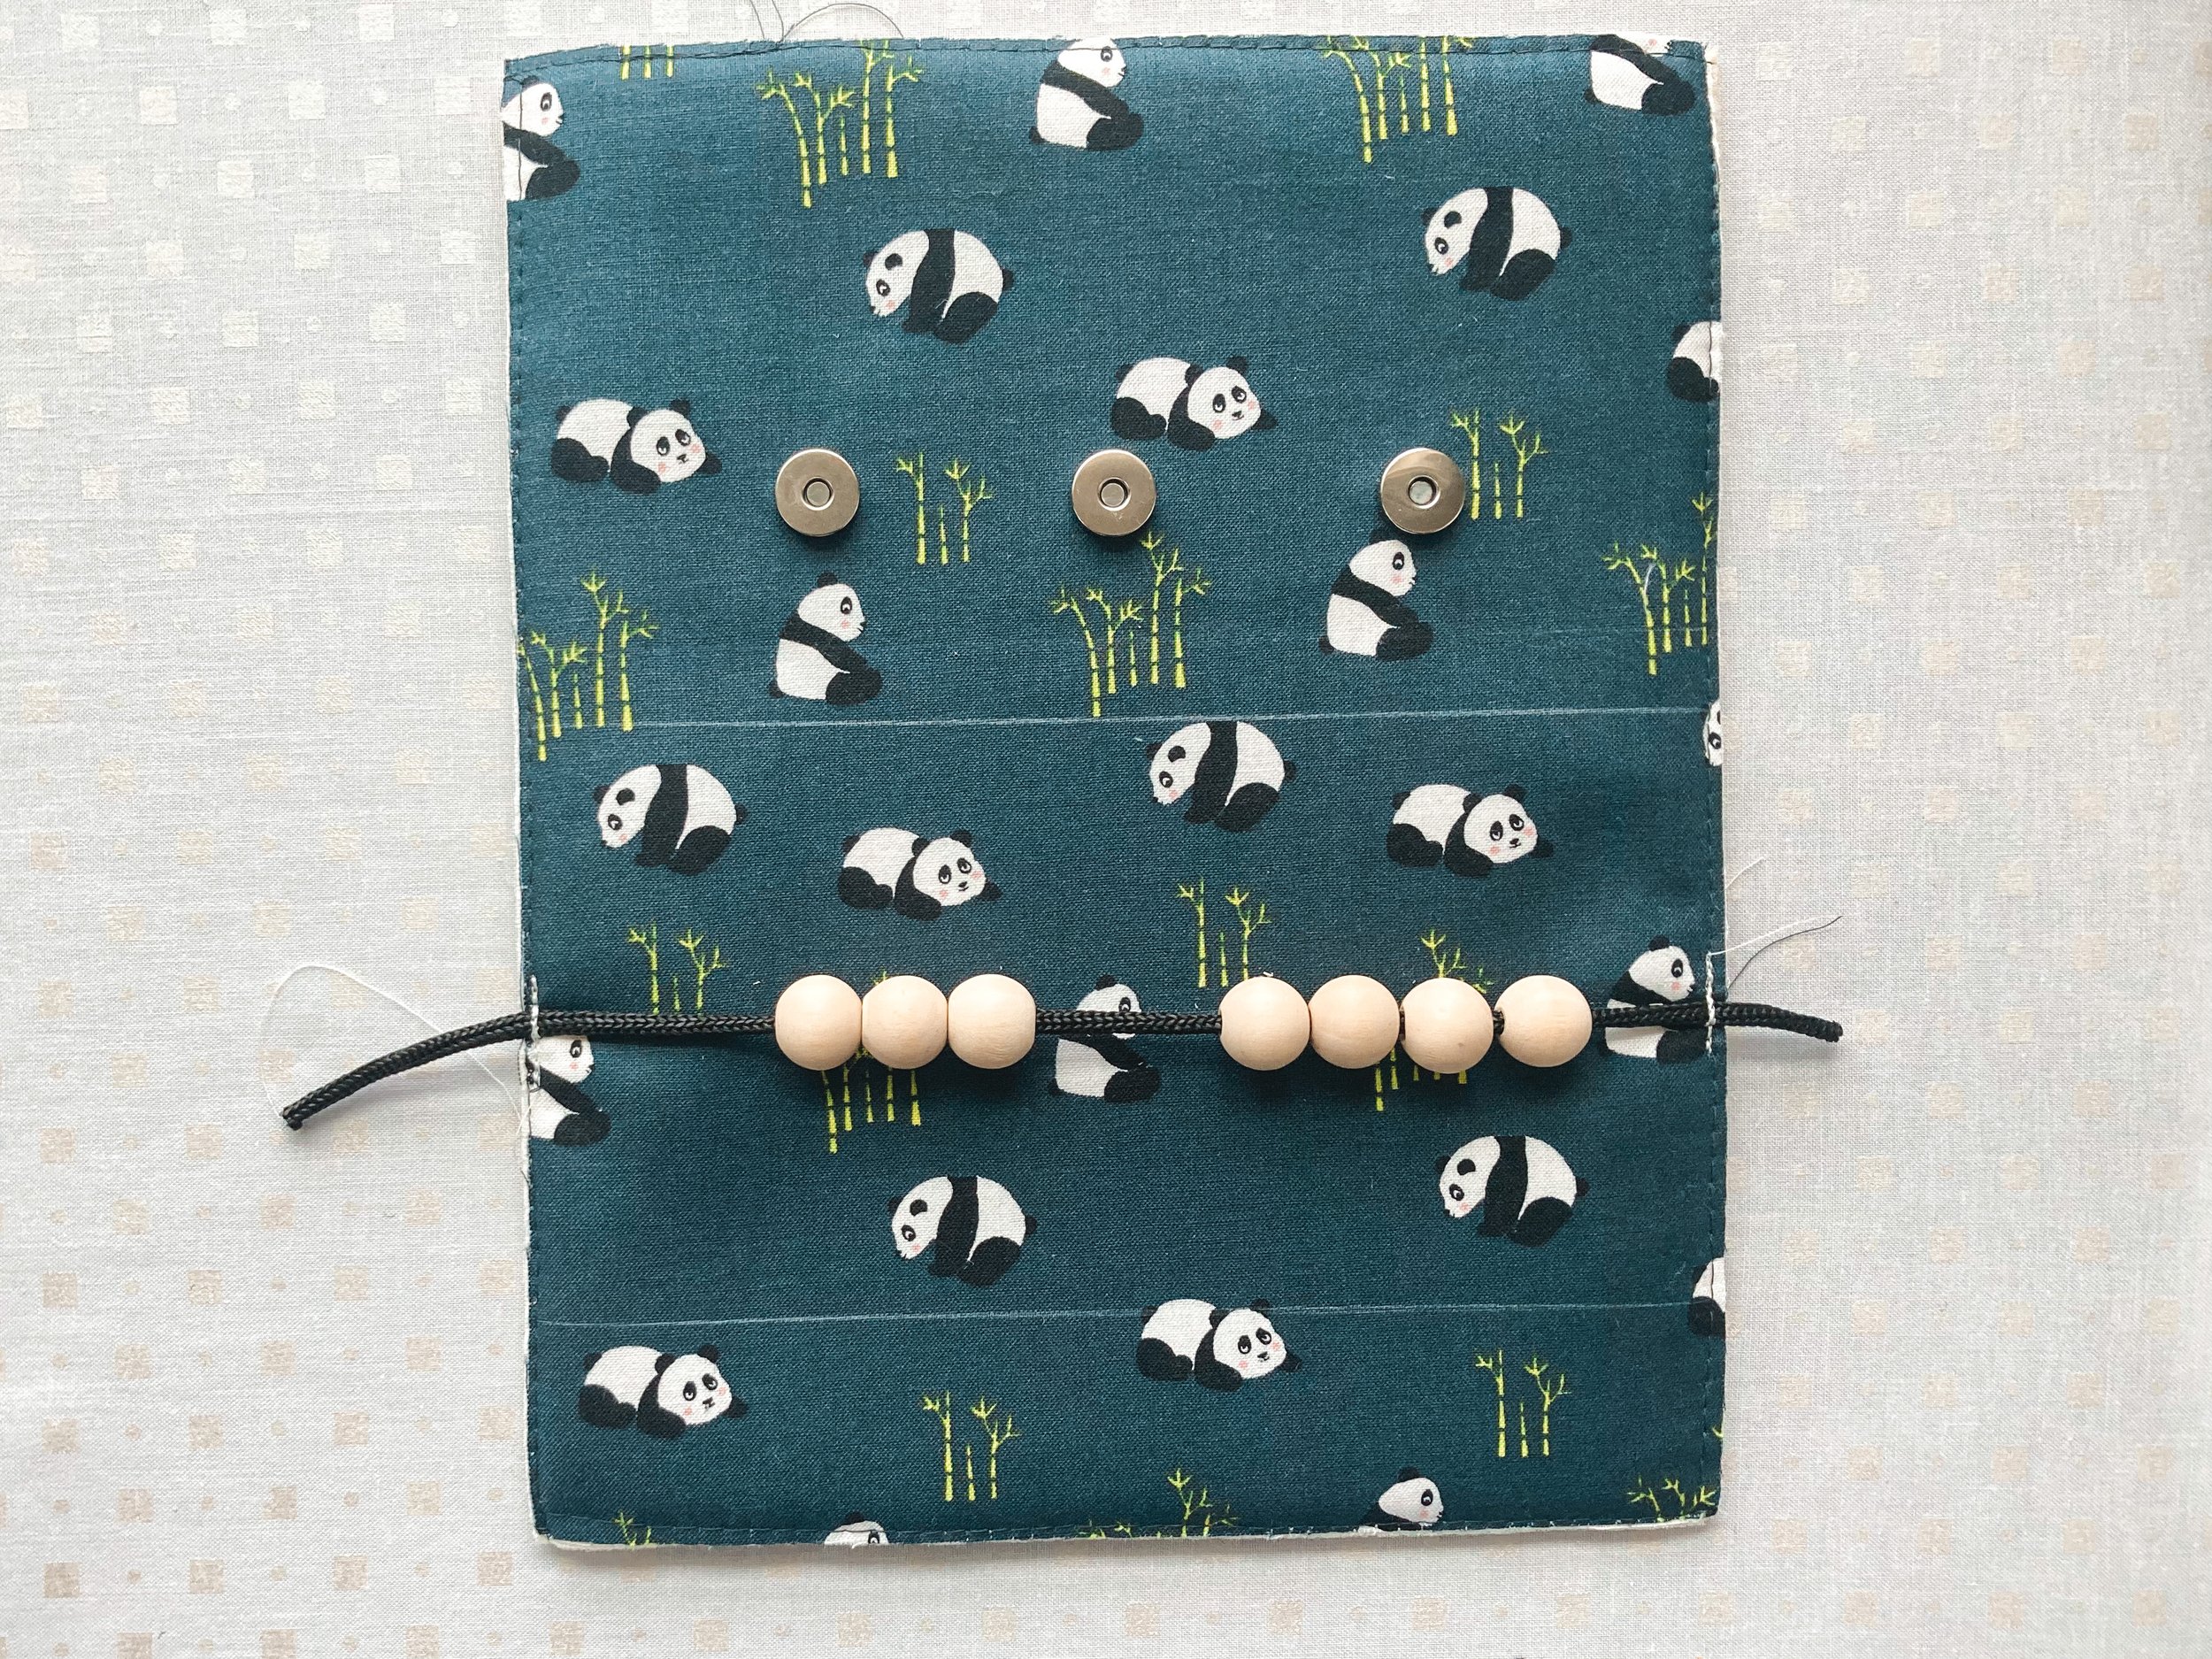
BEADS:
Weave the beads on the piece of cording, and sew the ends of the cord to each of the sides of panel A (with magnets), at the 3.5” mark (the middle line).
ZIPPER:
Sew the zipper on, top edge lined up with the 1” horizontal line drawn, 1/8” from the edge of the zipper. Simply sew it on, no need to turn it or hide the edges.

STRAPS & D-RINGS:
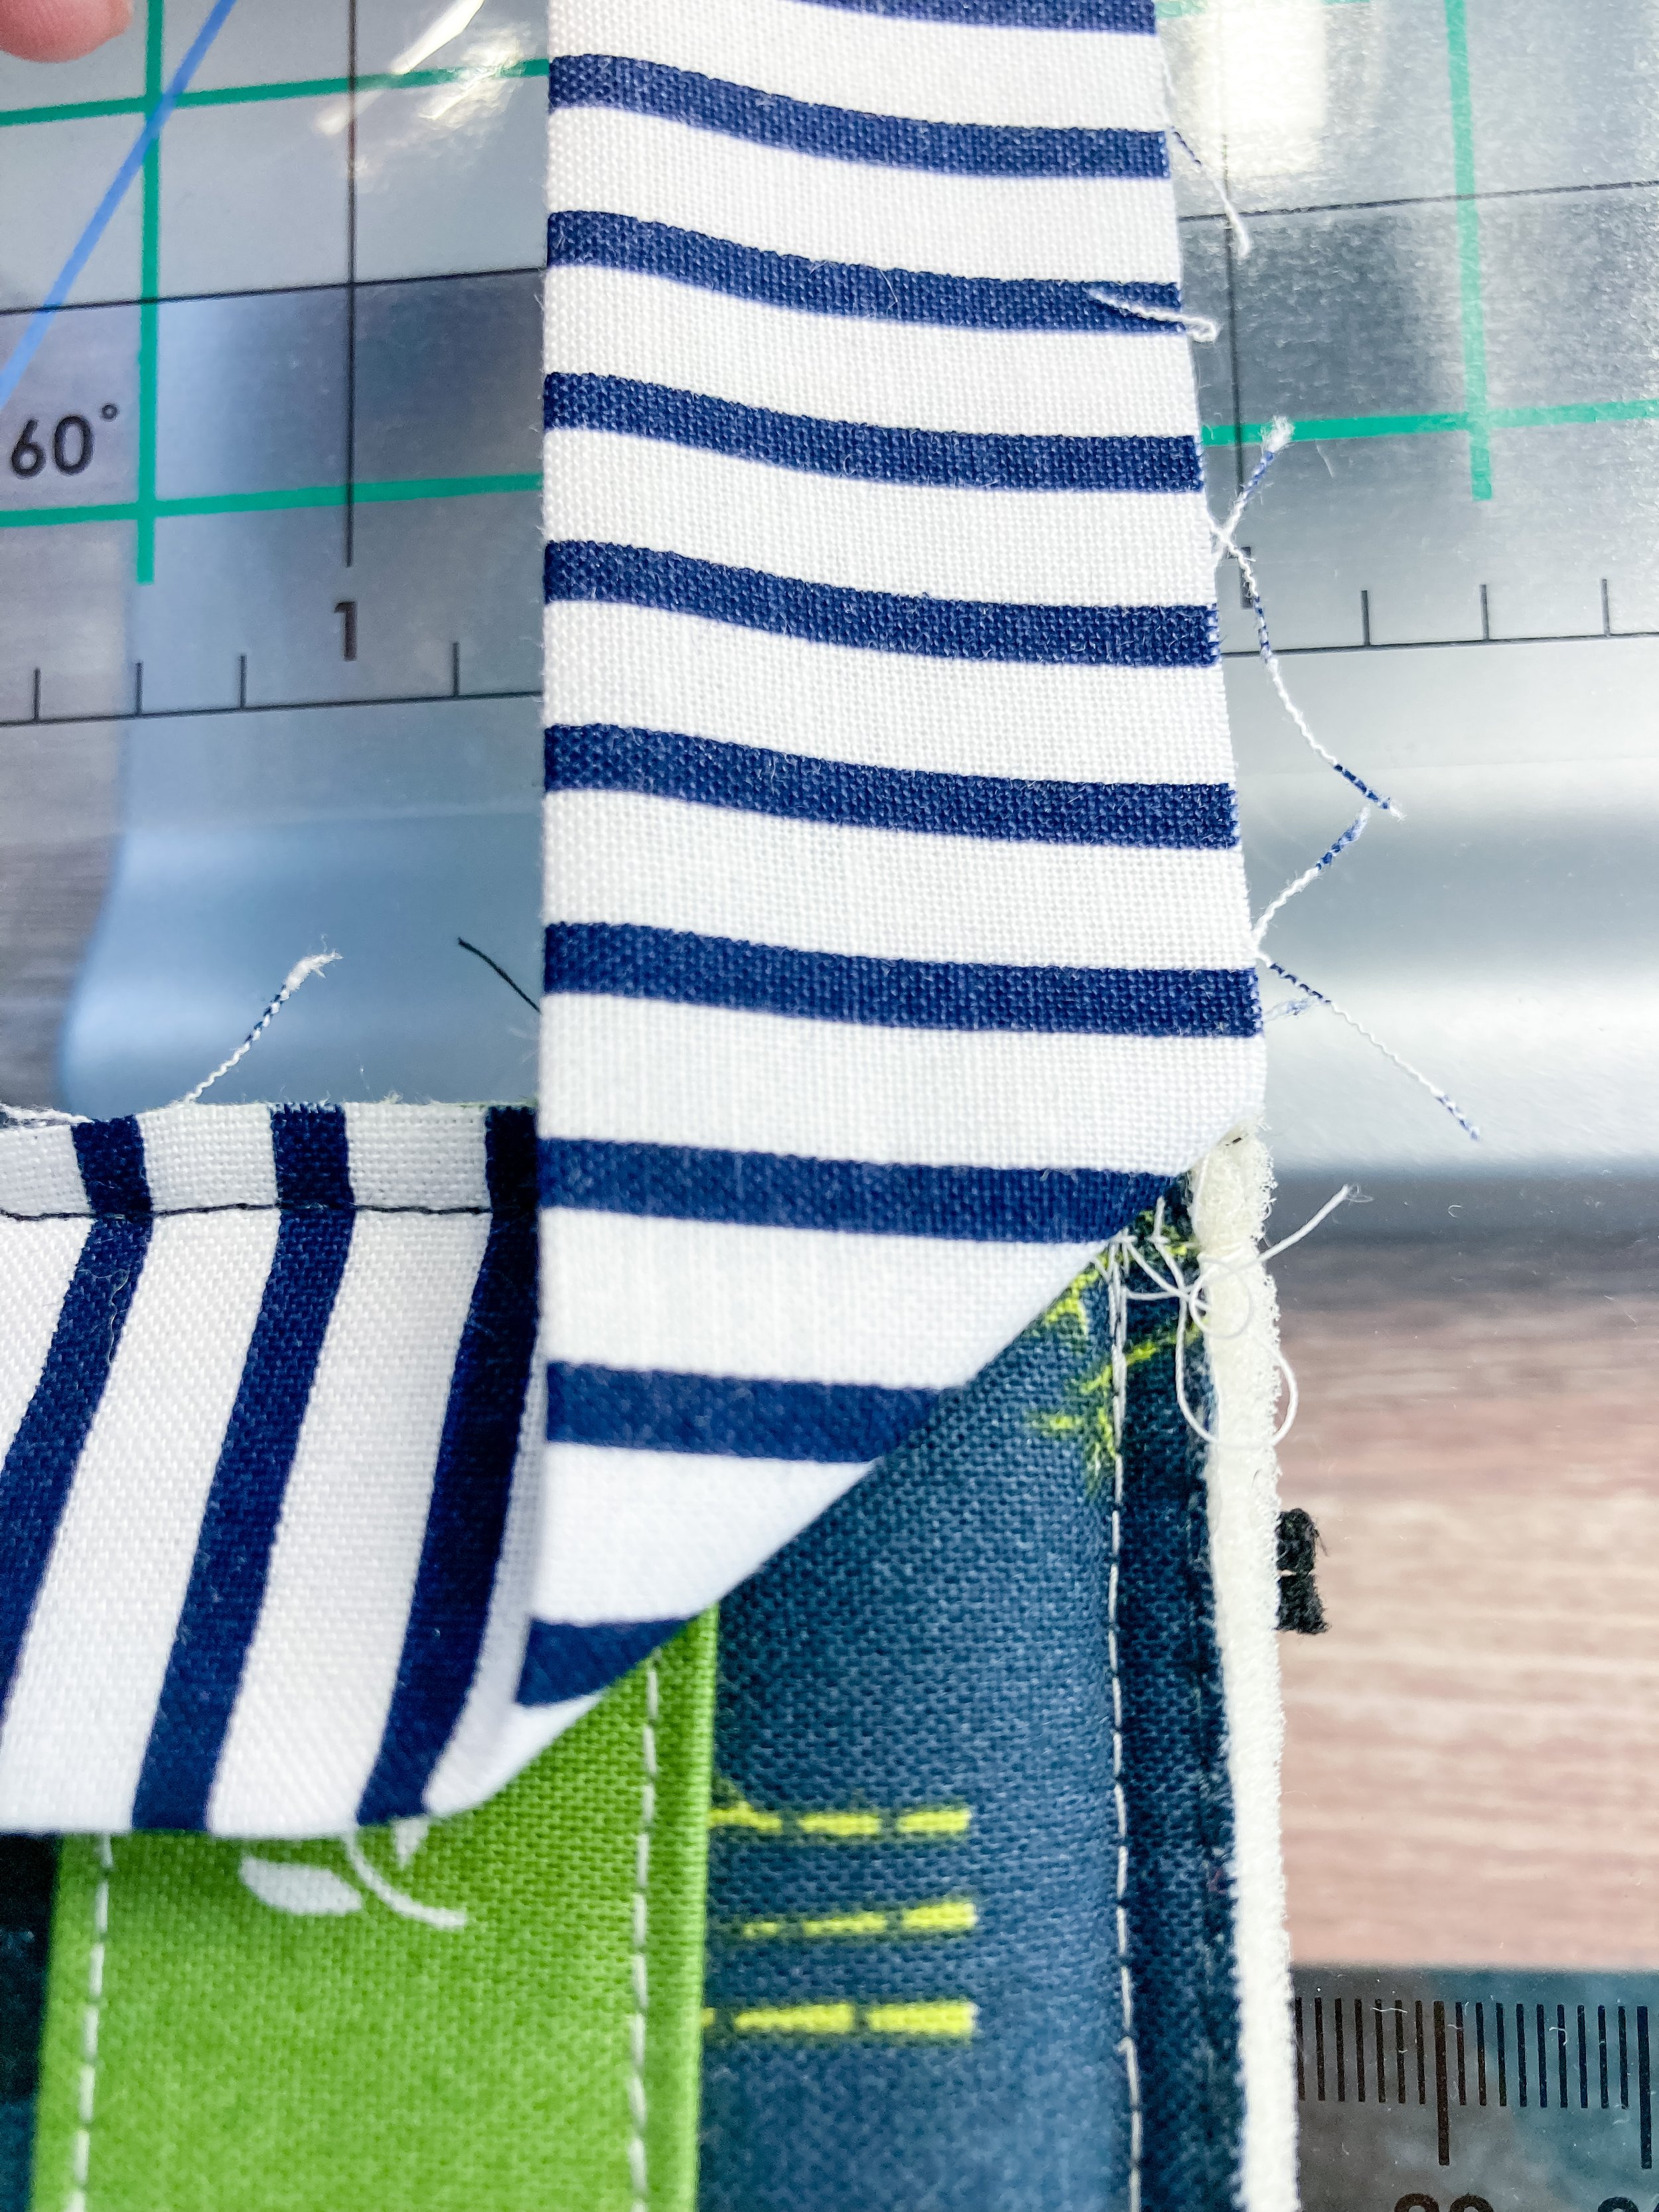
Press fabric C in half lengthwise, bring the raw edges to the middle, and press again. You should have 4 layers of fabric, raw edges in.


For one strap only: on one of the short edges, fold the short edge in, about 1/4”, and refold your fabric. Sew the straps along all sides, 1/8” from the edge.


Place the strap with the finished short edge on TOP of the raw edges strap. Pin the two straps to the side of panel A, on top of the line right under the zipper, lining up the raw edges, and sew them to panel A. Ensure the finished edge strap is on top.

On the bottom strap, string the D-rings, and sew the other end of the bottom strap to the opposite edge of panel A, to prevent the D-rings from sliding out.

Space the D-rings evenly along the strap, and mark vertical lines. Sew the bottom strap to panel A along each of the vertical lines, in between each D-ring.

Your child can now weave the top strap through each of the D-rings.
HOOK and LOOP:
Fold fabrics F in half lengthwise and press. Fold the raw edges towards the center, and press again.
Open the fabrics and fold only one of the short ends inward, approximately 1/4”, and repress to have a finished edge.
Once the straps are pressed, interface just the center portions with pieces F1, as pictured.

Sew around the straps, 18” away from the side.
Sew one opposite piece of the hook and loop to each finished end of the strap, approximately 1” in size.
STRAPS:
Repeat the steps to create straps using fabrics E and G, but do not finish the short ends, leave them raw.
LOBSTER CLASP:
Loop the strap created with fabric G through the lobster clasp, and the other strap through the D-ring, matching the raw edges together for each strap.
Sew the straps to the sides of panel A, right under the magnets, 1/8” away from the edge.
BUCKLE:
Repeat the steps used to install the lobster clasp to install the buckle, using fabric E, right above the buttons.

Sew the hardware and straps to the panels according to the instructions printed in the placement guide, or according to the image below.

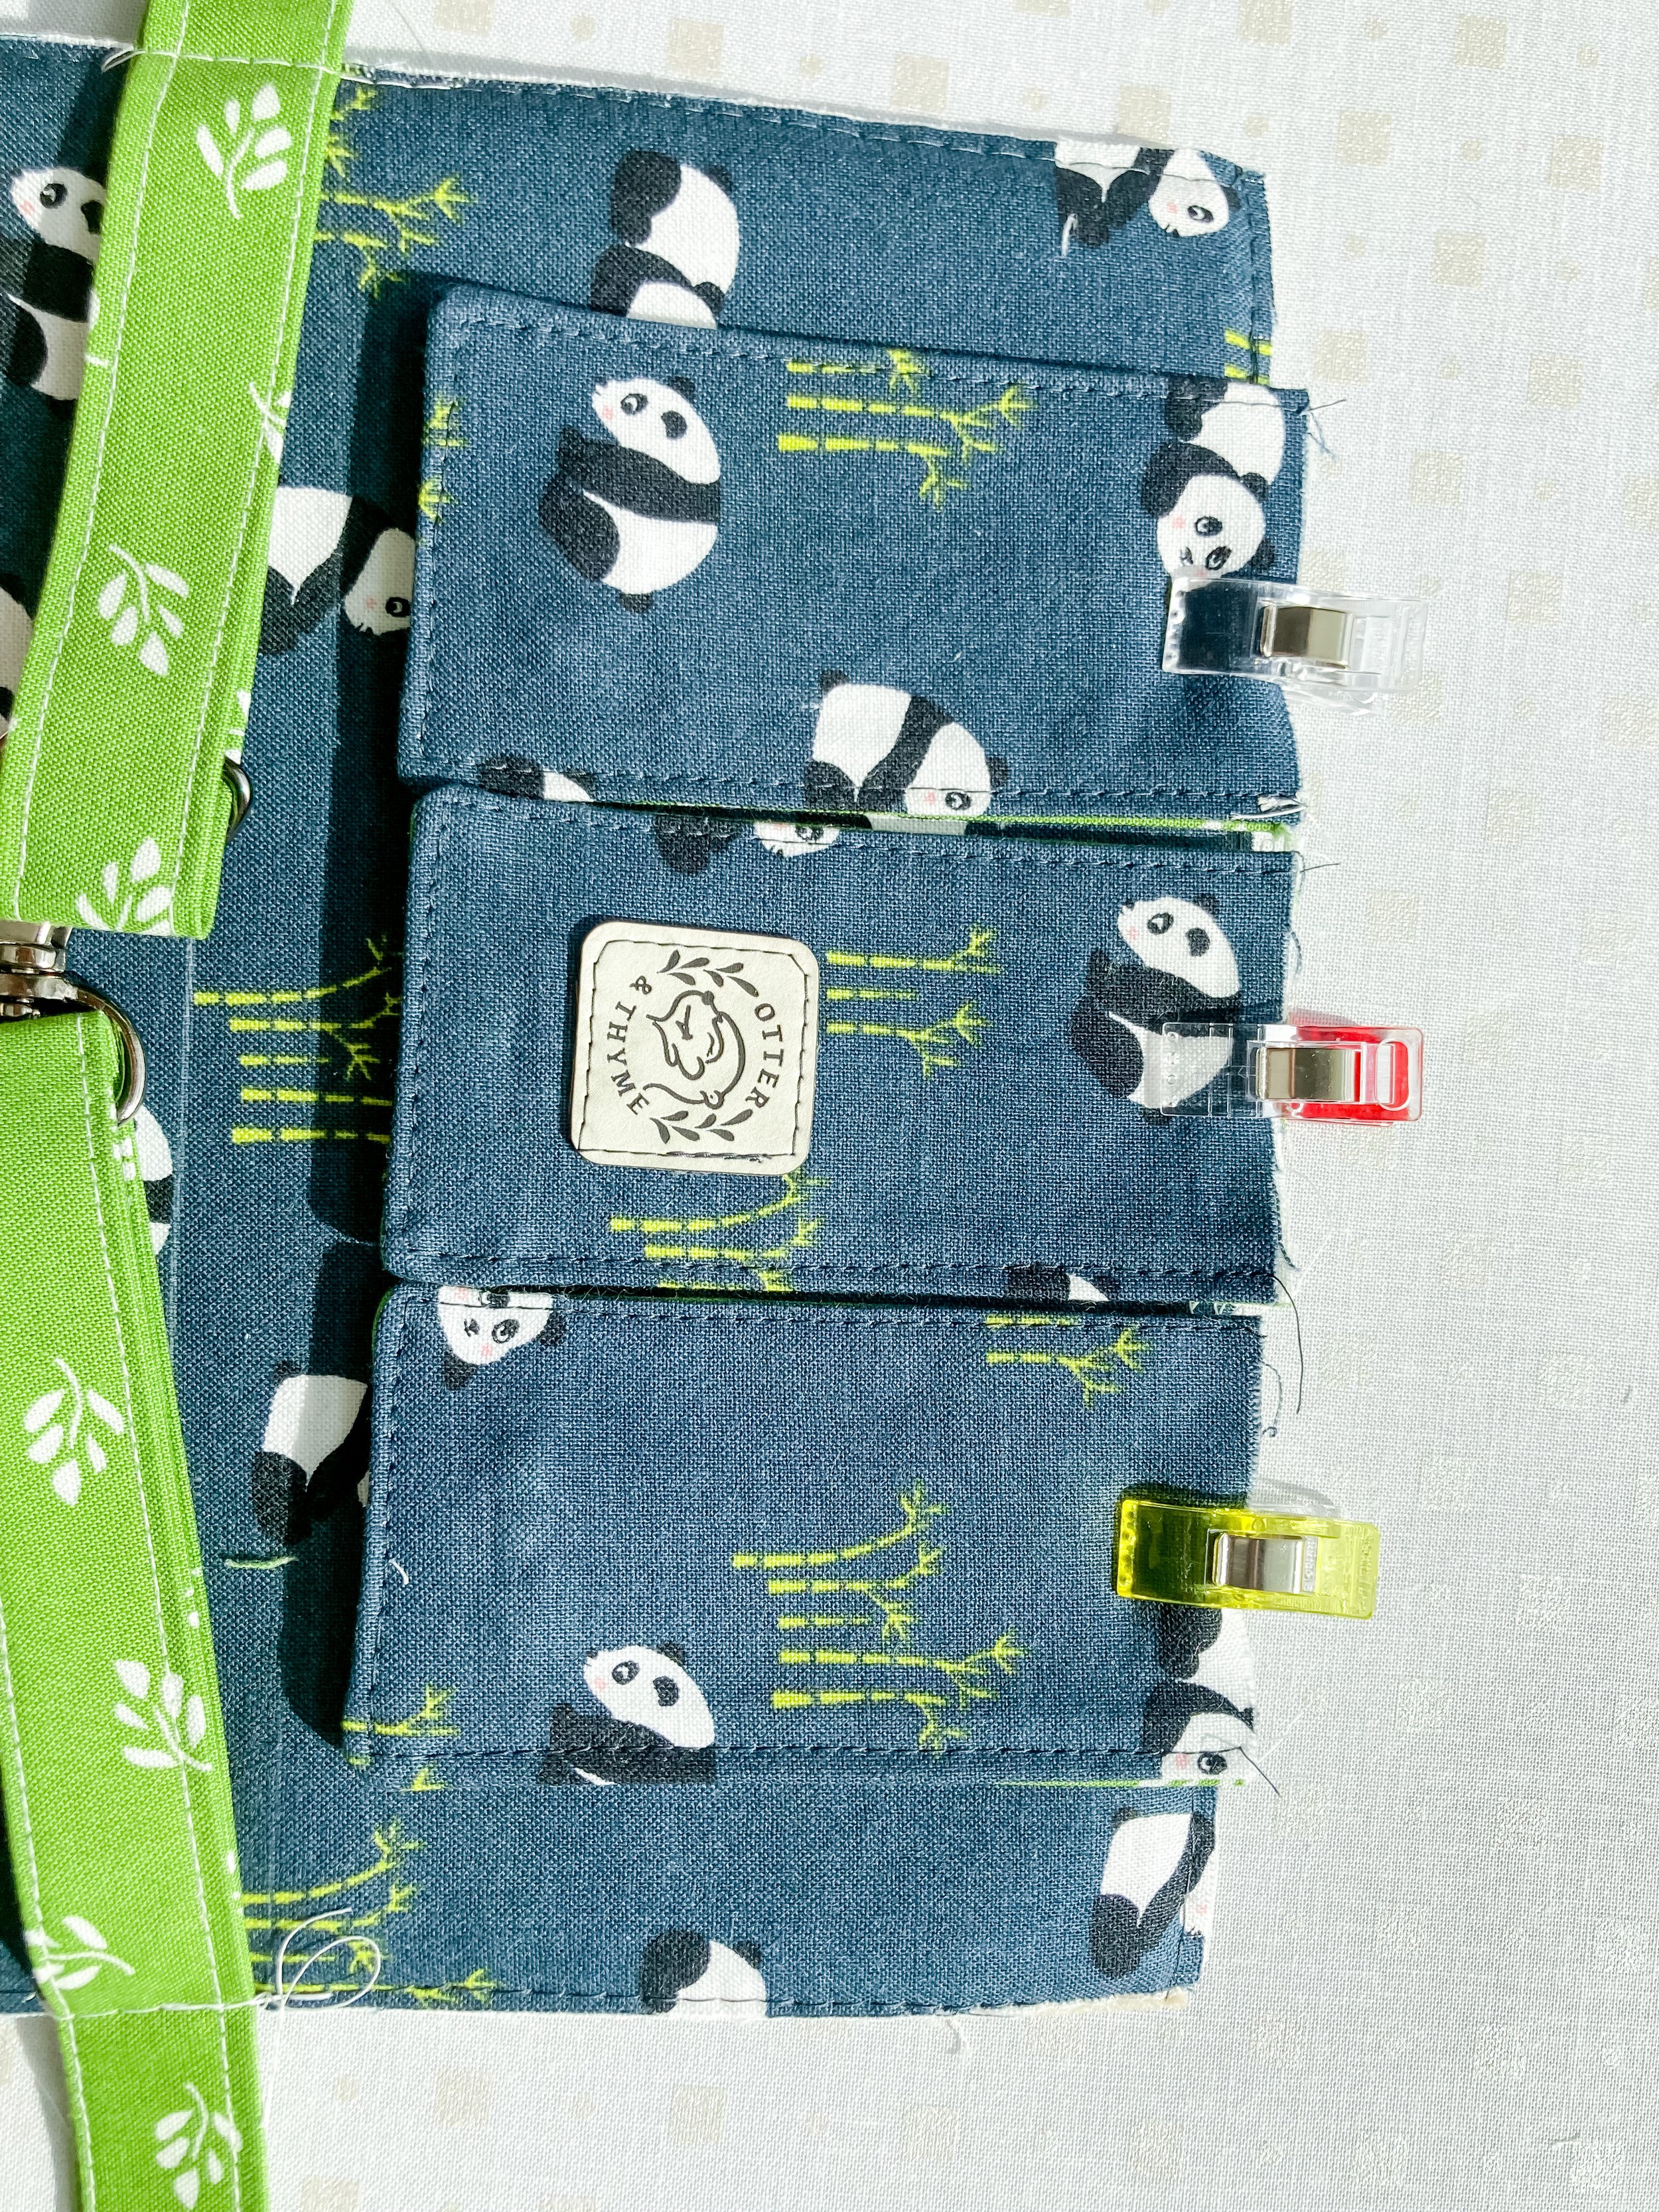
FLAPS:
Fold the interfaced fabrics D in half lengthwise, and press to mark the center.
Place fabric D on top of the magnetic snap, ensuring the top of fabric D overlaps the raw edge of panel A. Mark on fabric D the location of the female side of the magnetic snap installed. This is where you will place the male side. Mark it on all fabrics D.

Install the male side of the snap in the same manner as the female side.


Place the 1” x 1” scraps of interfacing on top of the magnetic snap prongs of the wrong side of fabrics D, and press. This will offer an additional layer of protection from the prongs, in case the flap is abused by little ones.

Your flap pieces are ready to be sewn together.

Place fabrics D and B, wrong sides together, taking note of directional fabric.

Sew on the sides and bottom edge only, 1/4” seam allowance. Top edge will not be sewn.
Trim the corners, without trimming your stitches.

Turns the flaps right side out, poking out the corners gently, and press.

Top stitch along the same 3 sides, 1/8” away from the edge.
Snap the magnets in place, ensuring you like the placement of the flaps. If you do, clip them to panel A, and sew them to panel A, 1/8” away from the short edge.
Putting it All Together
Sew the two panels A, wrong sides together, only on 3 sides, 1/8” away from the edge.

Trim all the straps, elastic, zipper, flaps, cording that hang over the edge.

Through the unsewn edge, slide the card stock in between the two pieces of foam. You might need to trim a little more, depending on the thickness of the card stock.

Sew the fourth edge, enclosing the card stock.

Making the Binding
Sew the two binding strips together on two short ends, at a 45 degree angle. Trim the excess and press open.


Fold the binding in half lengthwise, and press.

Leave a 4” piece of binding before you start sewing as a tail.
Matching the raw edge of the binding to the raw edge of the foam, sew on all four sides using 1/4” seam allowance.

When reaching a corner, stop 1/4” away from the corner. Fold the binding back on itself, and then forward again, and continue sewing the next side.


When you reach the beginning of the binding, trim both ends of the binding, leaving about 2”-3” overlapping.
Fold the raw edge of one of the sides towards the wrong side, and tuck the raw edge of the other end inside.

Continue sewing the binding over the two ends.

Open the binding and turn it to the back side. You can continue to sew it using a sewing machine and a stitch in the ditch foot, or you can finish it by hand. I used simple Elmer’s glue to baste the binding in place to the back side, and used the stitch in the ditch foot (slowly) to sew the binding from the front.


Test it!
Hand it to your child and watch them enjoy it!