Simple Drawstring Bags
Drawstring bags… they’re like the ultimate gateway bag! Want to make a bag but you’re scared of zippers? (Well you shouldn’t be, check out this tutorial…)? Drawstring bags are to your rescue! Out of gift bags but have a lot of extra scraps or fat quarters lying around? Again, drawstring bags are here for you. These can be whipped out in 10 minutes once you’re on a roll, and they’re just so useful.
If you’d like to show your support for free content and tutorials, you can buy me a coffee!
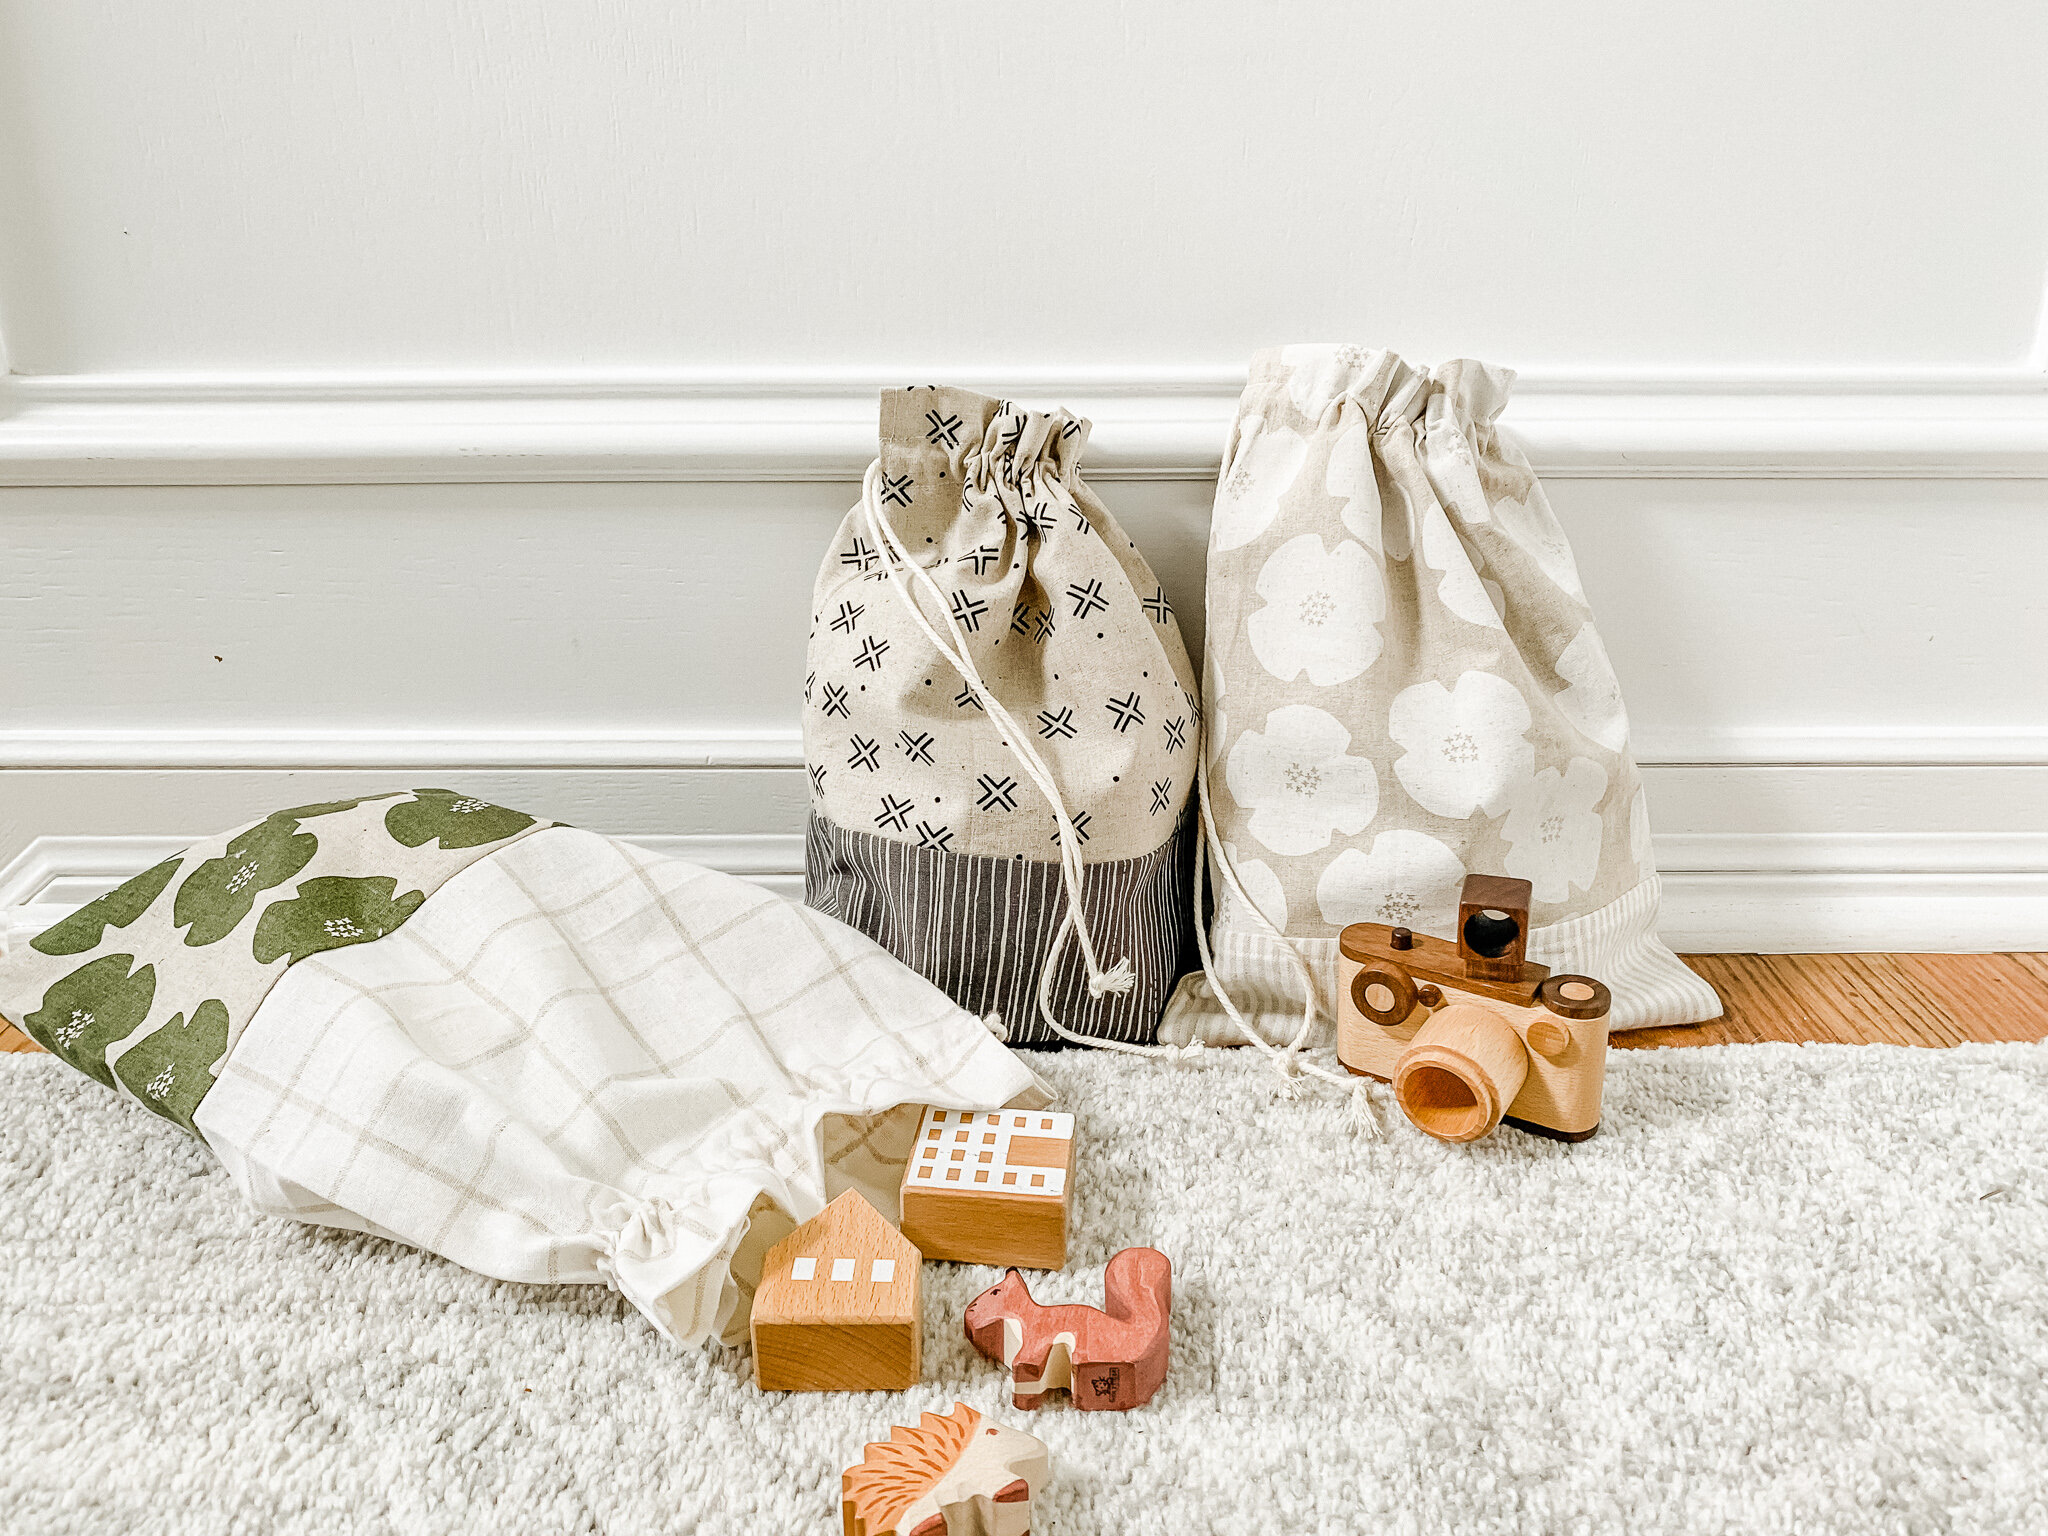
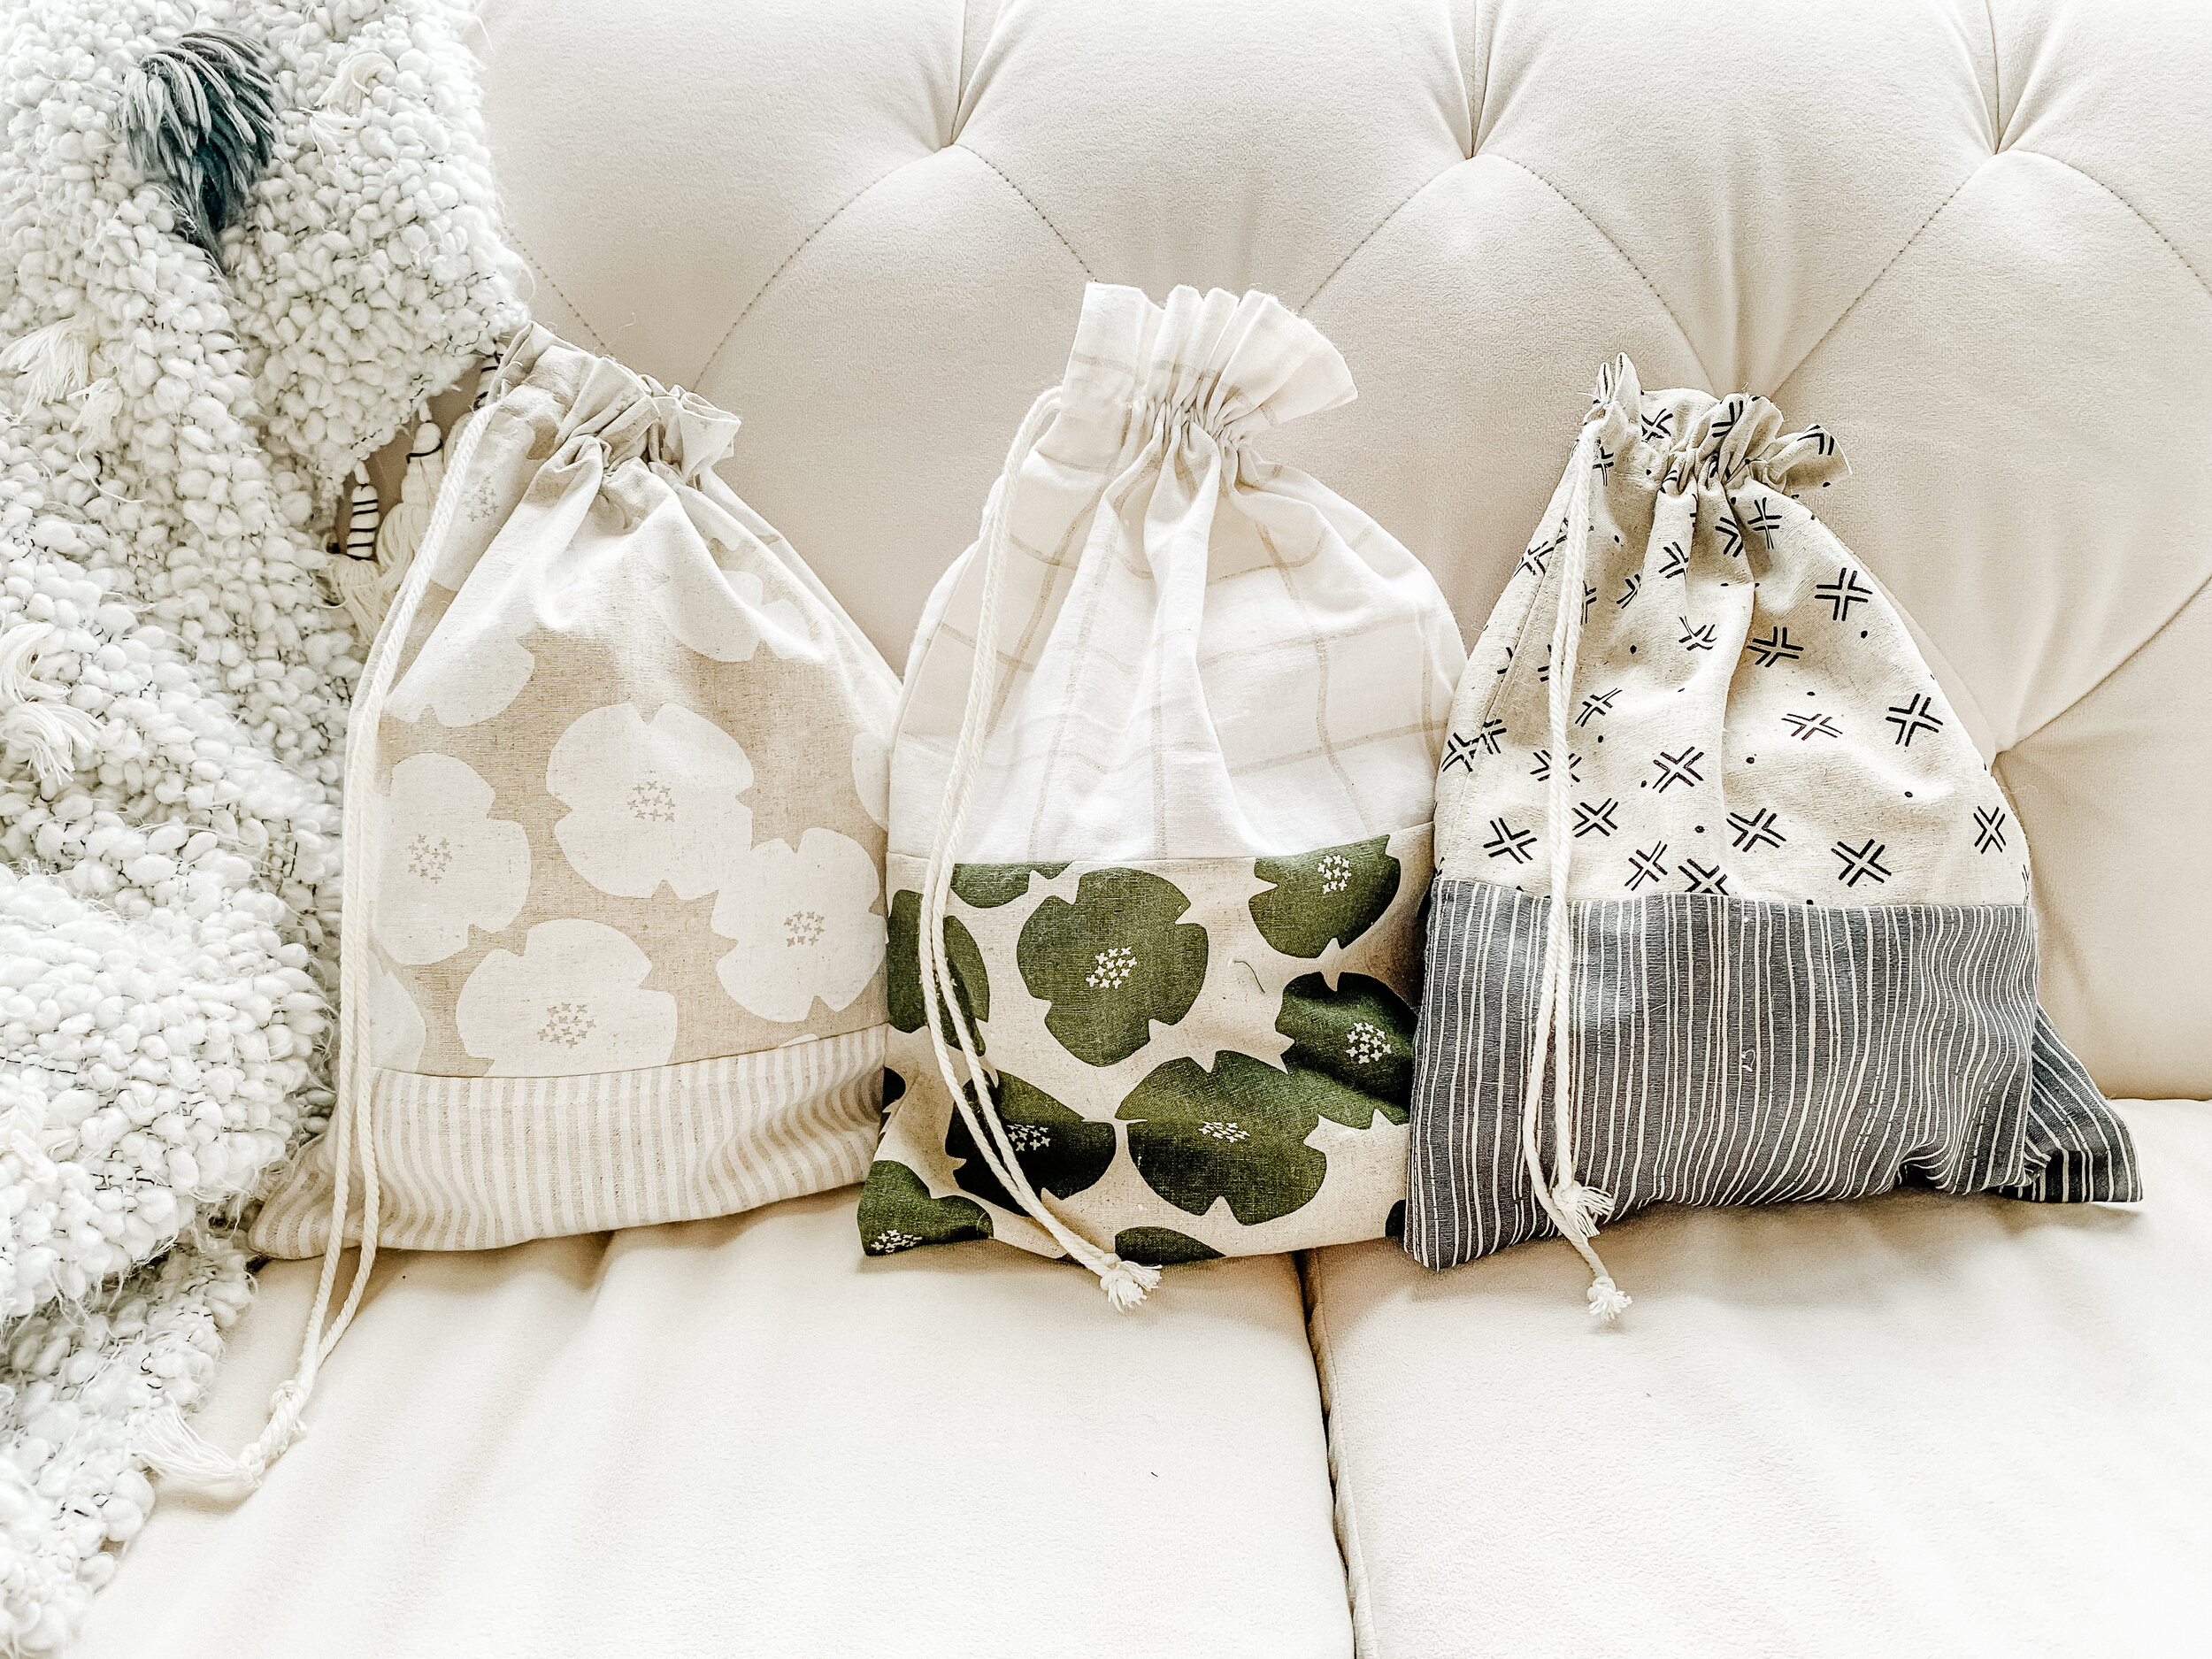
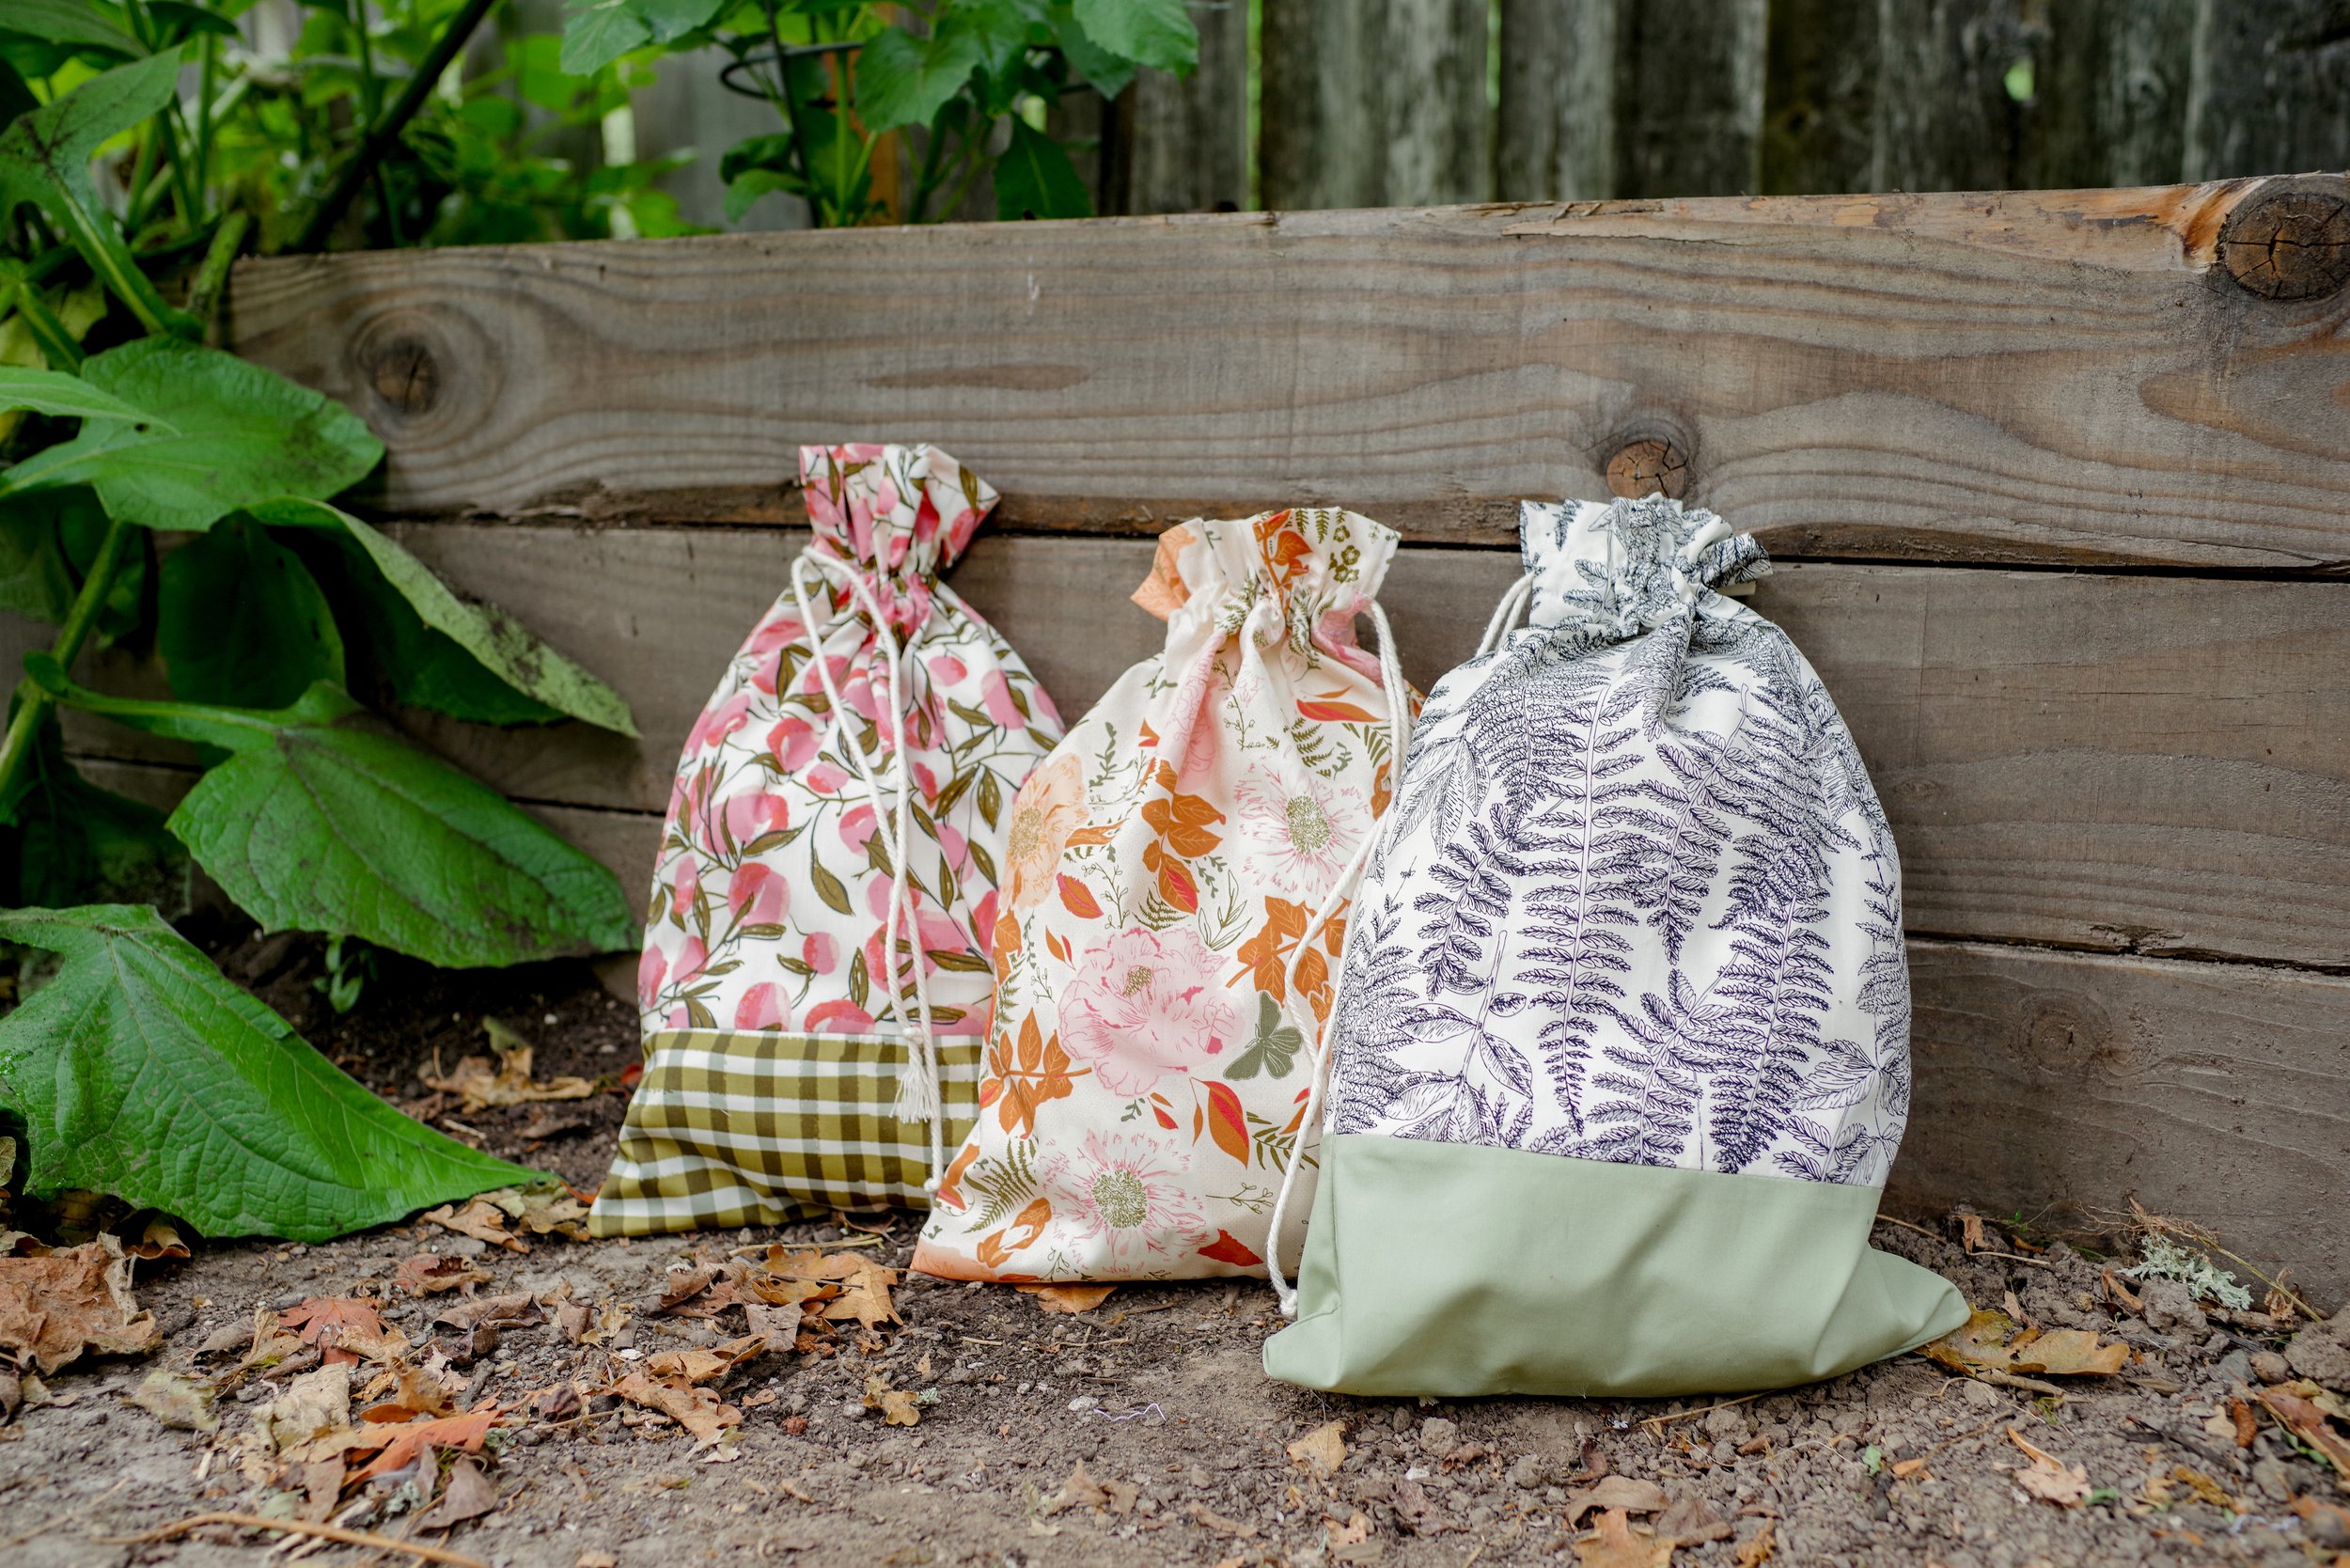
Lately I feel like I’ve been picking projects for fabrics rather than the other way around. I’m not the only one am I? This felt like a match made in heaven though - I’d been wanting to make some drawstring bags to sort small toys in a way that looked nice. Canvas, linen, and standard cotton all make great bag options!

The really fun thing about these bags is they’re fat quarter friendly. You can make several bags with a small FQ bundle. These are really customizable, so if you don’t want to use fat quarters or want to use up a lot of scraps you can piece together whatever size you’d like.
What you’ll need:
1 Fat Quarter per bag (or you can mix and match like I did, and use 2 fat quarters for 2 bags)
Safety Pin
Let’s get started!
1) This step is optional. I wanted to add another piece to the bottom of the drawstring bags, so I trimmed off about 4” from each piece to wind up with a 22” x 14” piece and an 22” x 4” piece. Mix and match your fat quarters so that you have a set of a large piece and a small piece! Sew these pieces together, using a French Seam if you’re feeling fancy, and press. If you don’t use a french seam, you may want to zig zag around the edges before sewing these pieces together.

2) I really don’t like fraying edges in bags, even if they’re quick drawstring ones, so let’s finish our raw edges by zig zagging all the way around your piece of fabric. Now, fold your fabric in half, right sides together.
3) Sew a seam along the bottom edge and up the right side, stopping about 4” from the top of the fabric.

3) Press the side seam open, including the top portion that wasn’t sewn (fold it over to match along the seam line, and press). Stitch down the top of the folded over seams, then pivot and sew across to the other side. Pivot again, then sew back up to the top!


4) I like to create a really nice folded hem for the inside of the drawstring bag, so next I folded the top 1/4” down and pressed it. Then, I folded the top of the bag down the rest of the way to where the split joins into the side seam. Note that in the photo below, I was using a fabric that frayed a lot. So, I used a very generous seam allowance and folded the seam down on interior of the bag, then top stitched the seam for extra security.

5) Stitch along the fold to create the casing for the drawstring (if you’ve never sewn something circular like this before, as many quilters haven’t, just pop out your extension table on your sewing machine).

6) Now, sew one last seam about an inch up from your first seam to finalize the casing (this is optional, but gives a fun little frill on top!).

7) Knot the end of your cord, then stick a safety pin through it. Thread the safety pin through the casing hole you created, then knot the other end of the cord. Voila!


You may also like…