Celebration Banner Tutorial
This is your new go-to project for literally any occasion. Birthdays, holidays, baby showers - you name it - you can have a banner for it!
It’s quick, customizable, and uses pre-made letters to keep things easy.
Materials
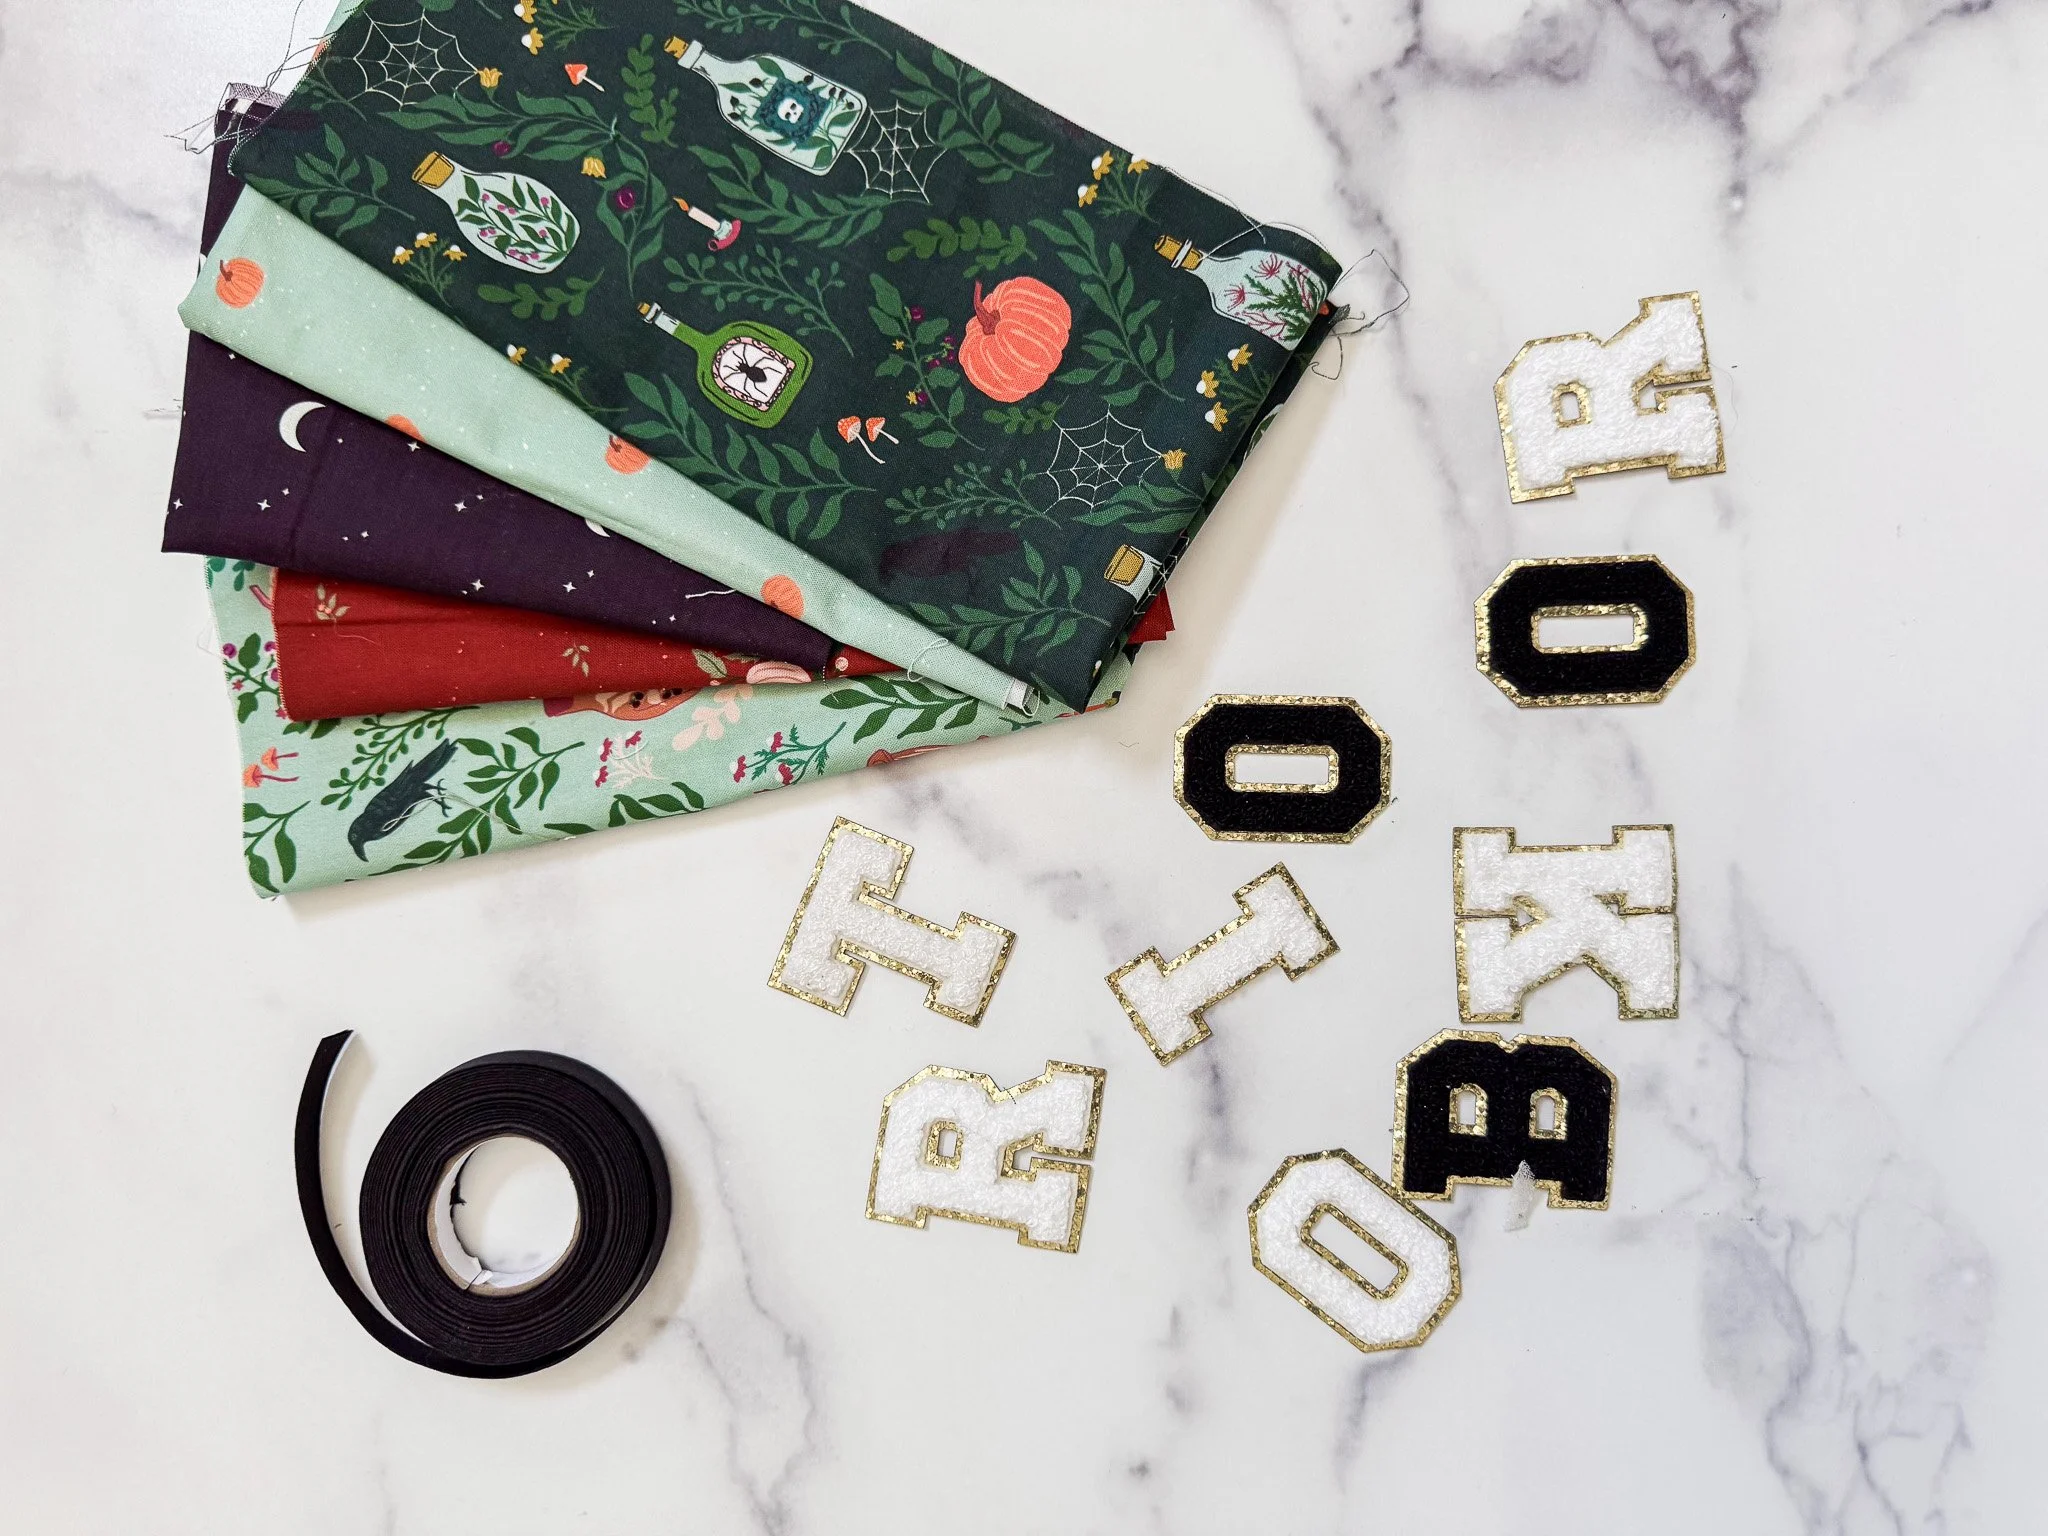
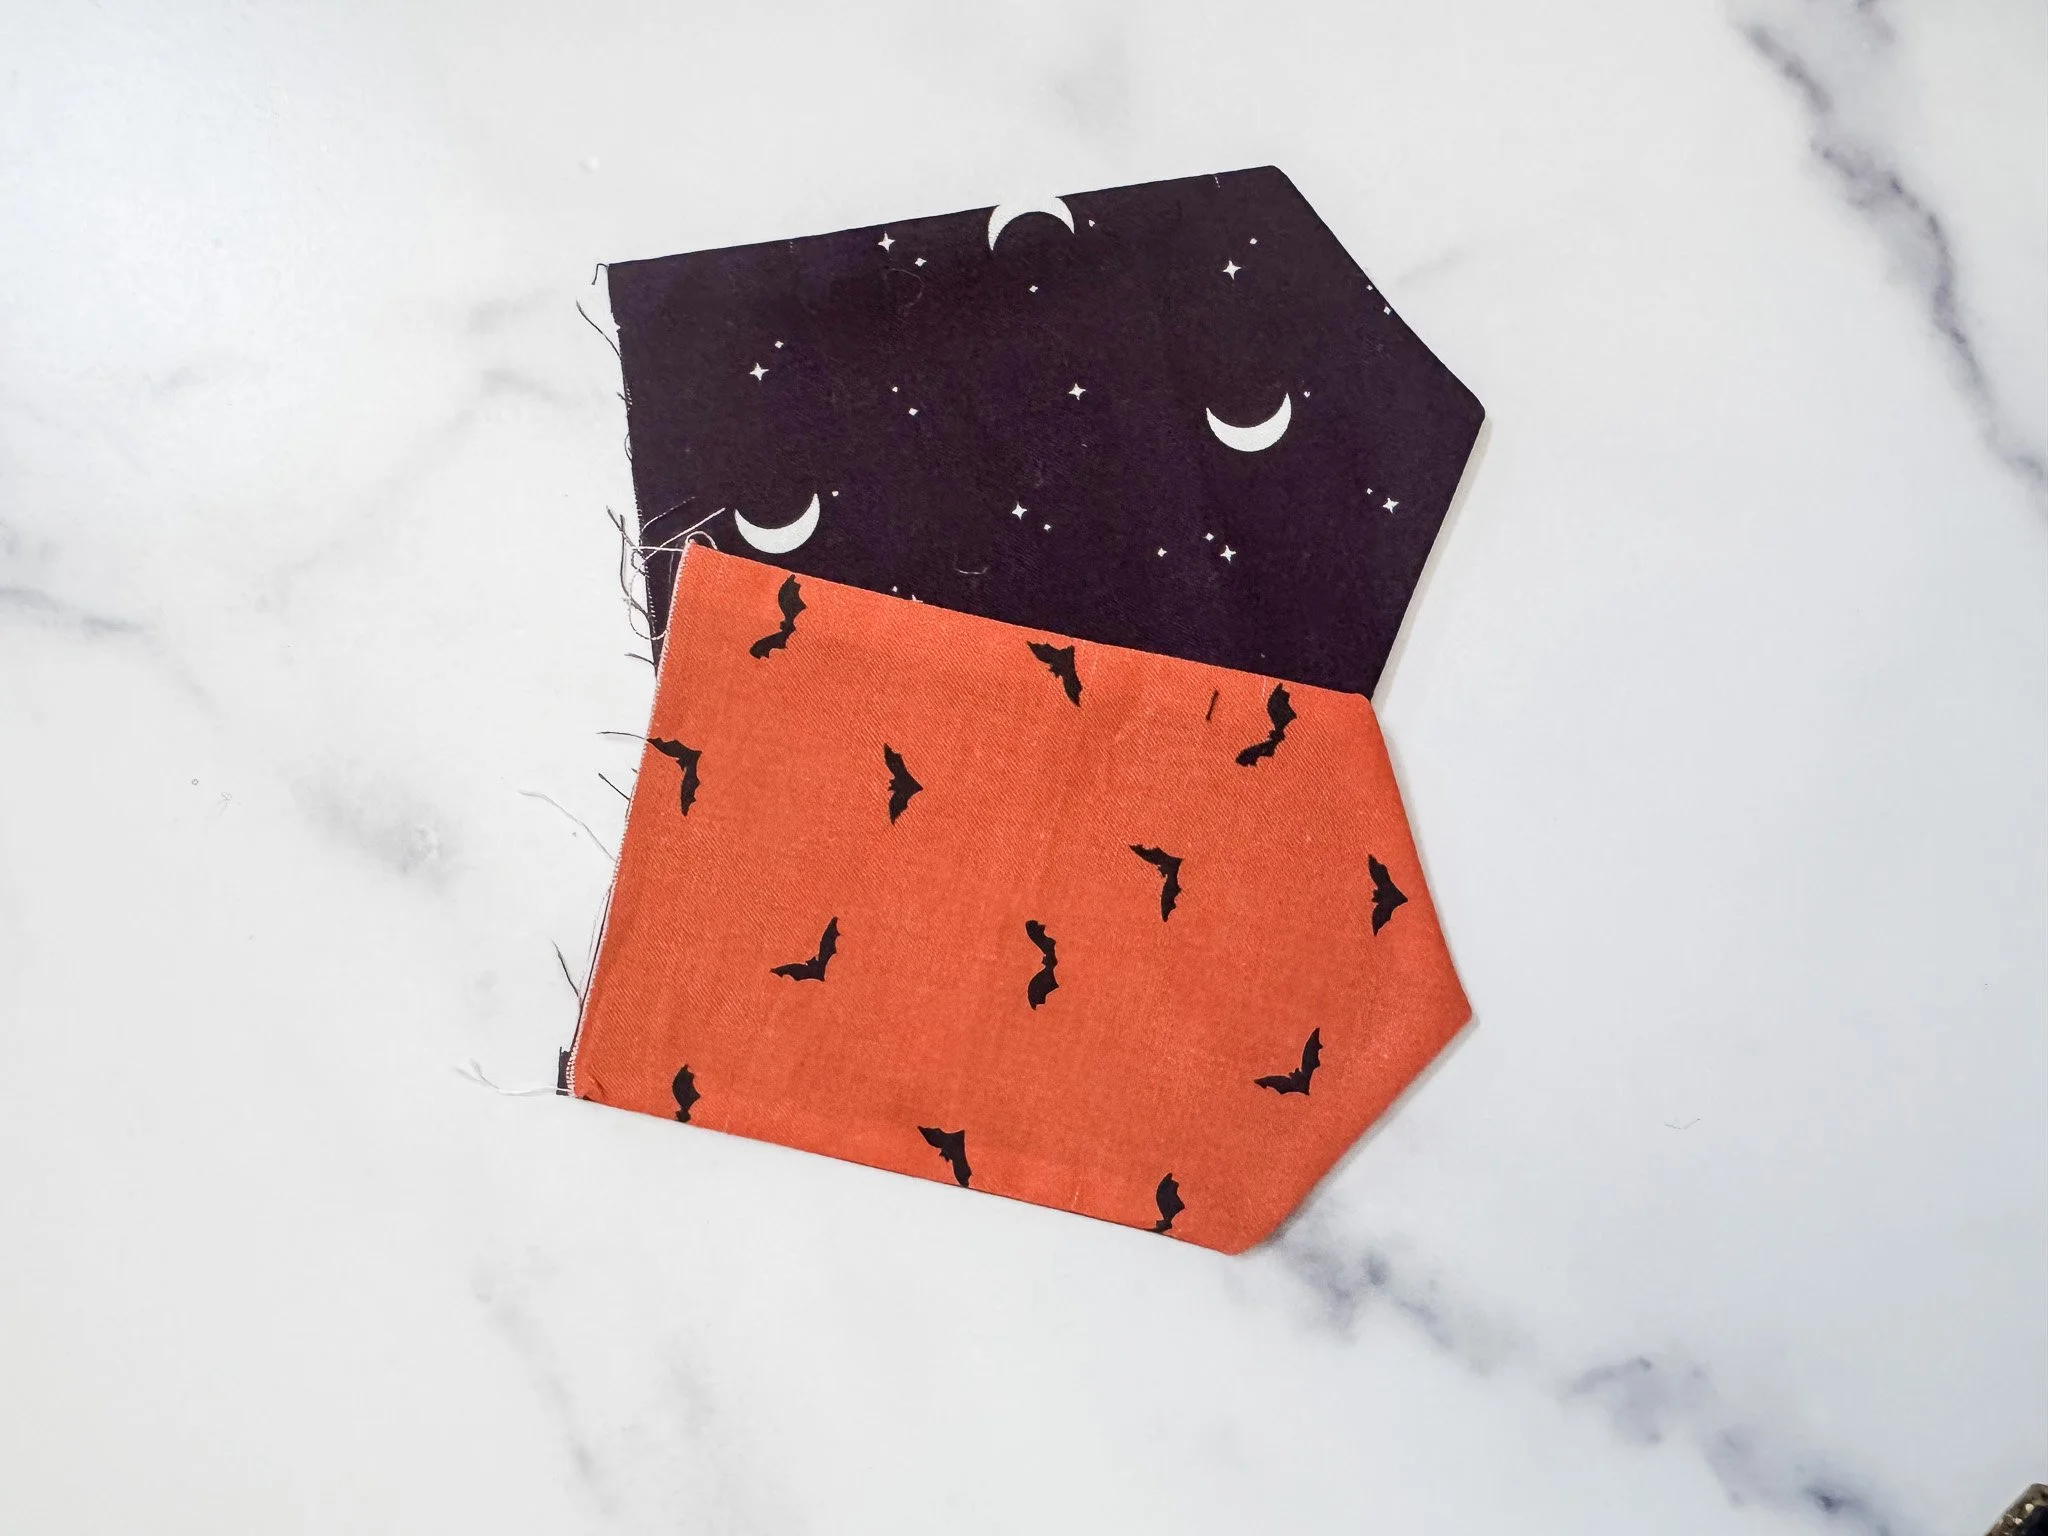
(1) 4 ½" x 7" piece of feature fabric per letter
(1) 4 ½" x 7" backing piece per letter
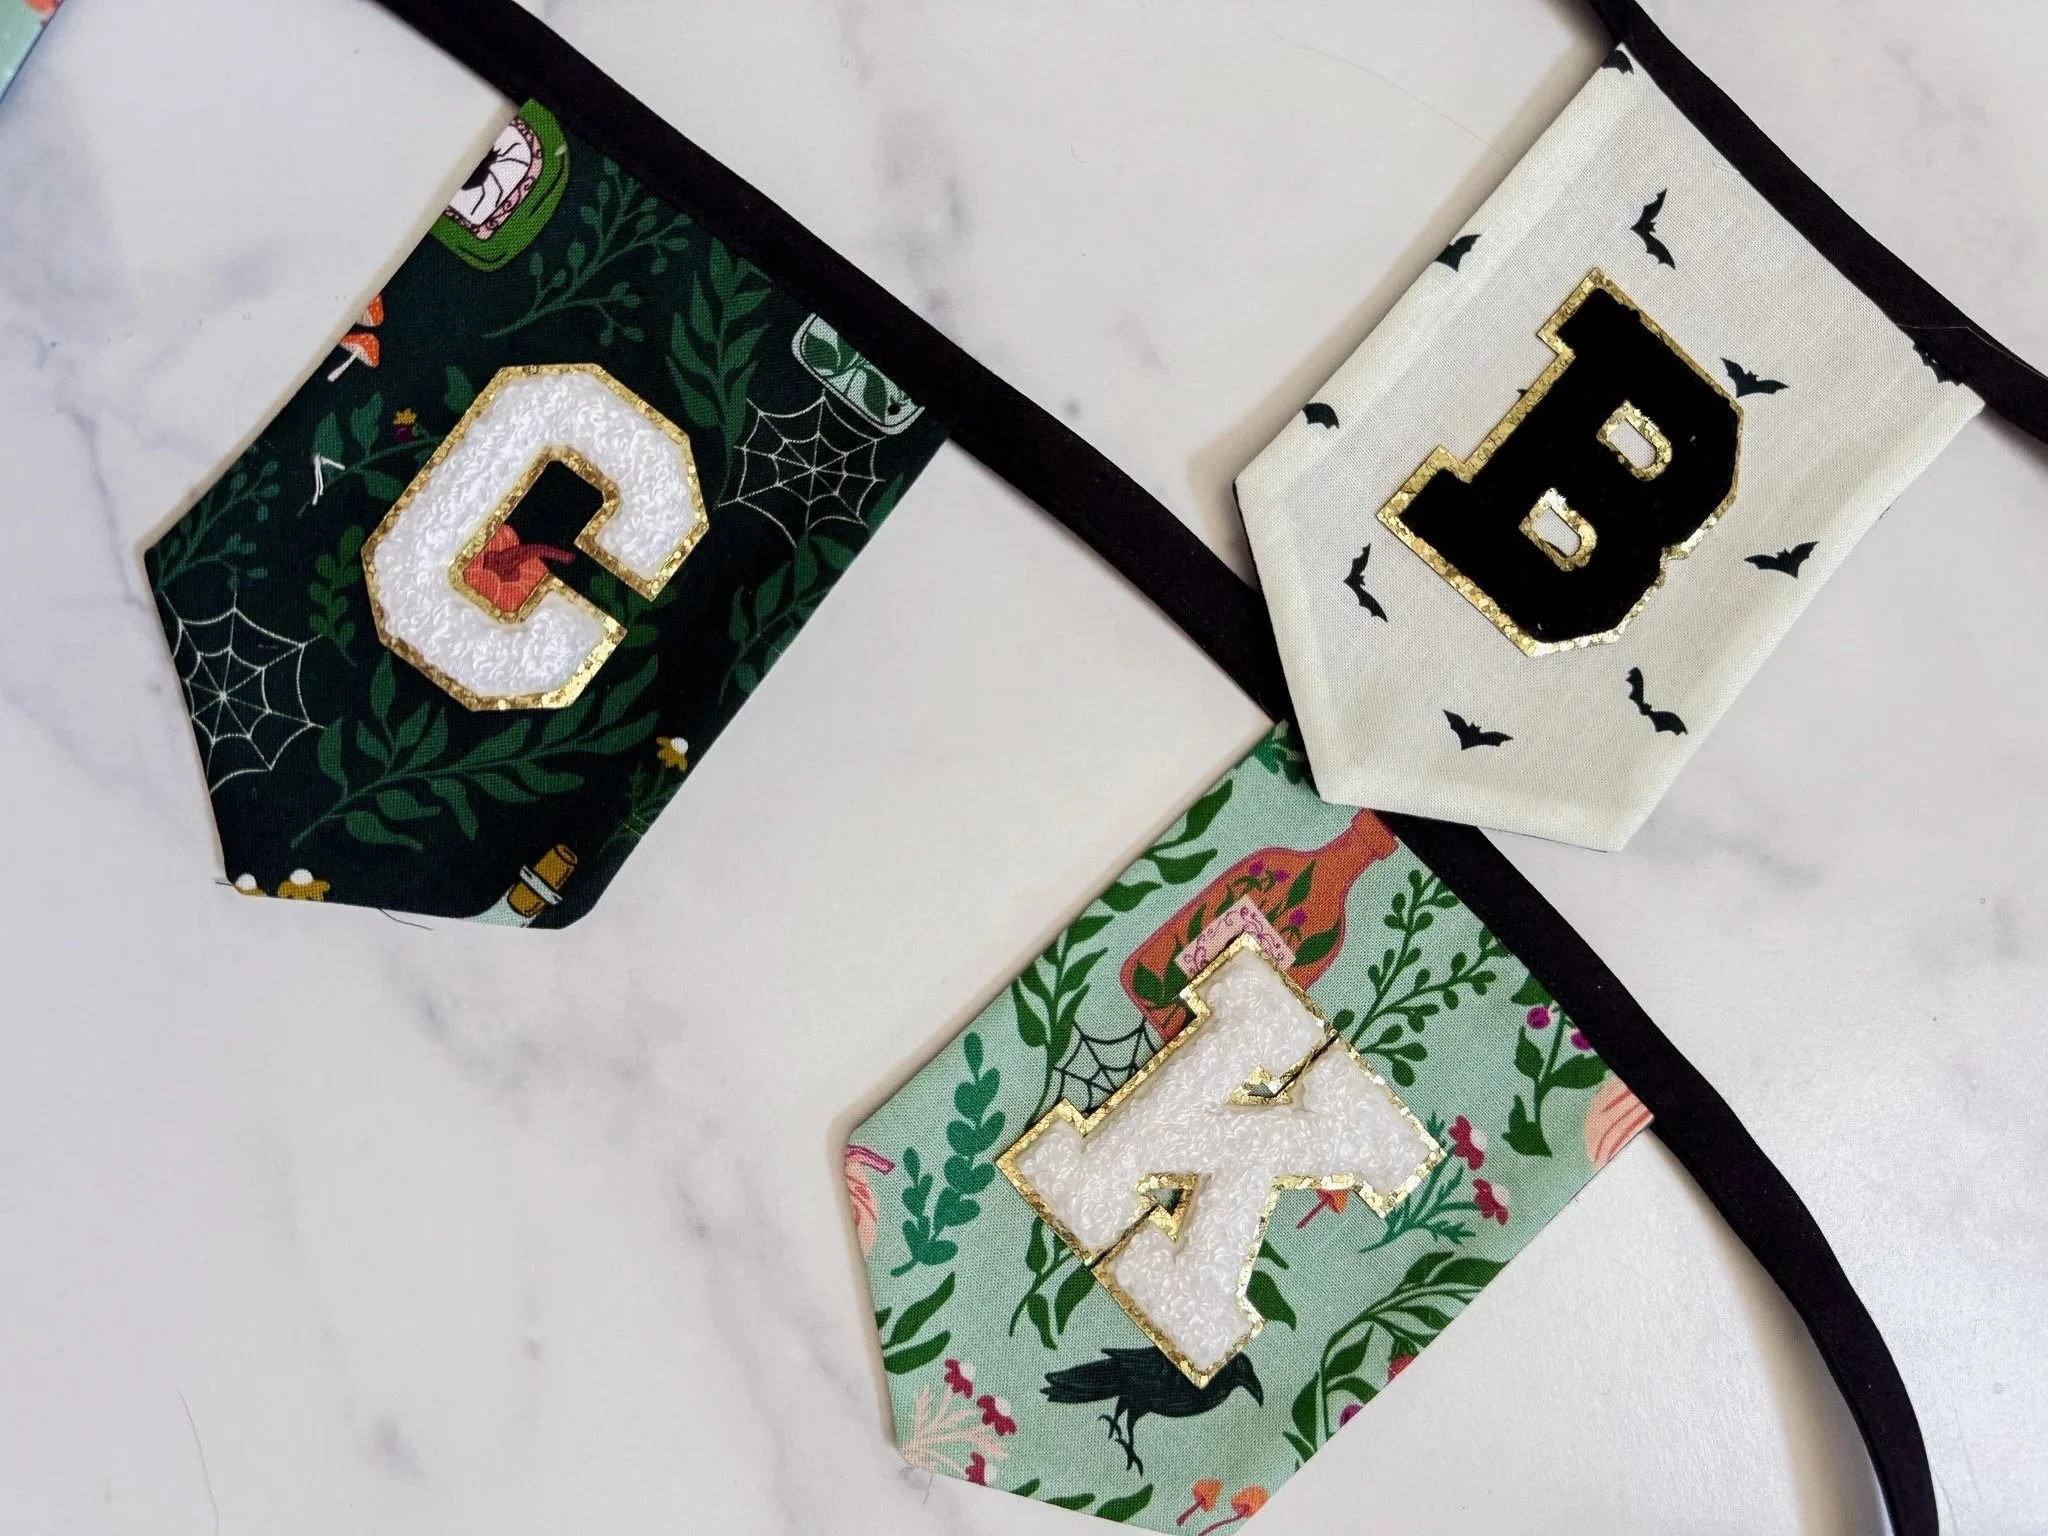
Chenille letter patches (I got mine from Etsy)
Bias binding (premade for an extra-quick project, or make your own!)
Step 1: Cut Your Pieces
Using your template, cut one feature and one backing piece for each letter in your banner.
Step 2: Sew the Banner Flags
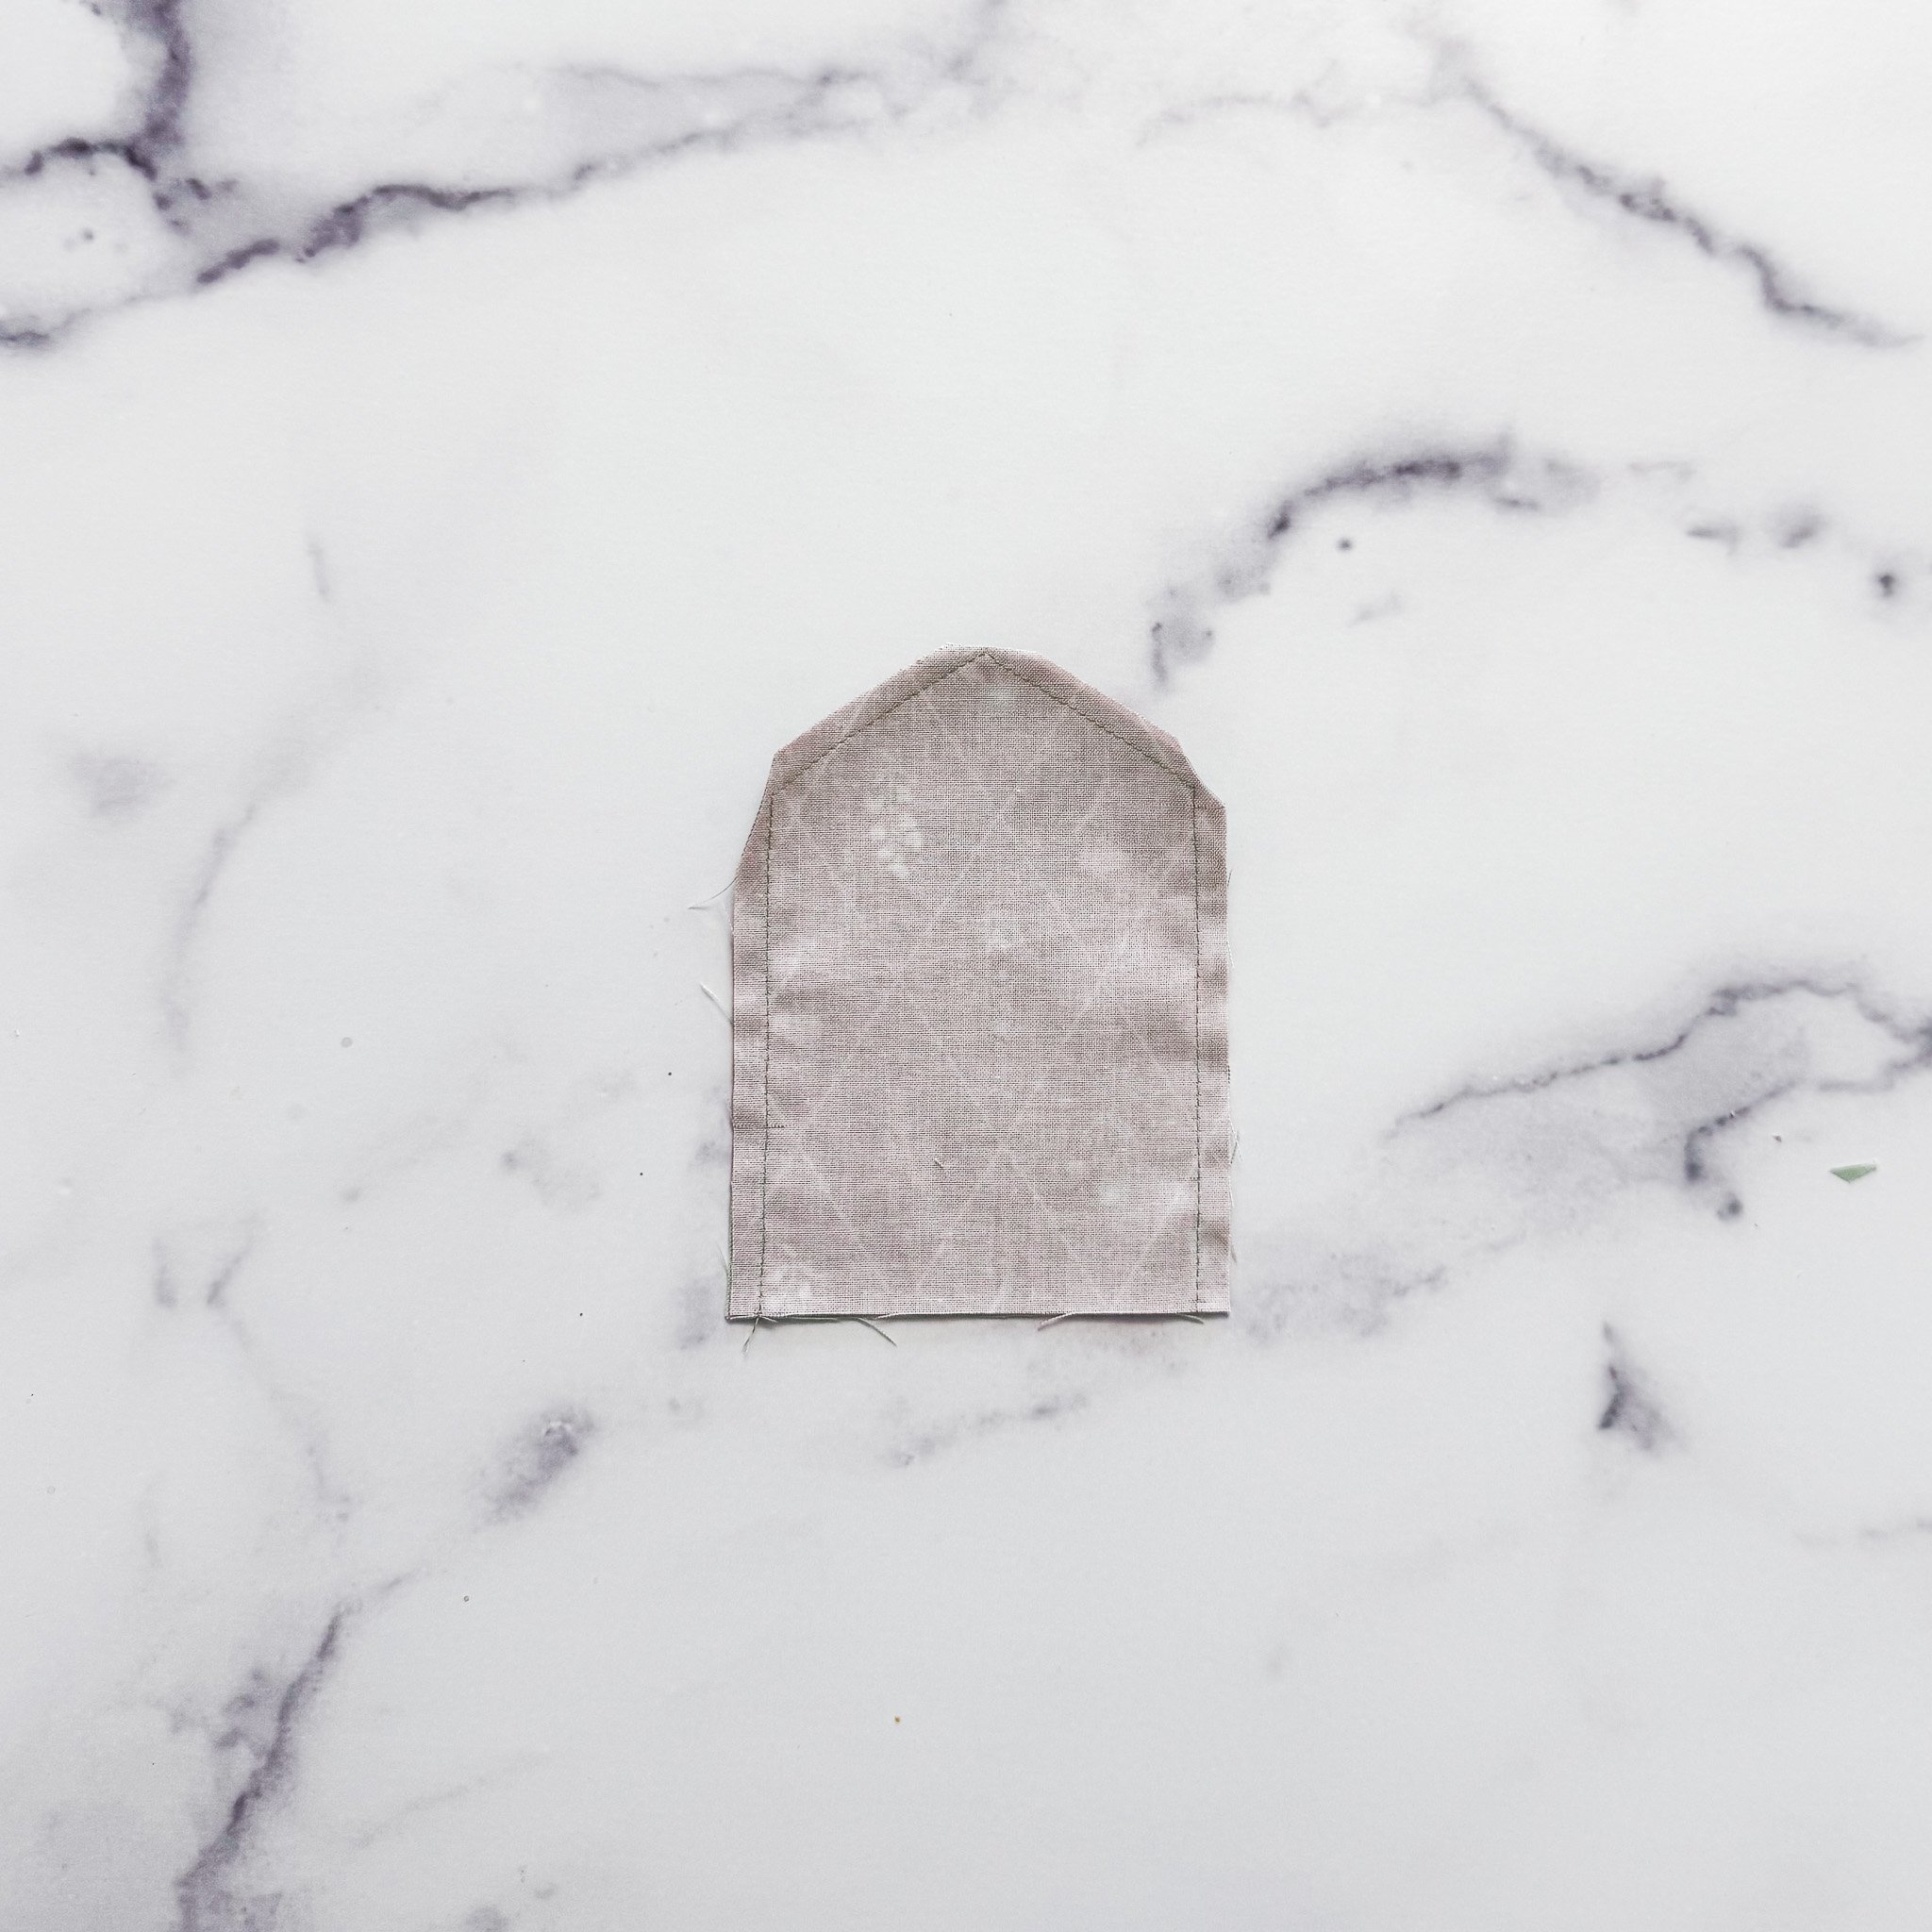
Place each pair right sides together. Sew around the sides and point, leaving the top open.
Trim the points, turn right side out, and press.

Step 3: Add Letters
Lay out your banner pieces in order and attach your chenille letters. Position them carefully - you can create a paper template to help you center. them, but I just eyeballed mine and they came out fine.
Most are peel-and-stick, but double check if yours need heat or stitching!

Step 4: Prep the Bias Binding
Measure the space where your banner will hang, and cut your bias binding accordingly.
Mark the center, then space out where each flag will go.
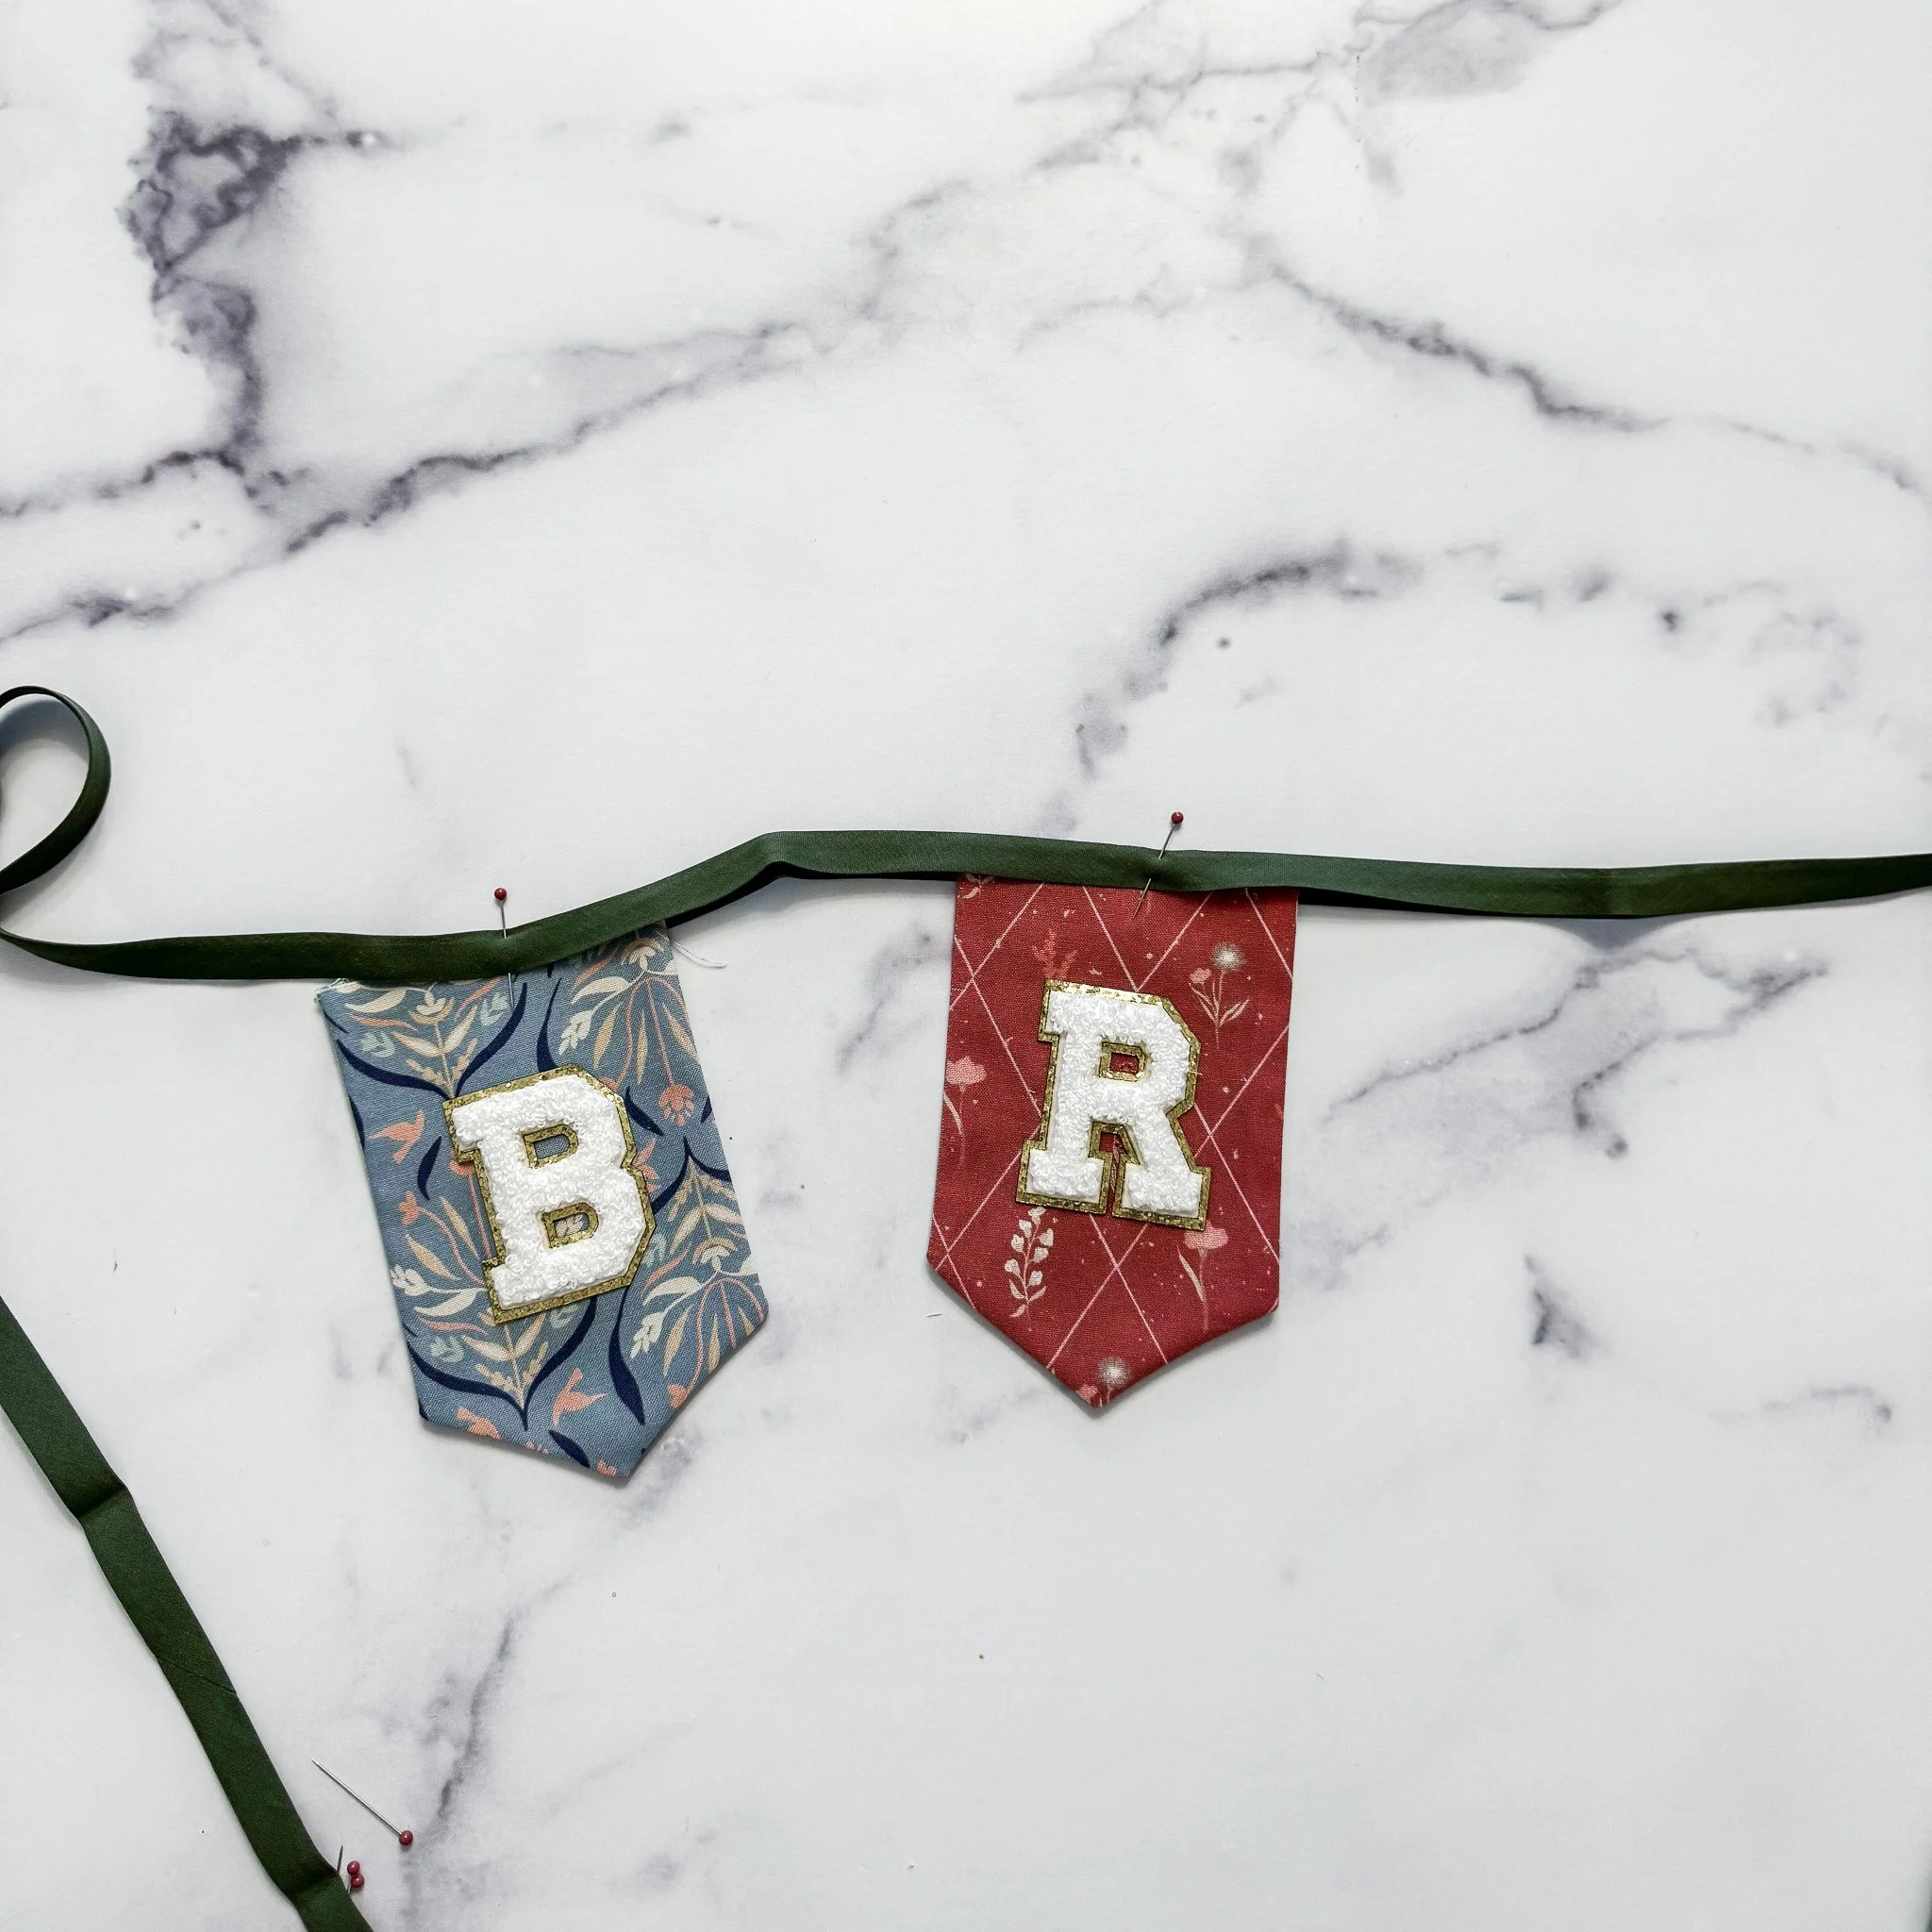
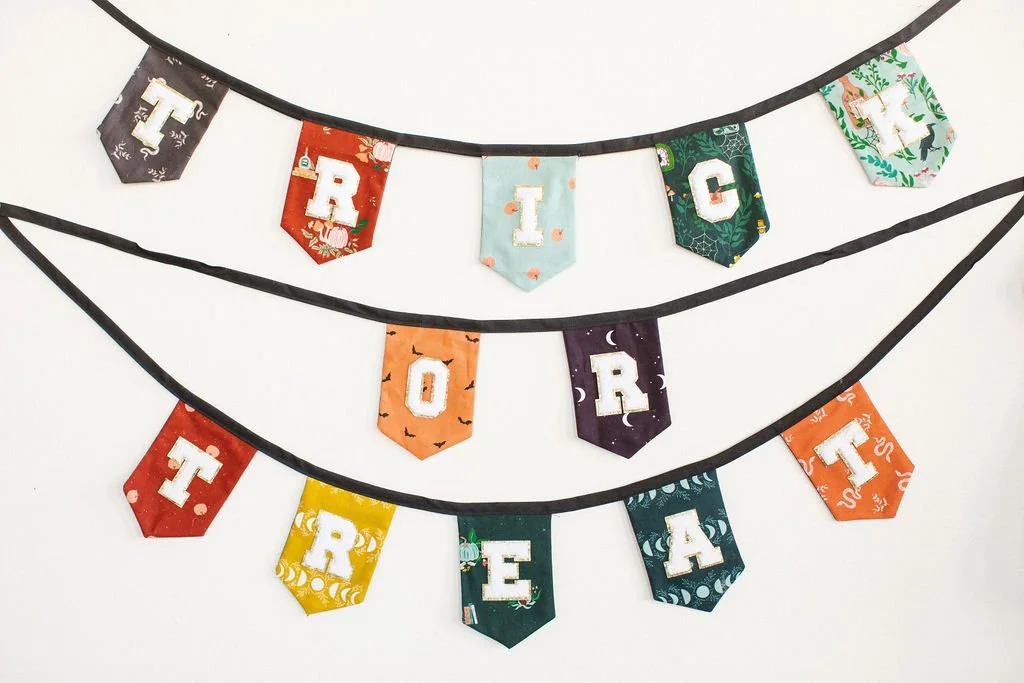
Step 5: Attach the Flags
Insert each banner piece into the bias binding at your marked spots. Pin well, then sew along the binding to secure everything.
Trim the ends if needed, hang it up, and admire your work.