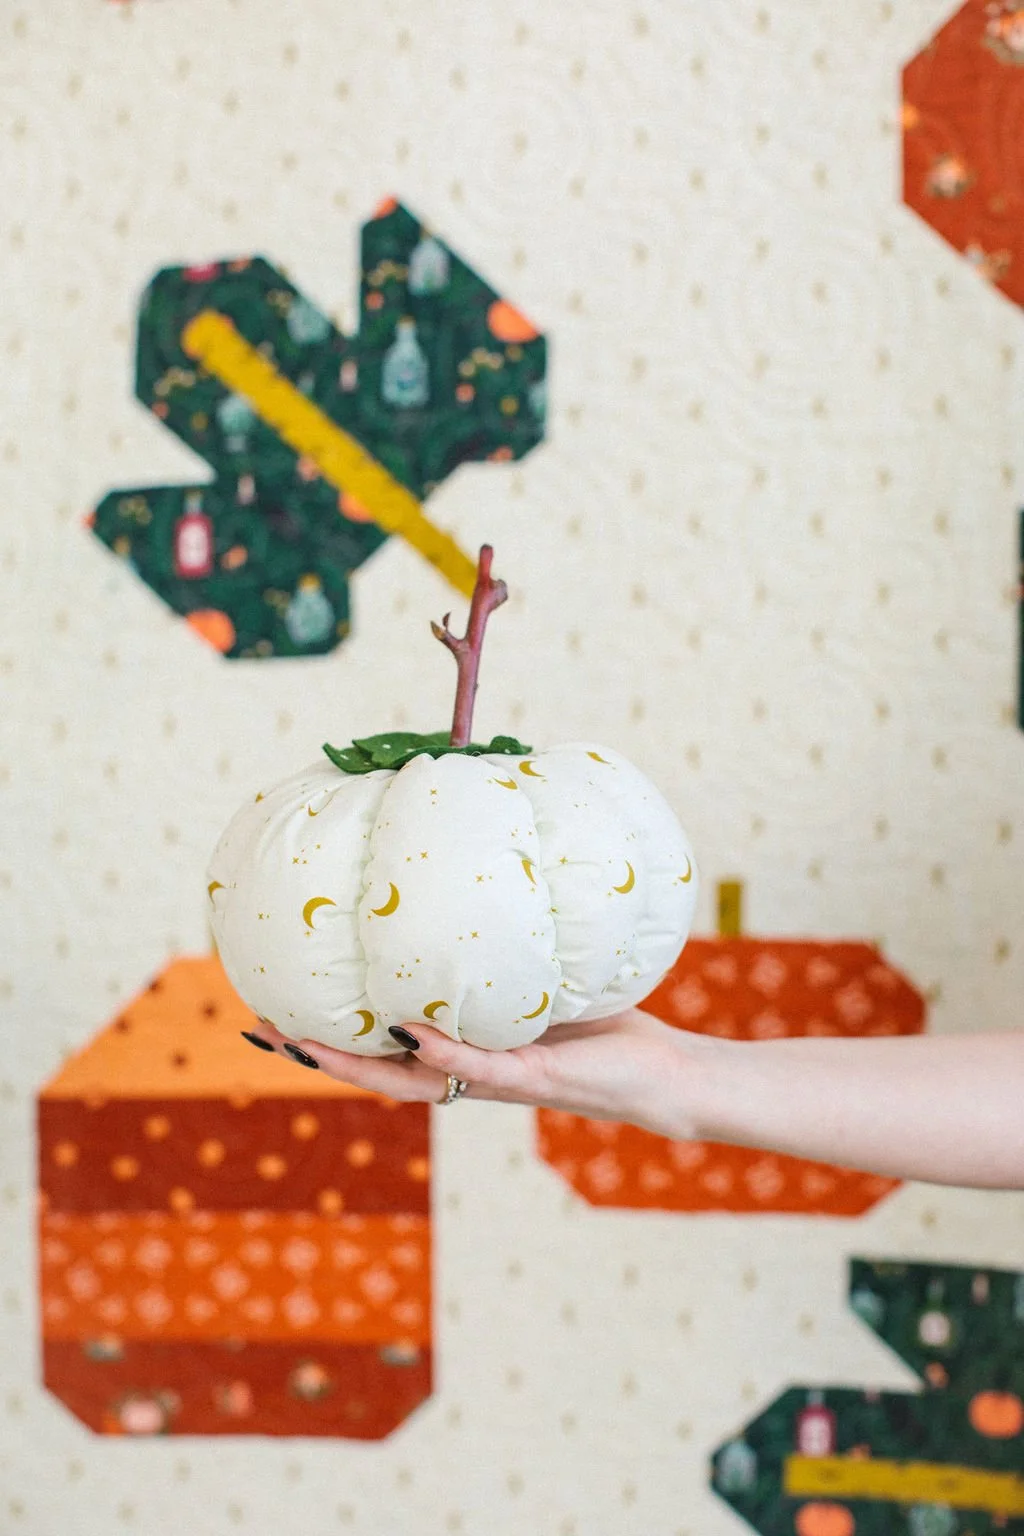
Pumpkin Puff Tutorial
These little fabric pumpkins are dangerously addictive. You make one… then suddenly you have twelve!
The best part? You can make them any size just by changing your starting rectangle.
Materials
Fabric rectangle (example: 8" x 16")
Needles - normal sized, plus an extra long upholstery needle if possible!
Stuffing
Thick thread (embroidery or hand quilting thread)
Stick (for stem)
Felt (for leaves)
Step 1: Sew the Side Seam
Fold your rectangle in half widthwise, right sides together. Sew the short edges to create a tube.
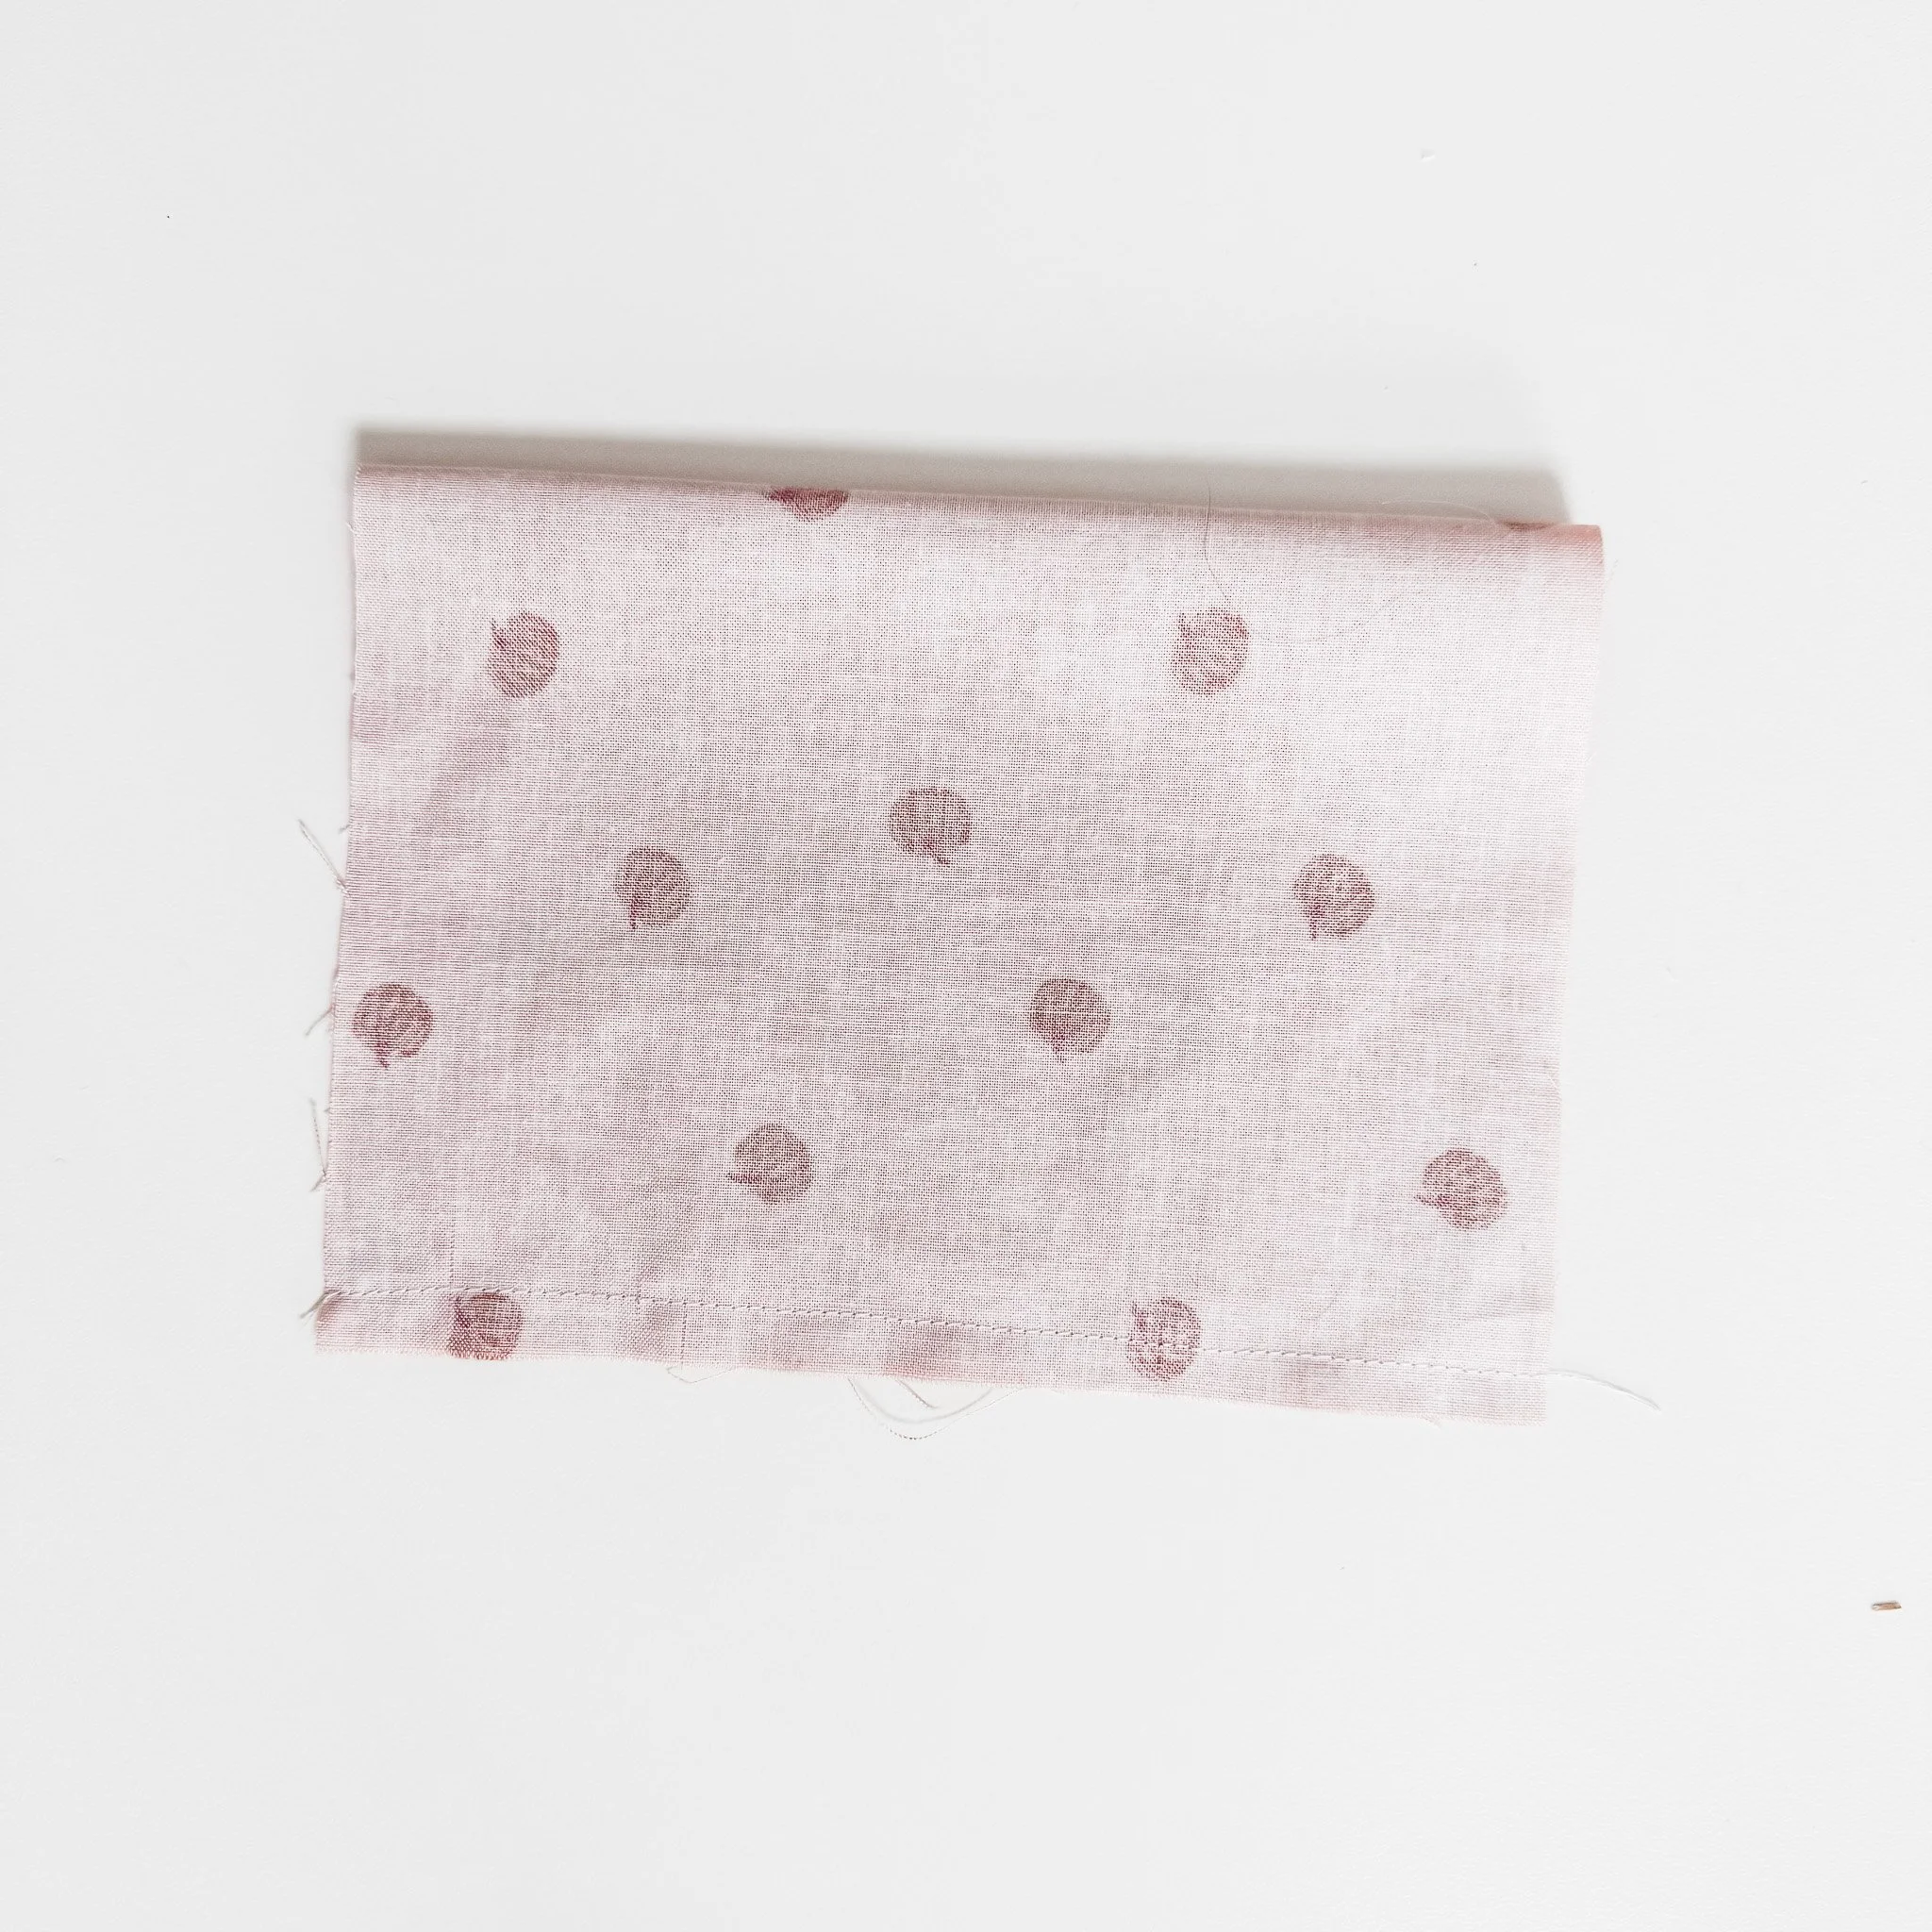
Step 2: Close the Bottom
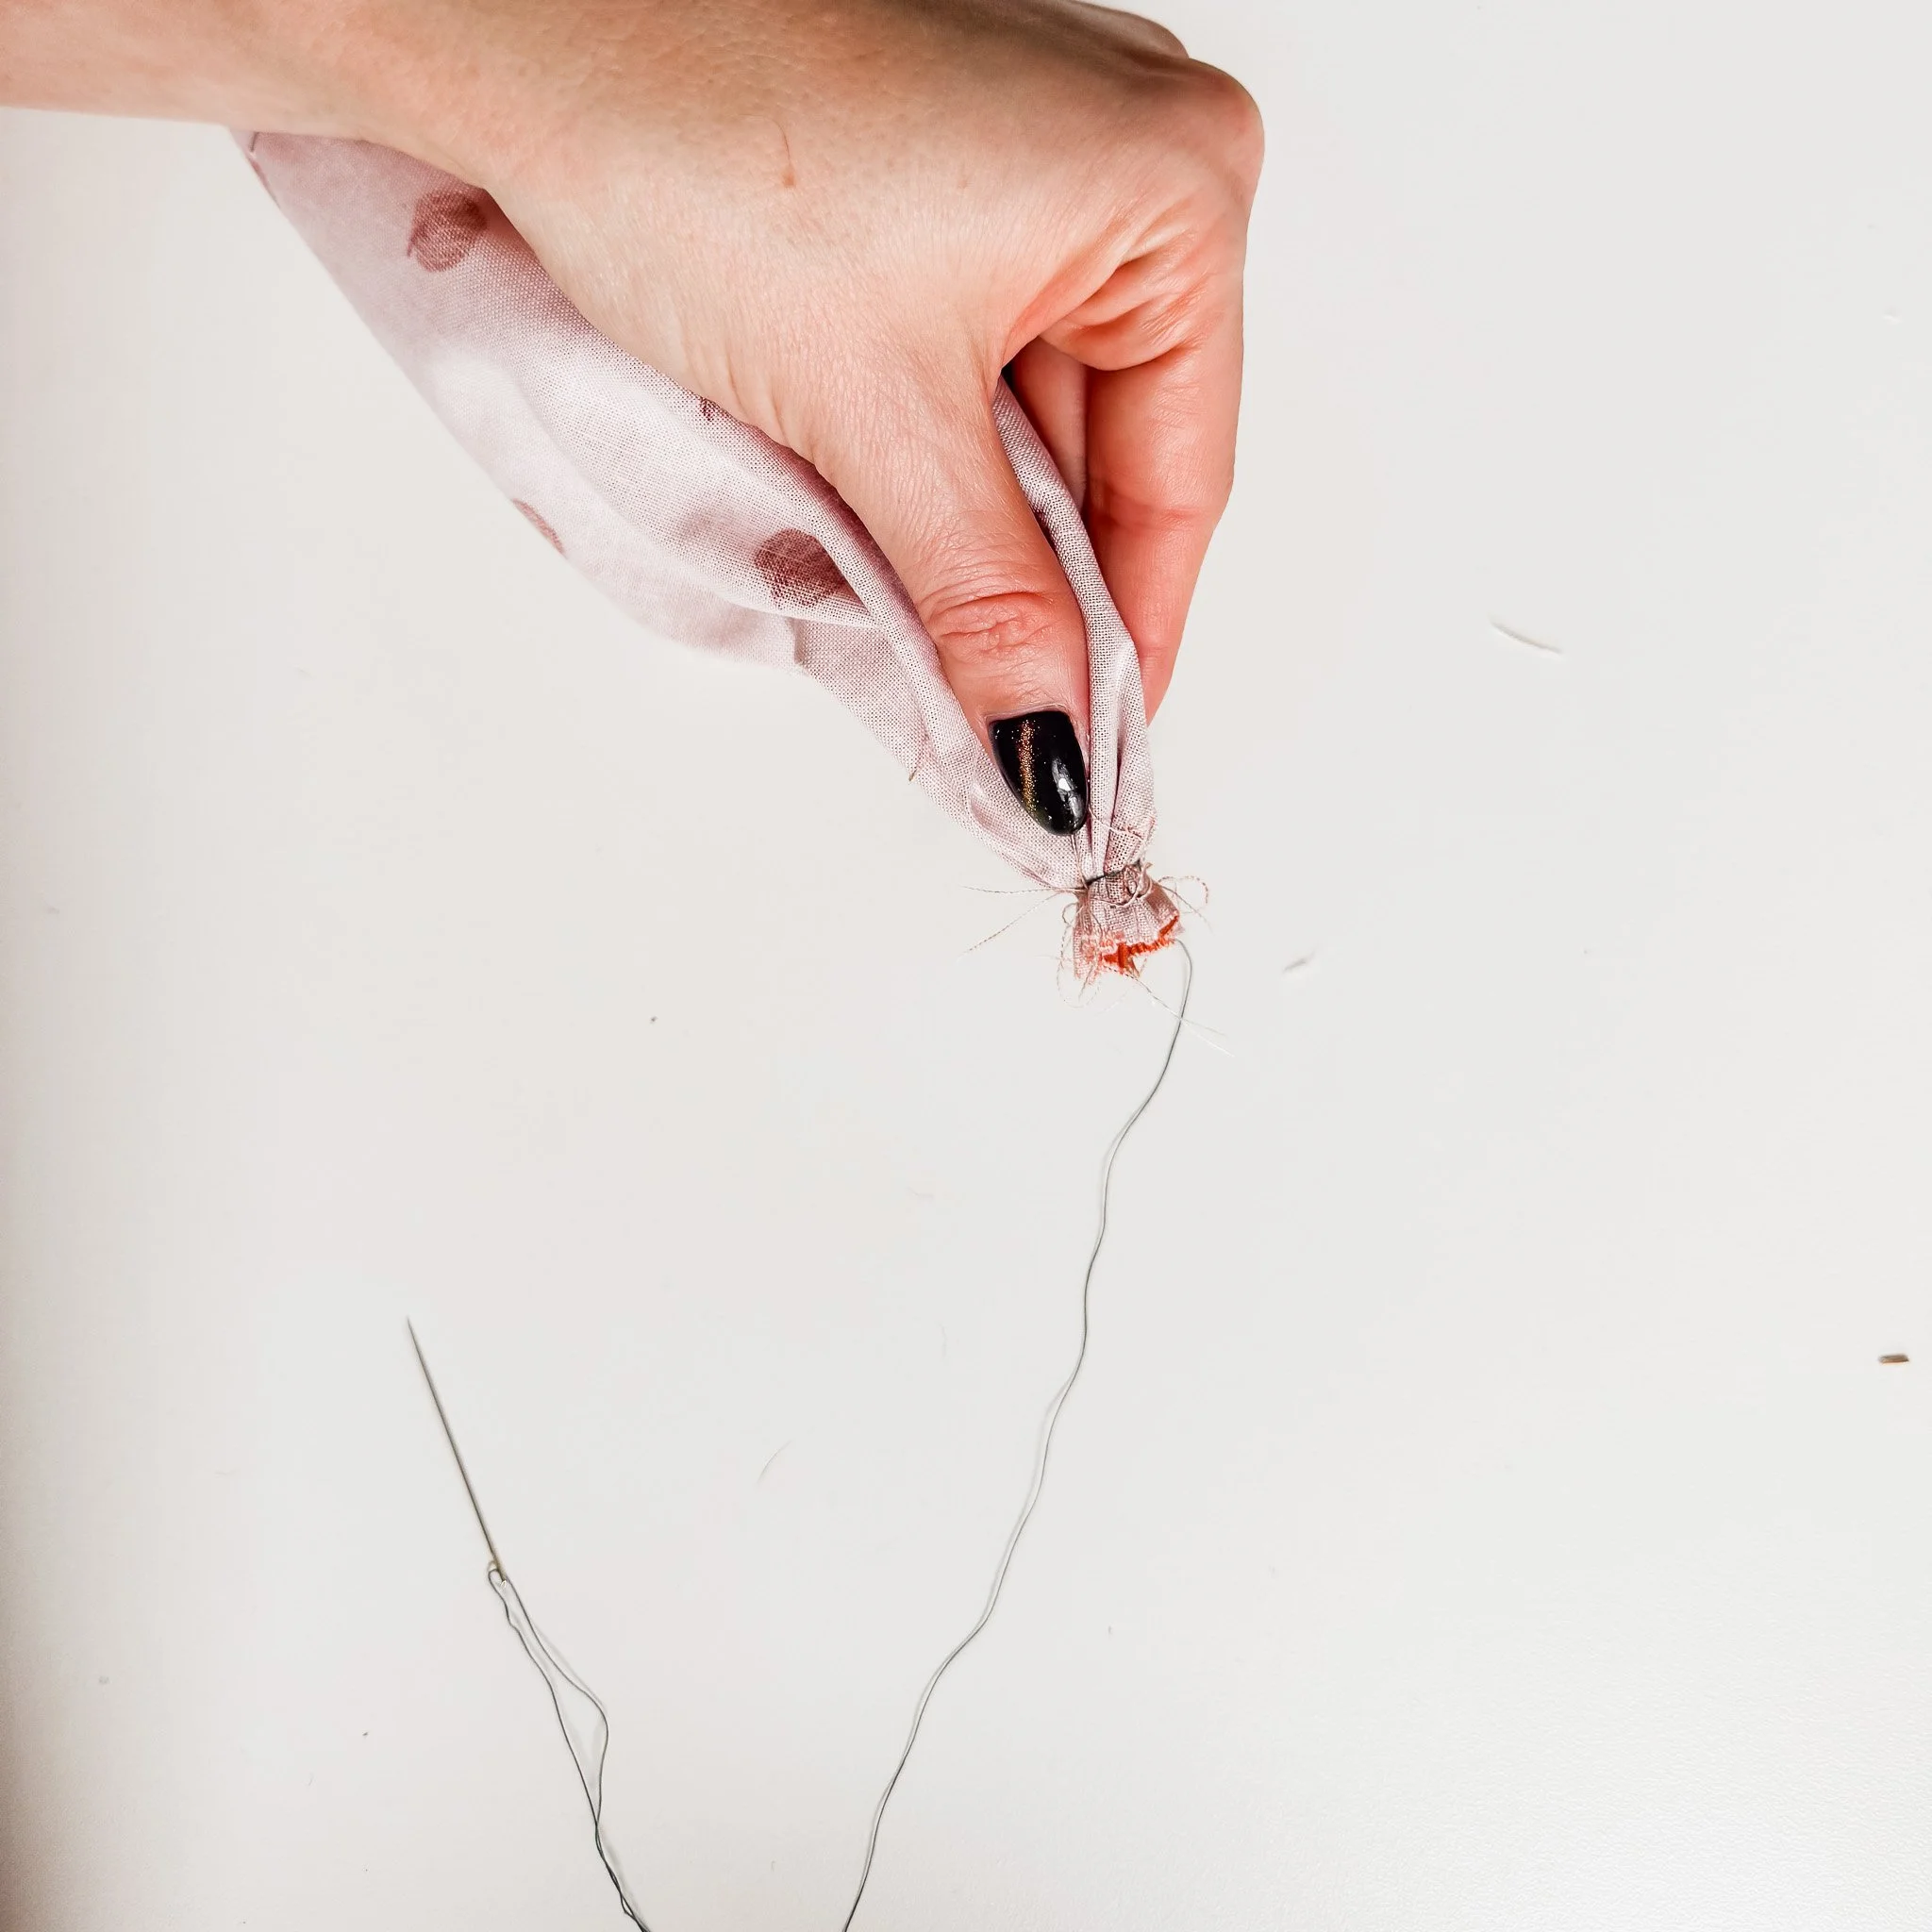
With the tube still wrong side out, sew a gathering stitch around each open end. Pull tight around one end to close it up.
Stitch across the gathered area in an “X” to secure it, and wrap the thread around a few times.
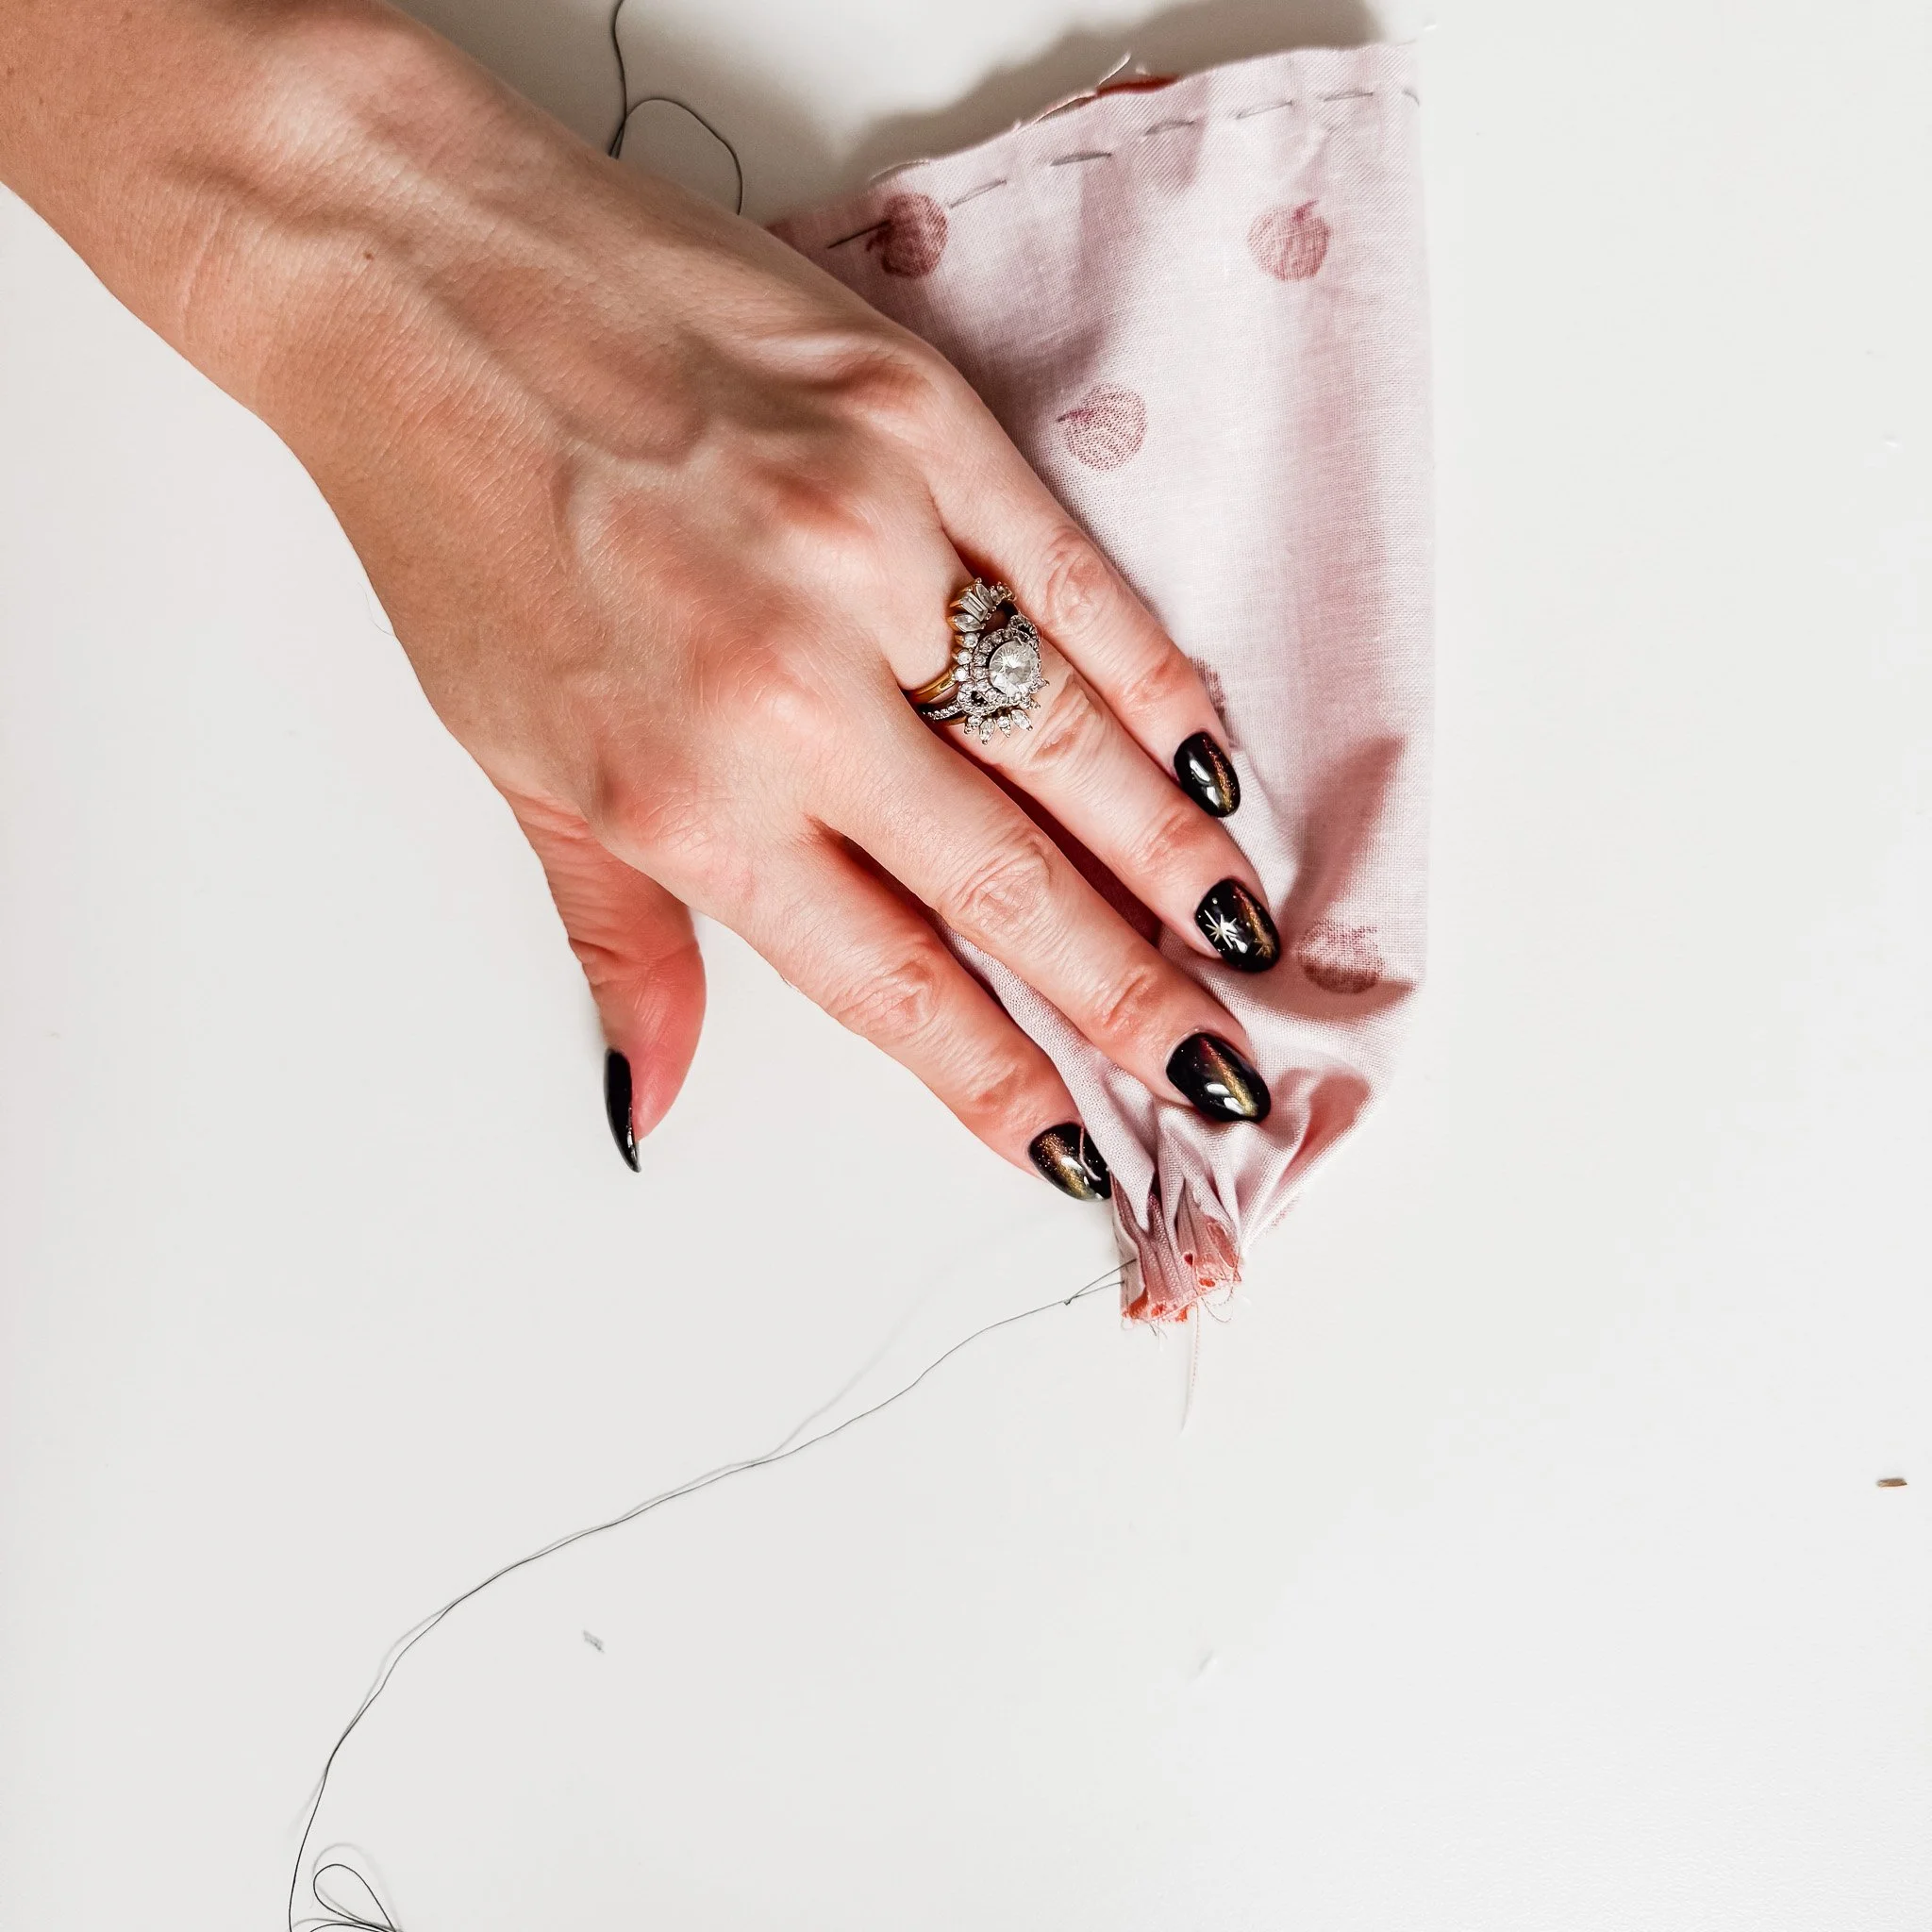

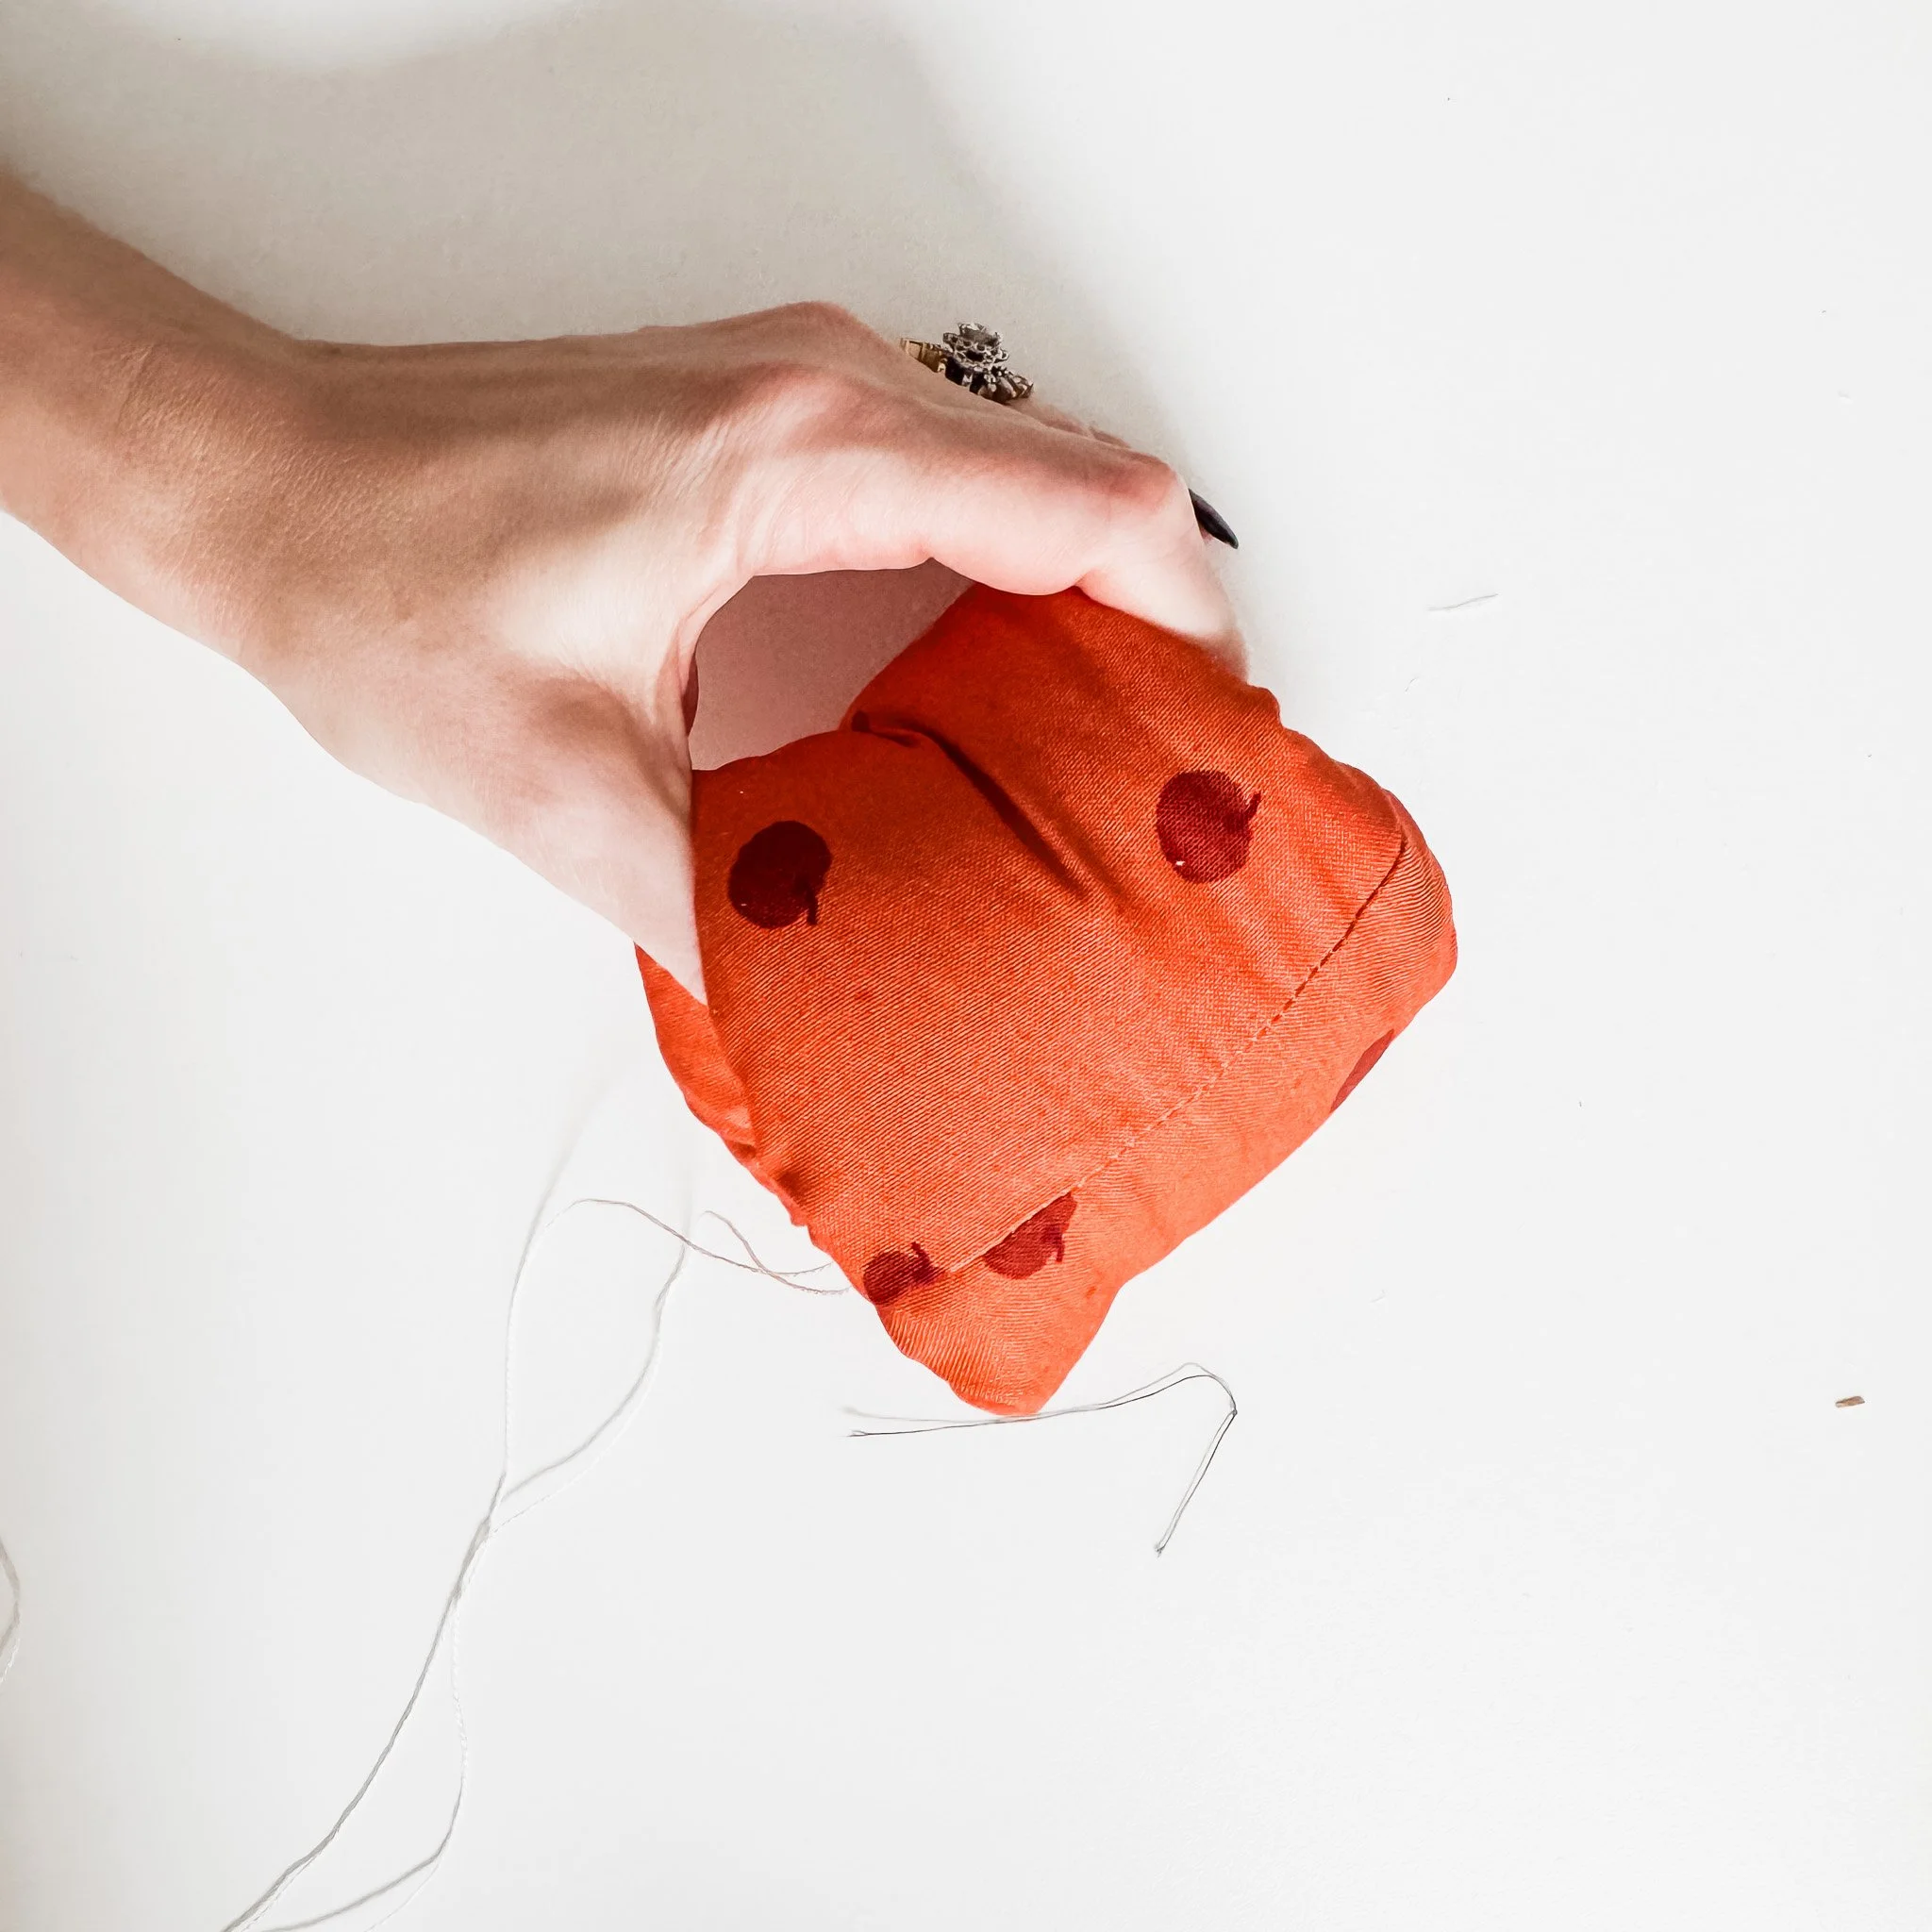
Step 3: Turn + Stuff
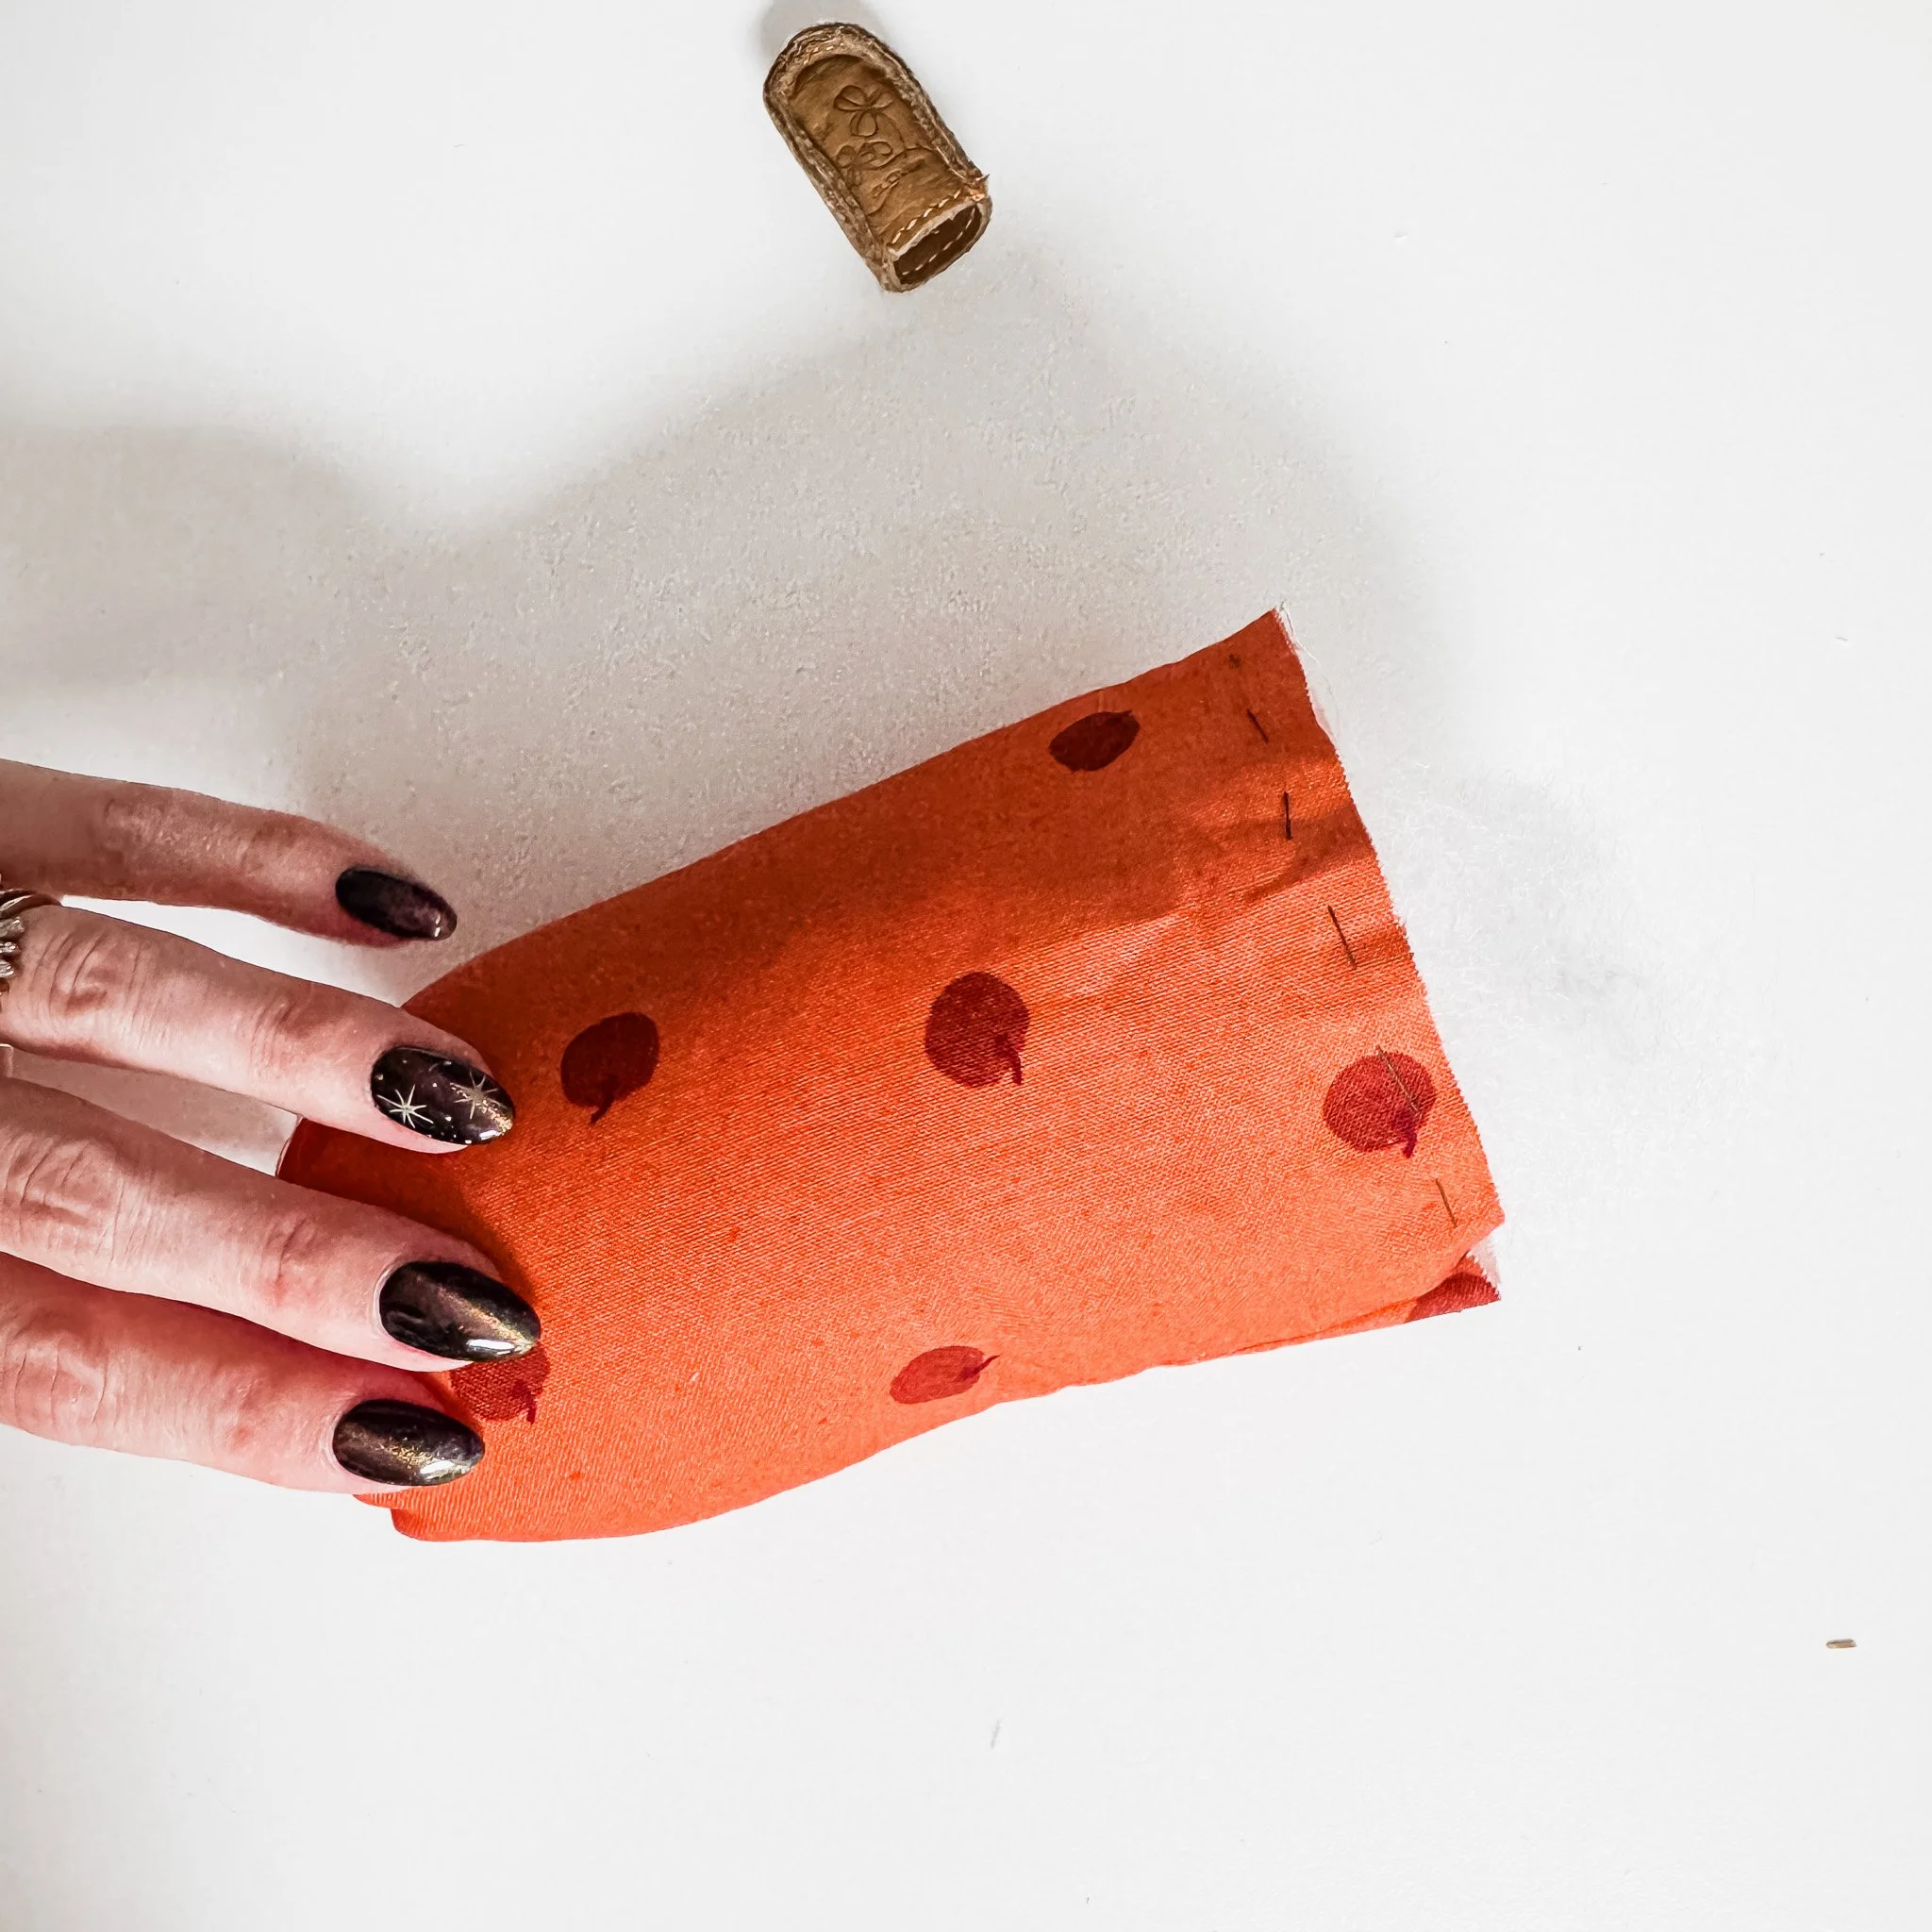
Turn your fabric right side out and stuff it very firmly.
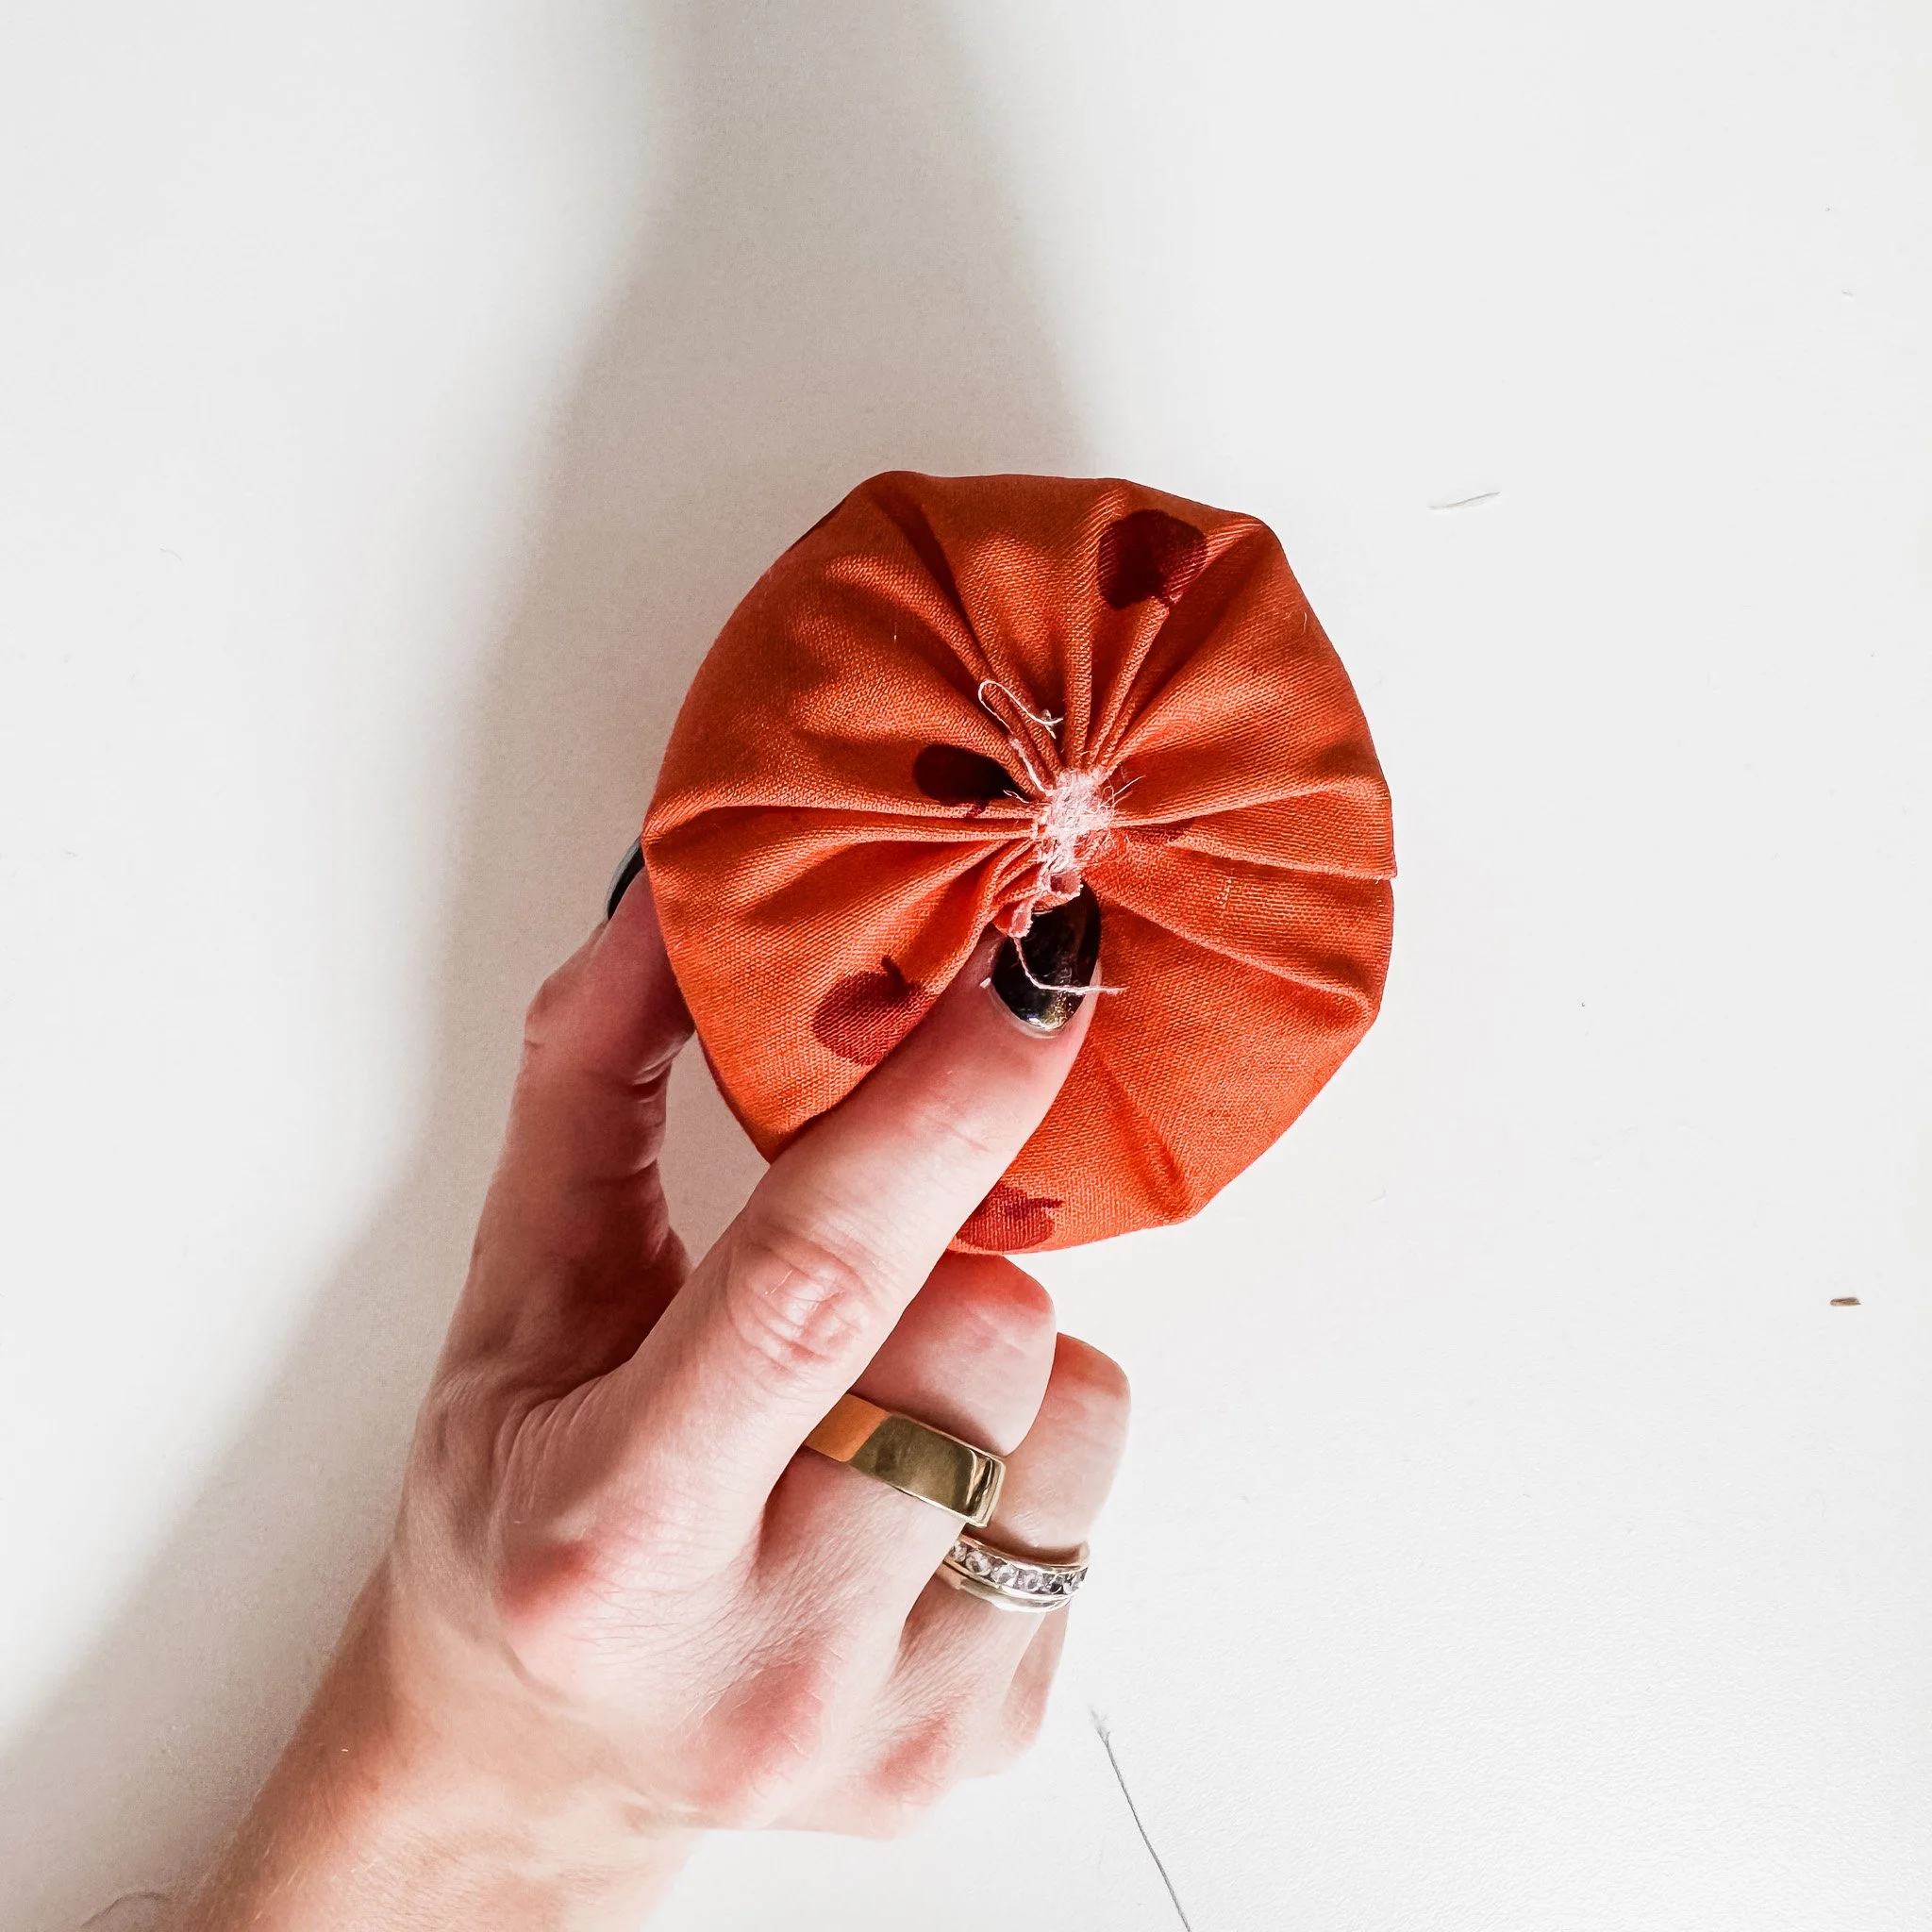
Then pull the top gathering stitch closed and secure it. Don’t stress if it looks a bit messy; we’re covering it later.
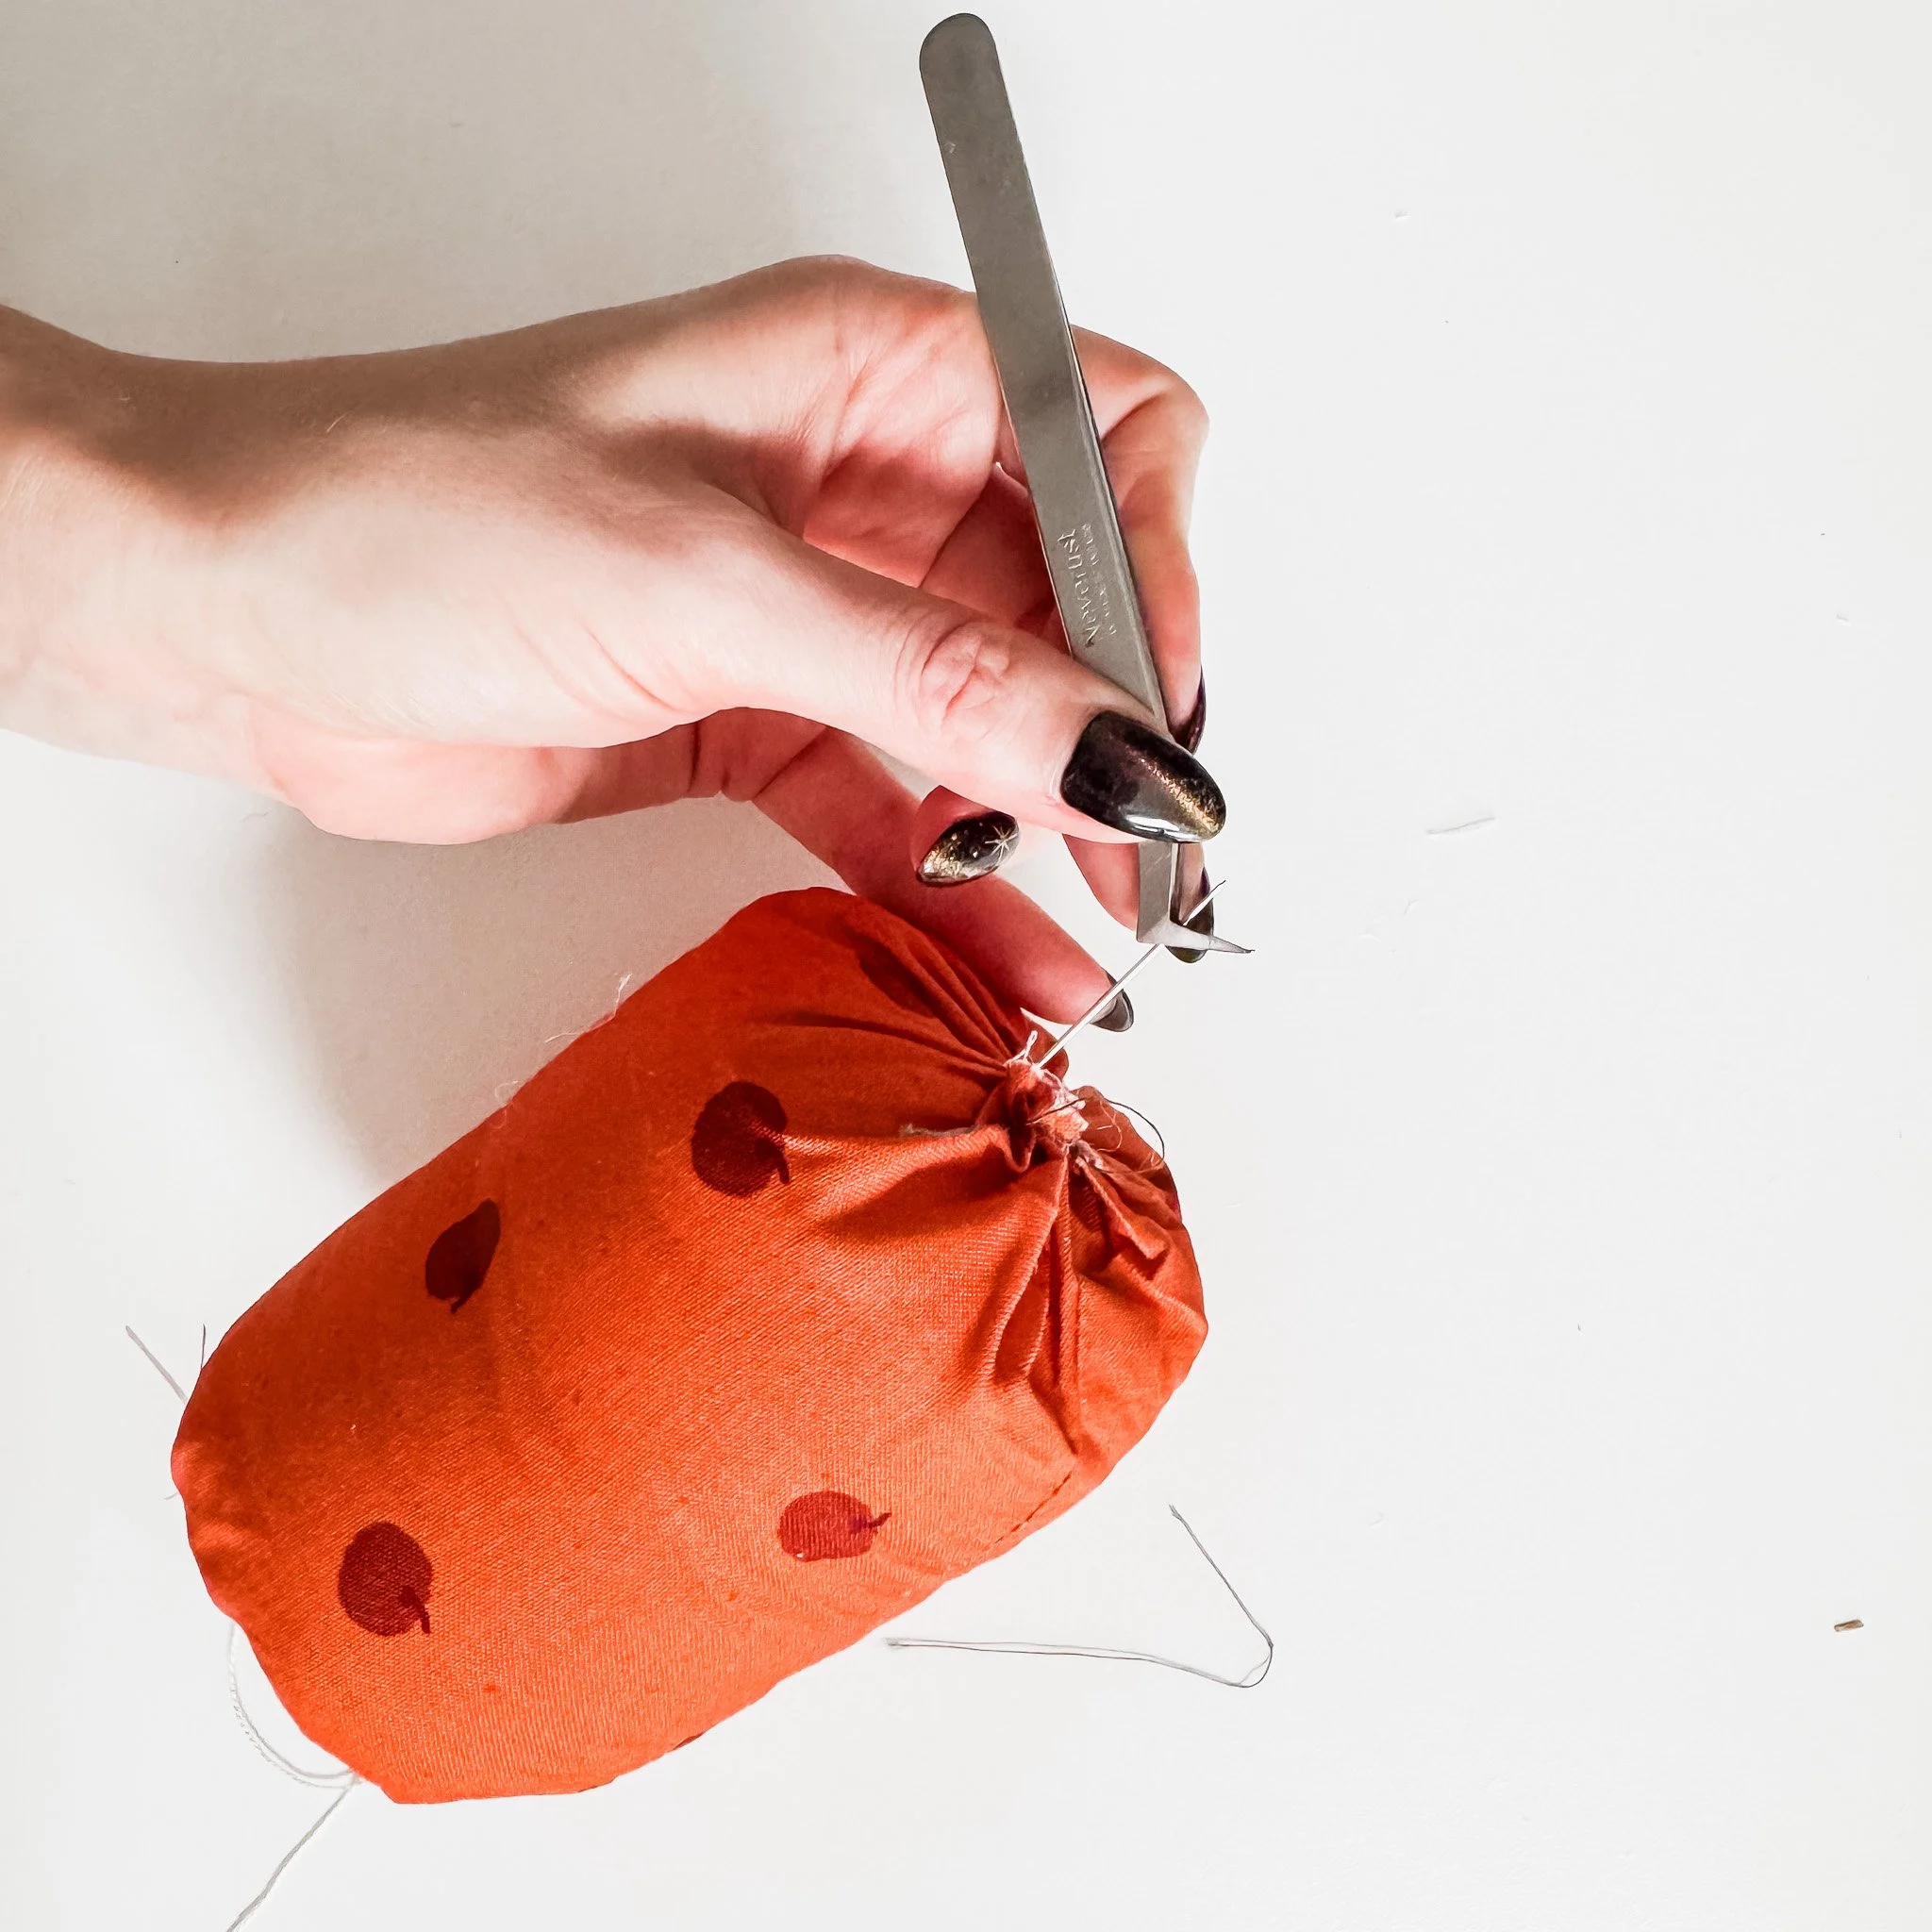
Step 4: Create the Pumpkin Segments
Thread a long needle with thick thread.
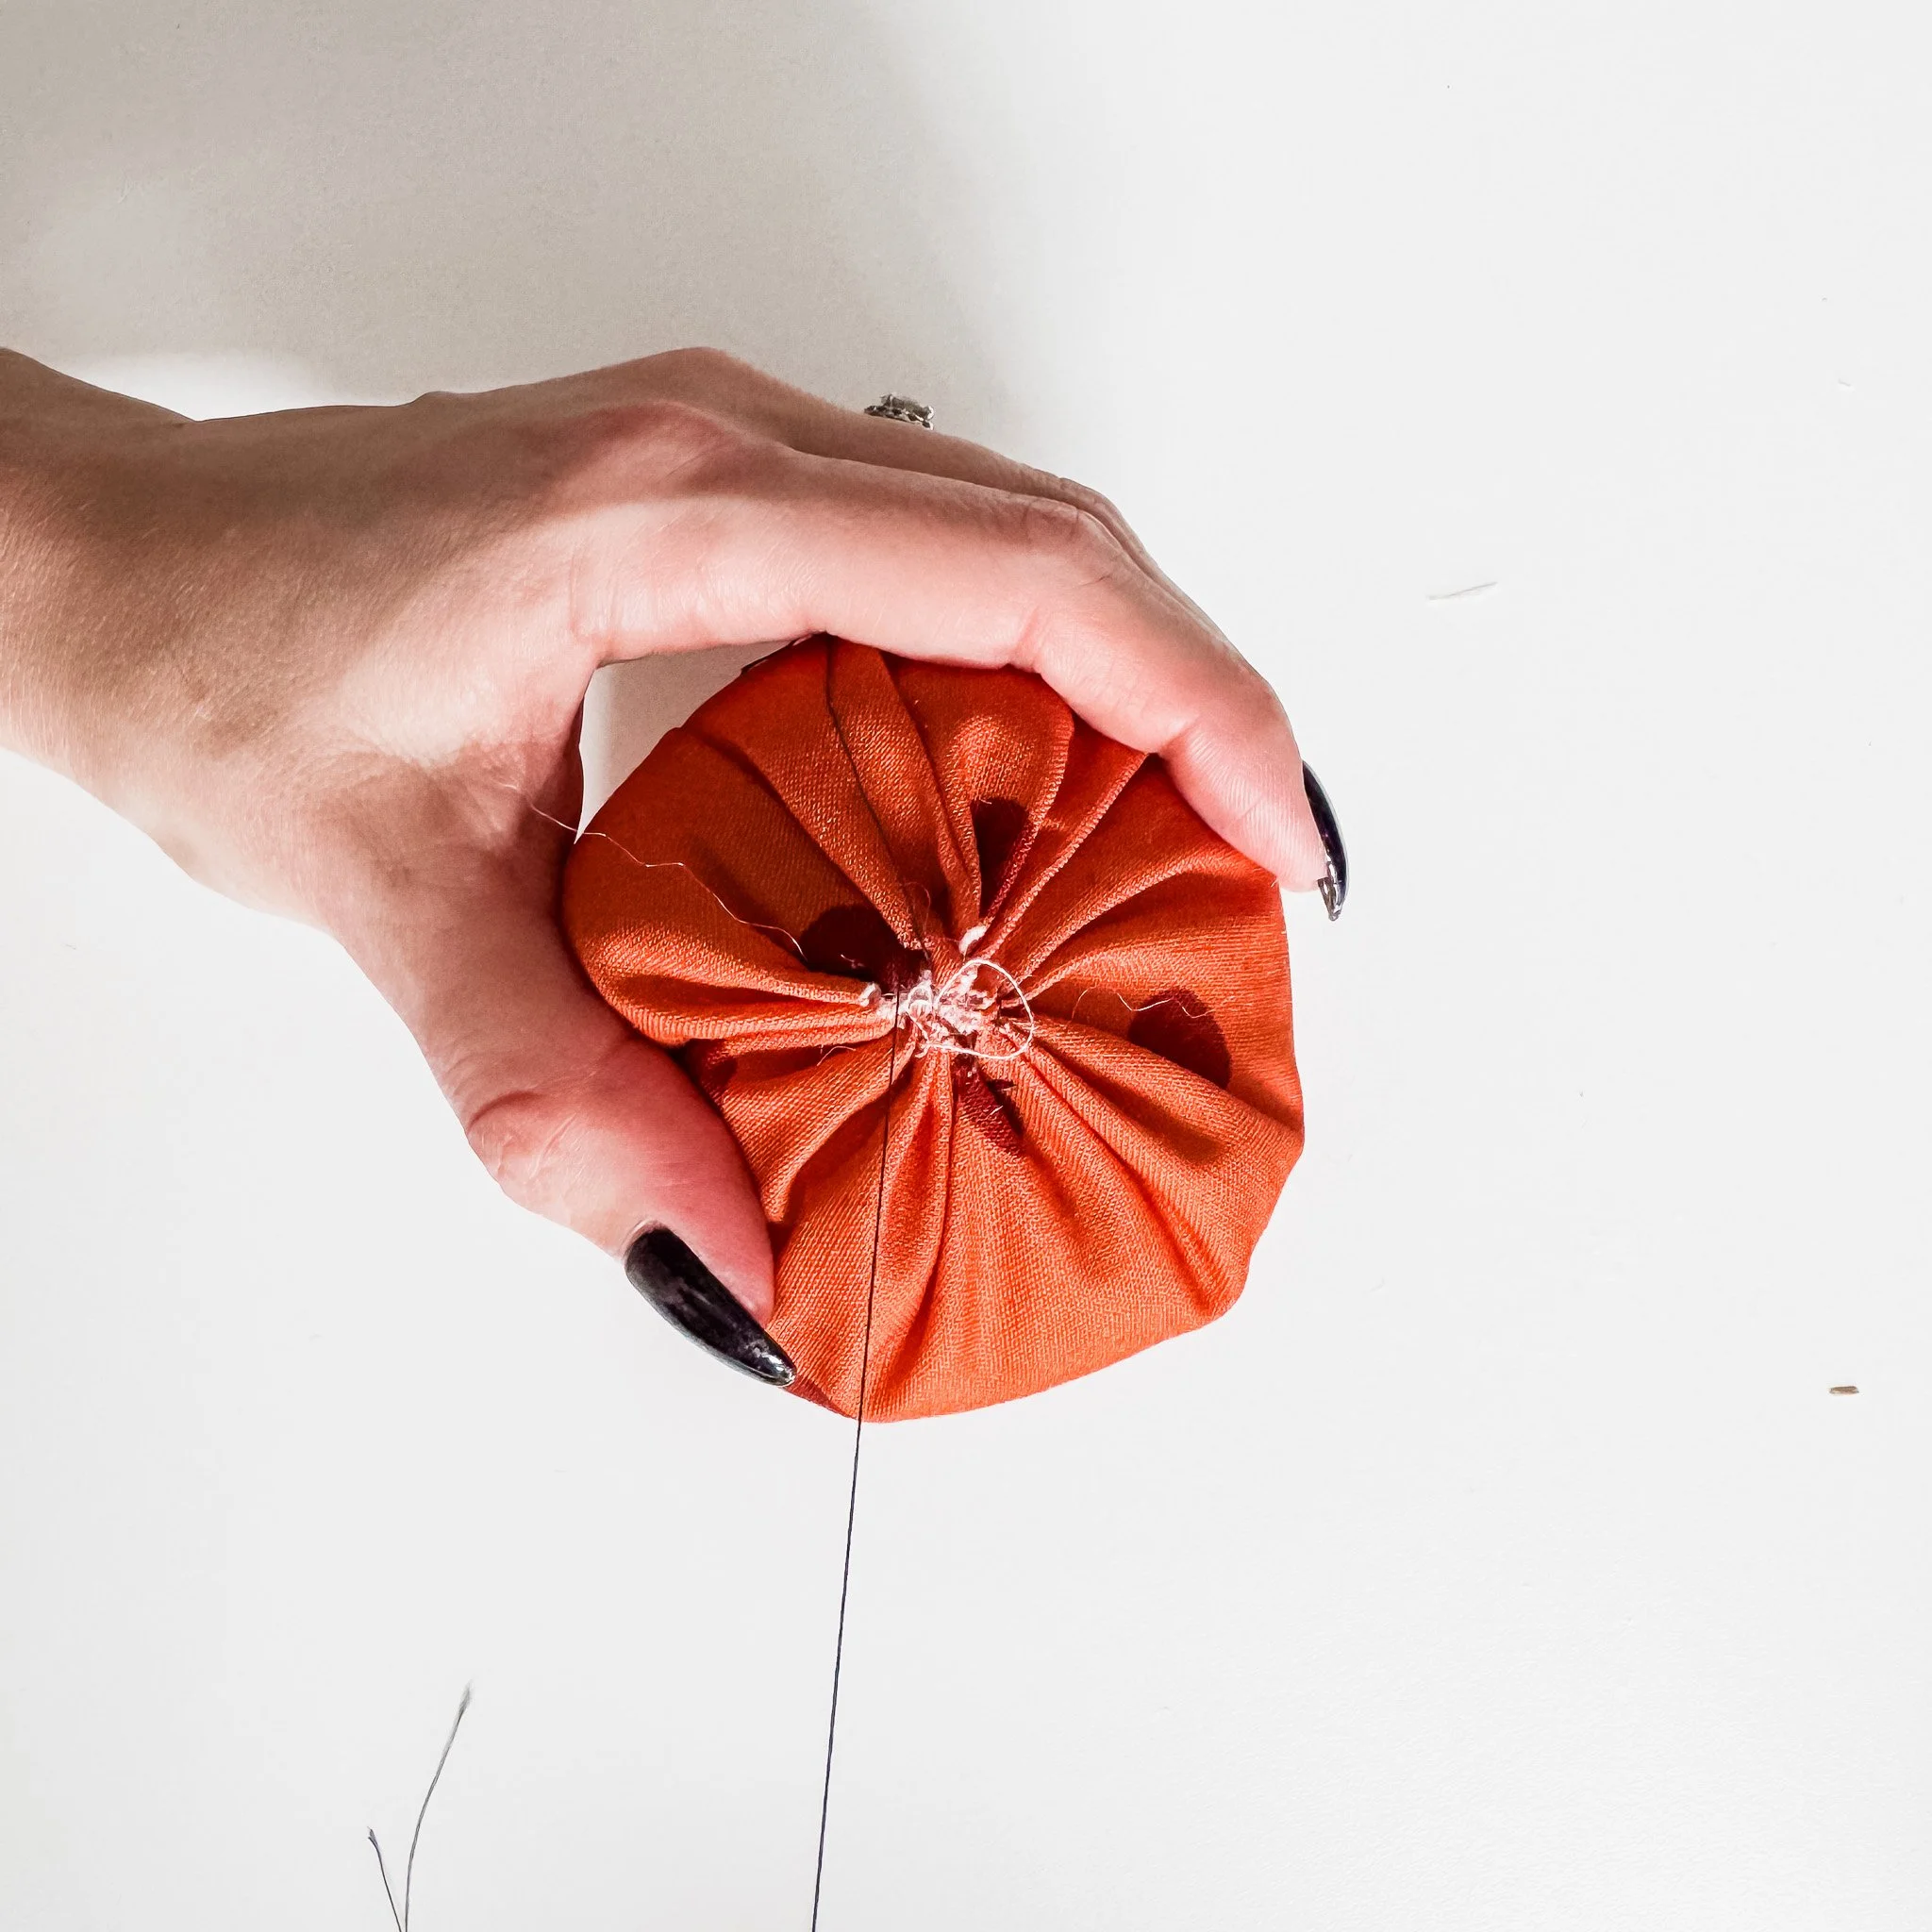
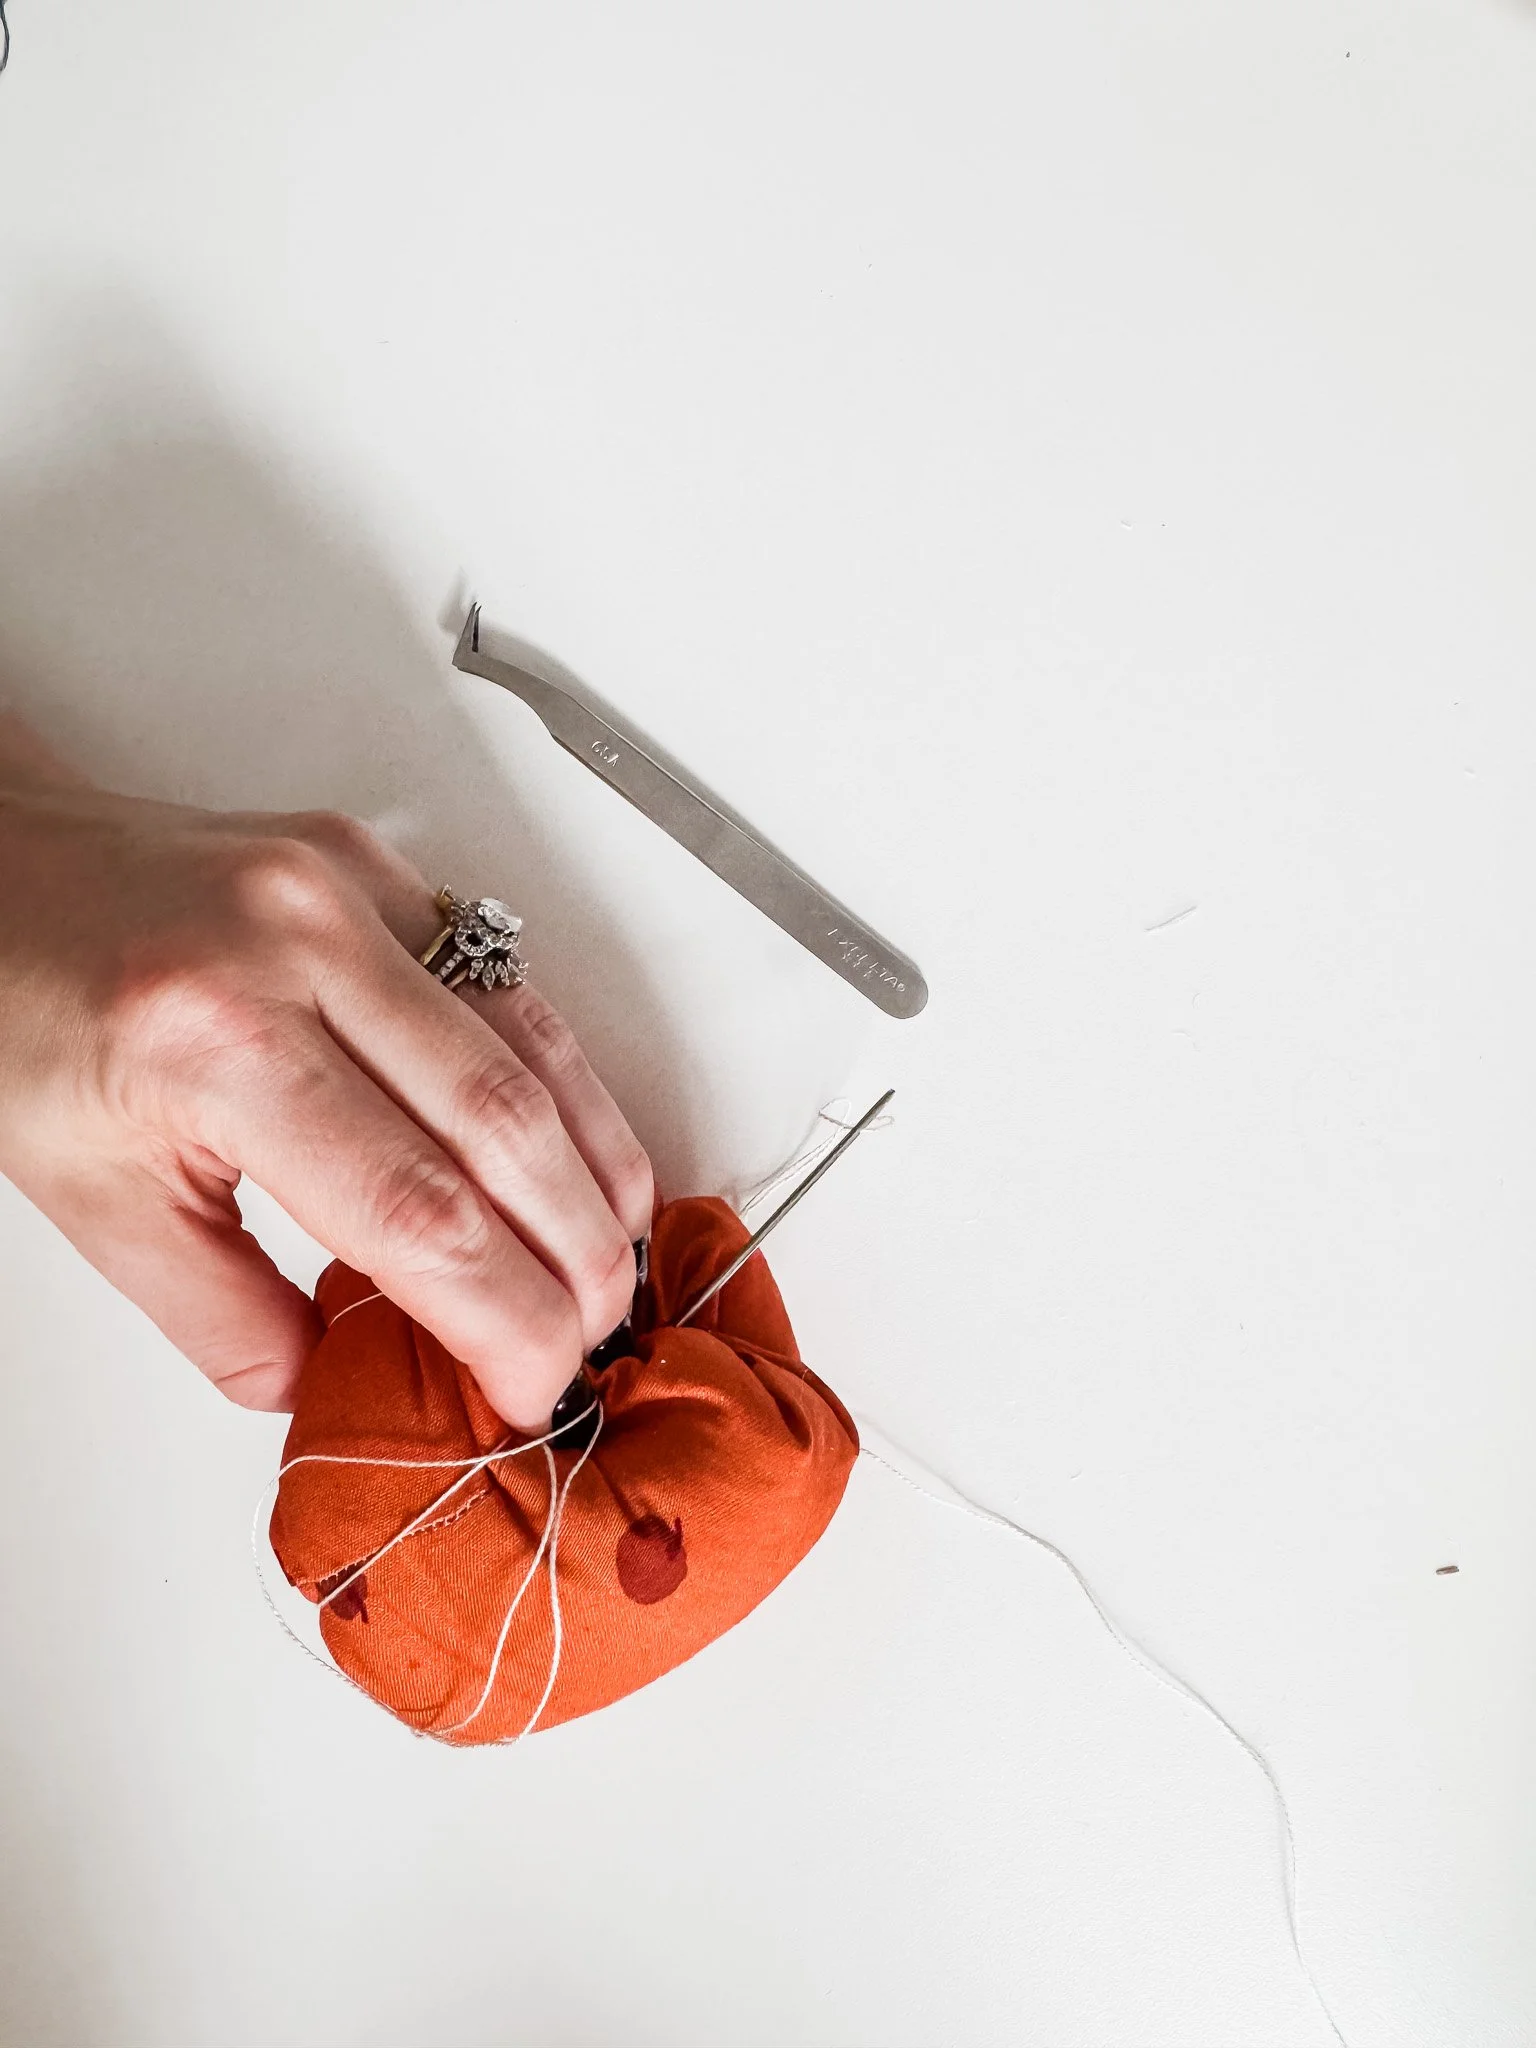
Starting at the bottom center, push the needle up through the middle to the top. Pull gently to create that pumpkin “squish,” then wrap the thread over the outside and go back down. This can be tricky - just go slow and keep some good pressure on the pumpkin. Using pliers can help grip the needle to pull it through.
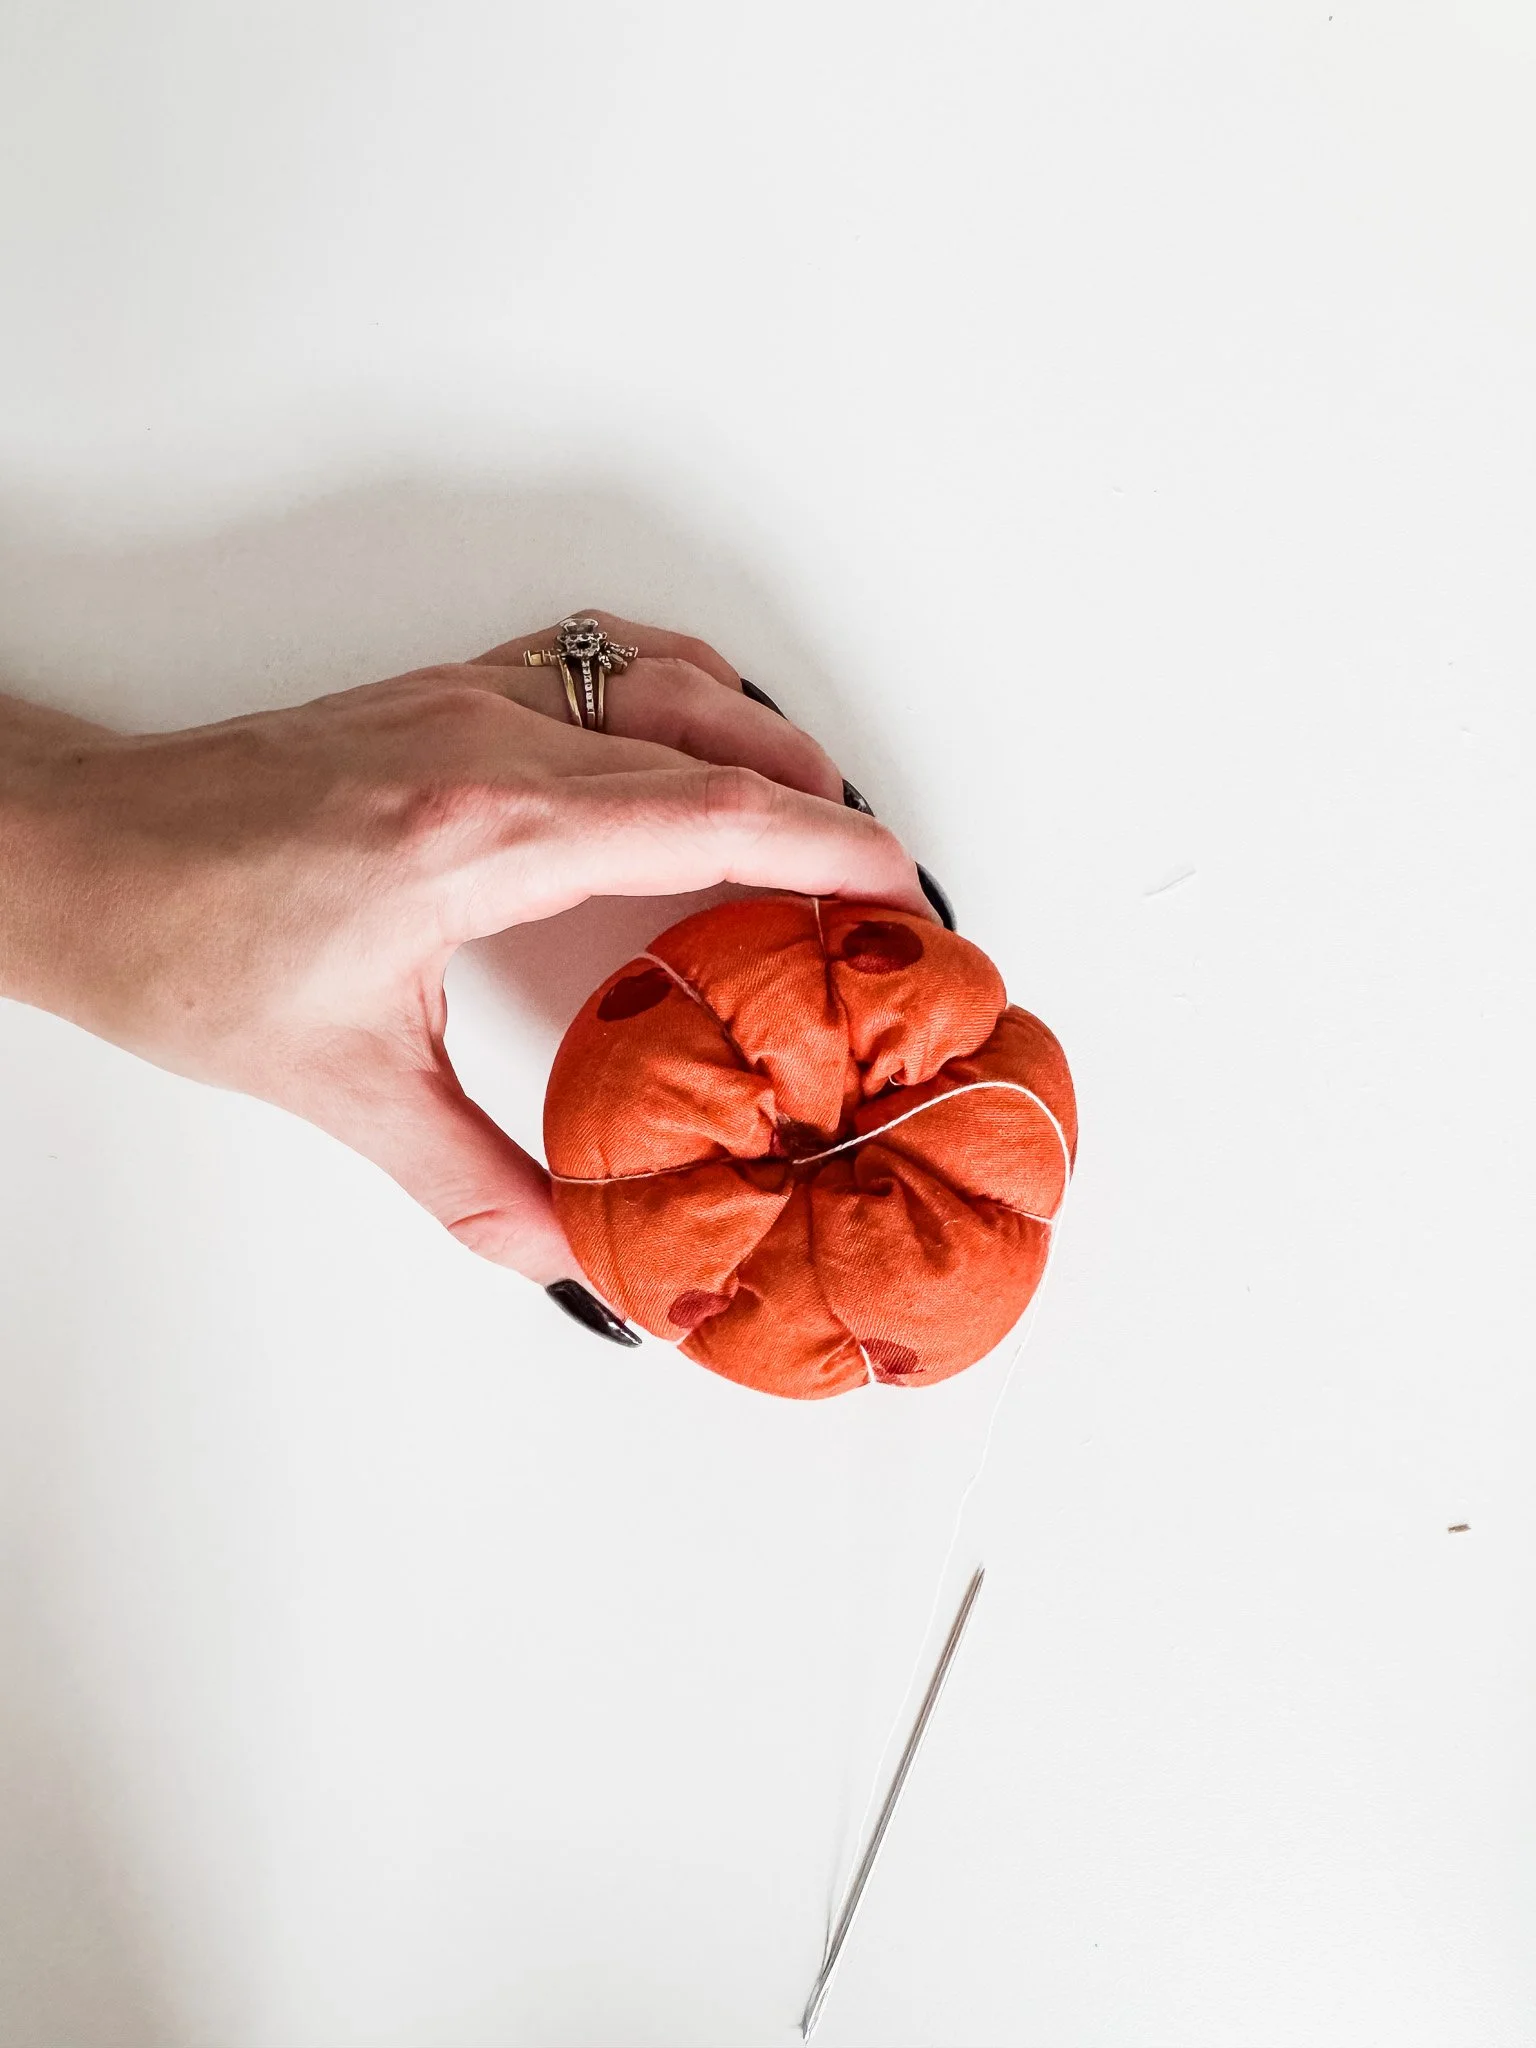
Repeat about six times, spacing evenly, to create segments.

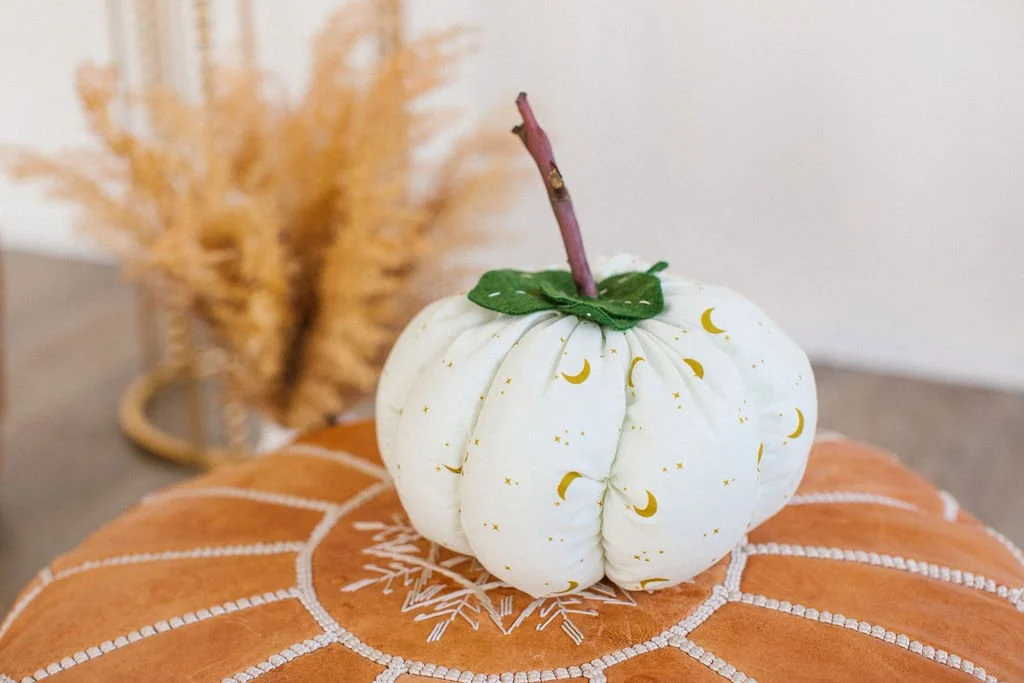
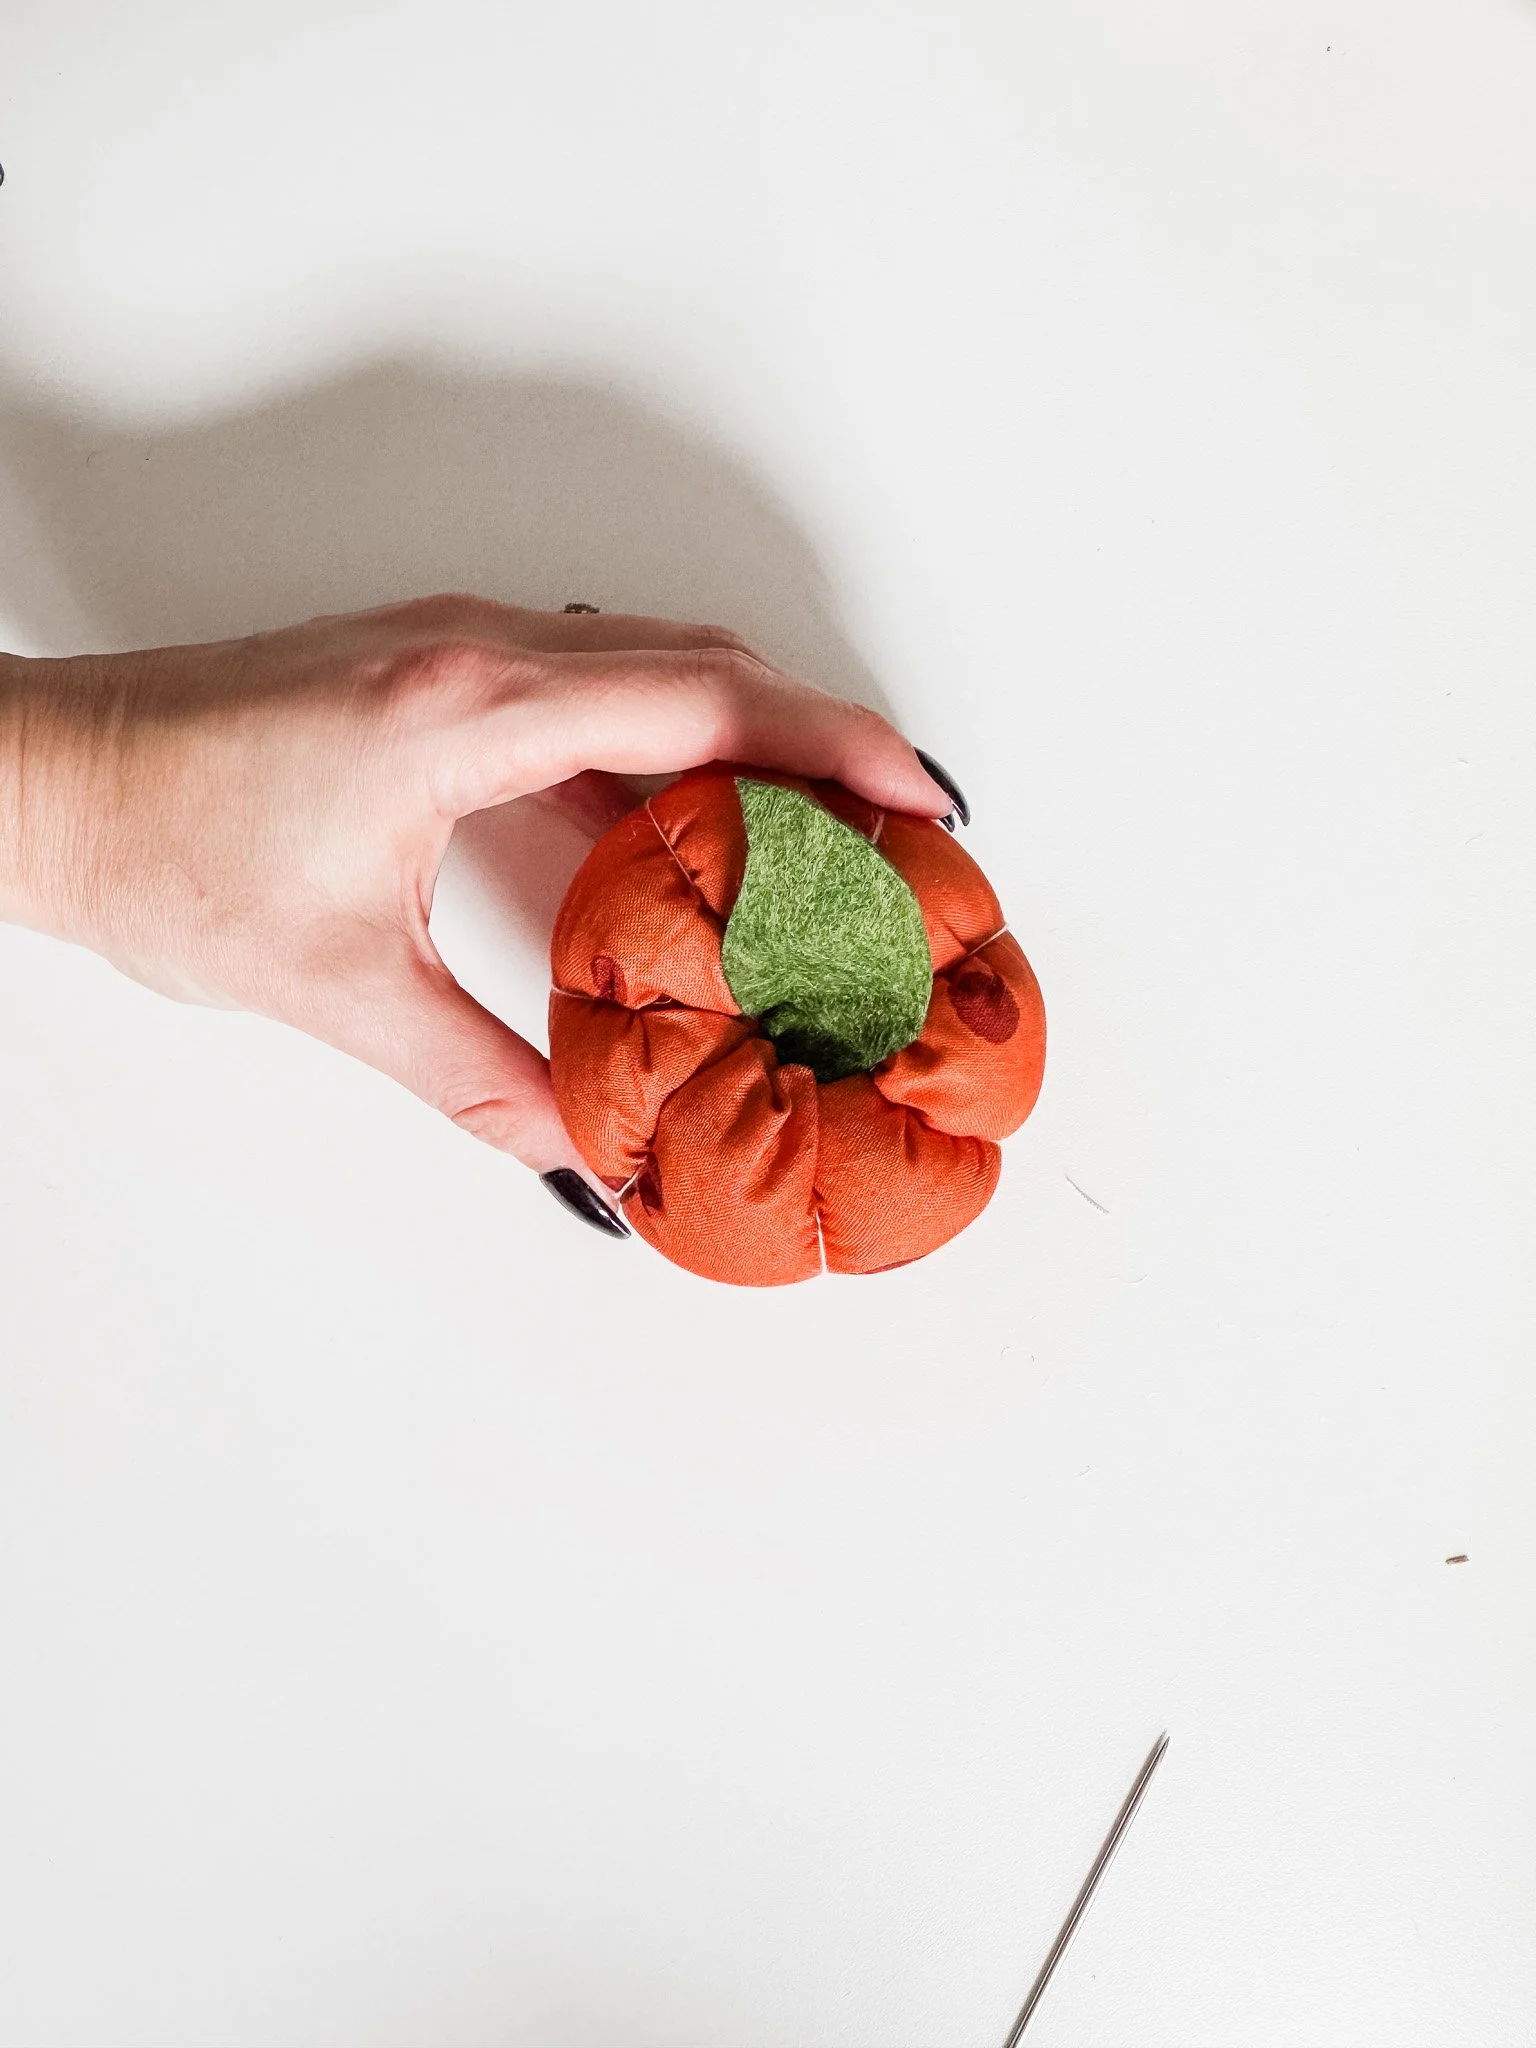
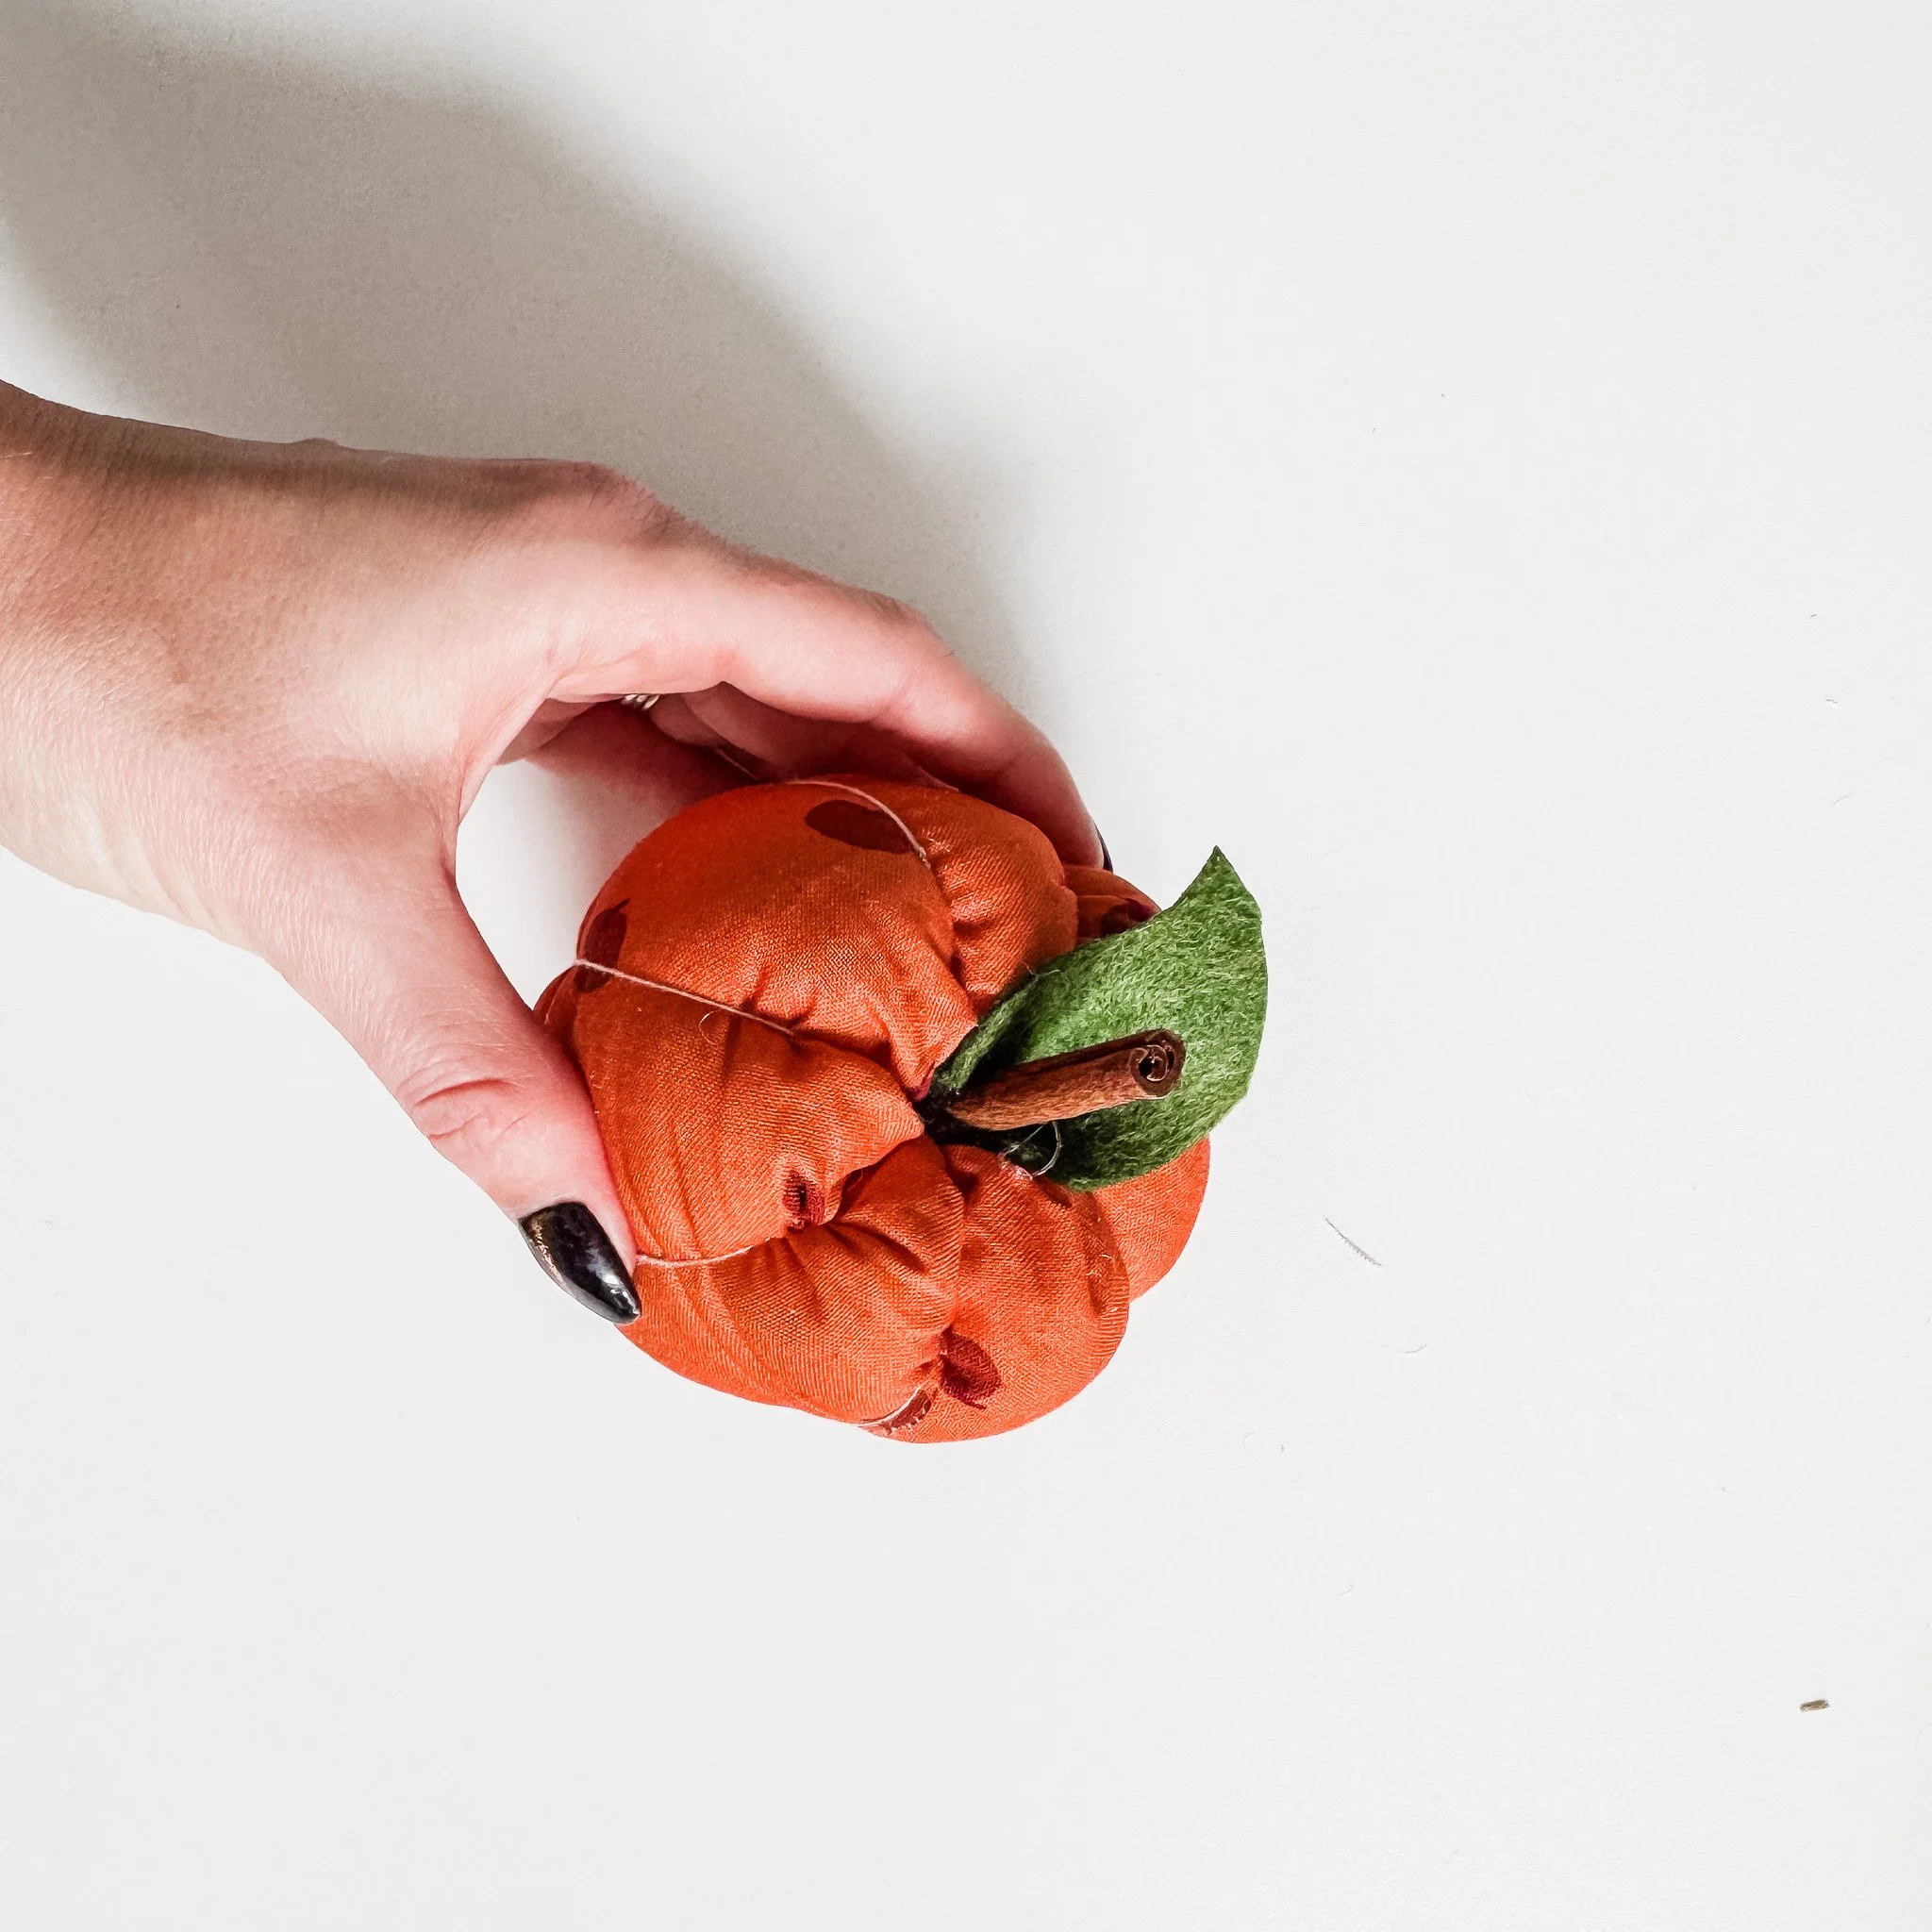
Step 5: Add Stem + Leaves
Glue or insert a small stick (or a cinnamon stick!) into the top for the stem. My pumpkin tops have a bit of a hole in the top where the gathering stitches don’t fully close; carefully wiggling your stick into this hole and then gluing it in place is a good approach.
Cut felt leaves and attach them around the base. Glue or stitch; both work! You can add the leaves before or after the stem, depending on what look you’d prefer.
Now step back and admire your adorable pumpkin… and then immediately make three more.